A slipknot is usually the first step in creating any crochet project. It most certainly is when you are creating a project that will be worked flat, from right to left or left to right depending on which hand you hold your crochet hook in. There are other ways to start a project, such as using a magic circle, but those are usually reserved for projects that are worked in the round (which can also include projects that are flat like a granny square). For the sake of this tutorial, I will leave information about other ways to begin a project for future blog posts.
Without further ado, let’s work together on creating a slipknot using your yarn. After all, this is a foundational step in crochet (and knitting)!
Materials
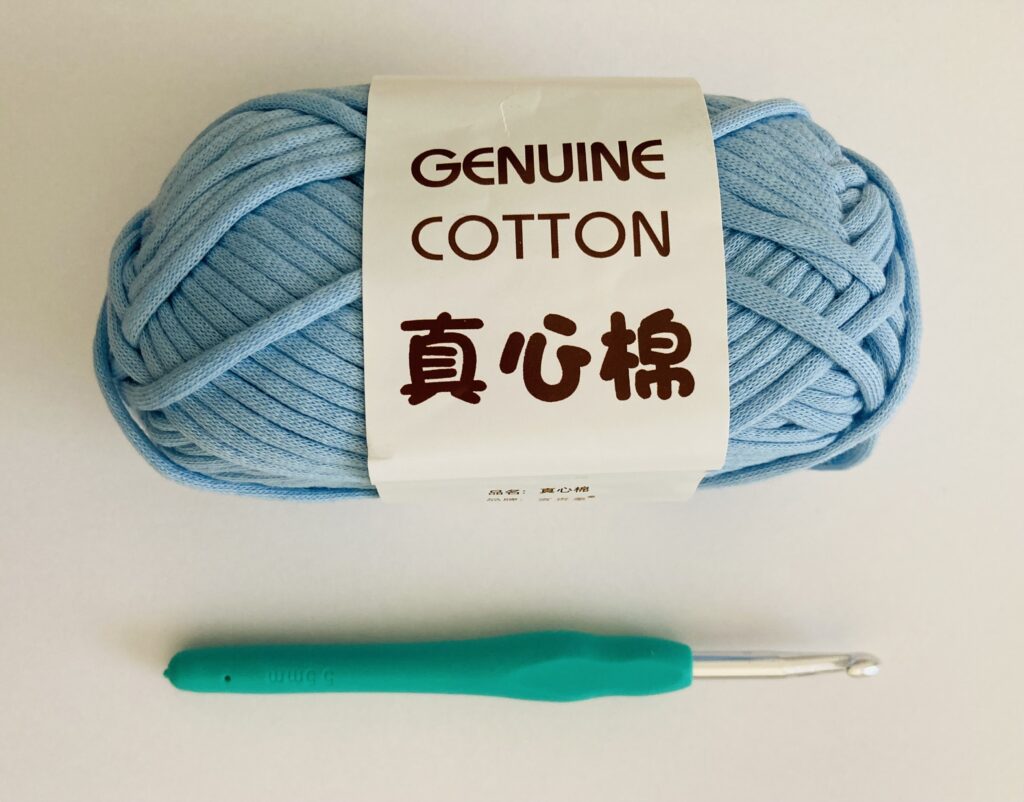
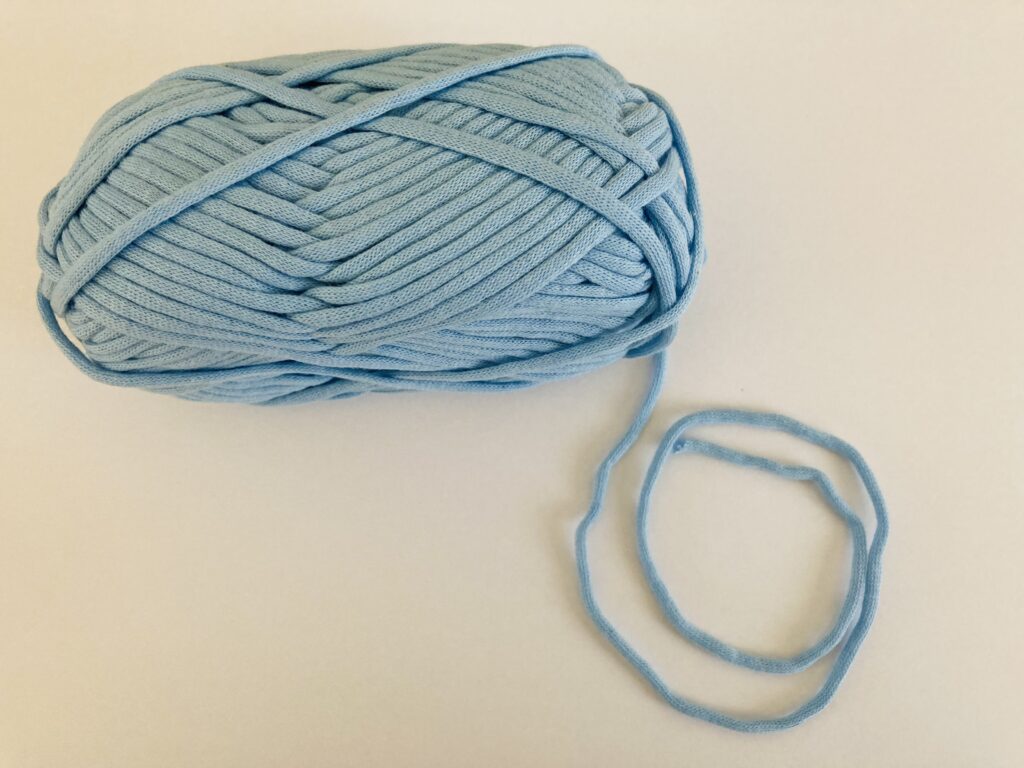
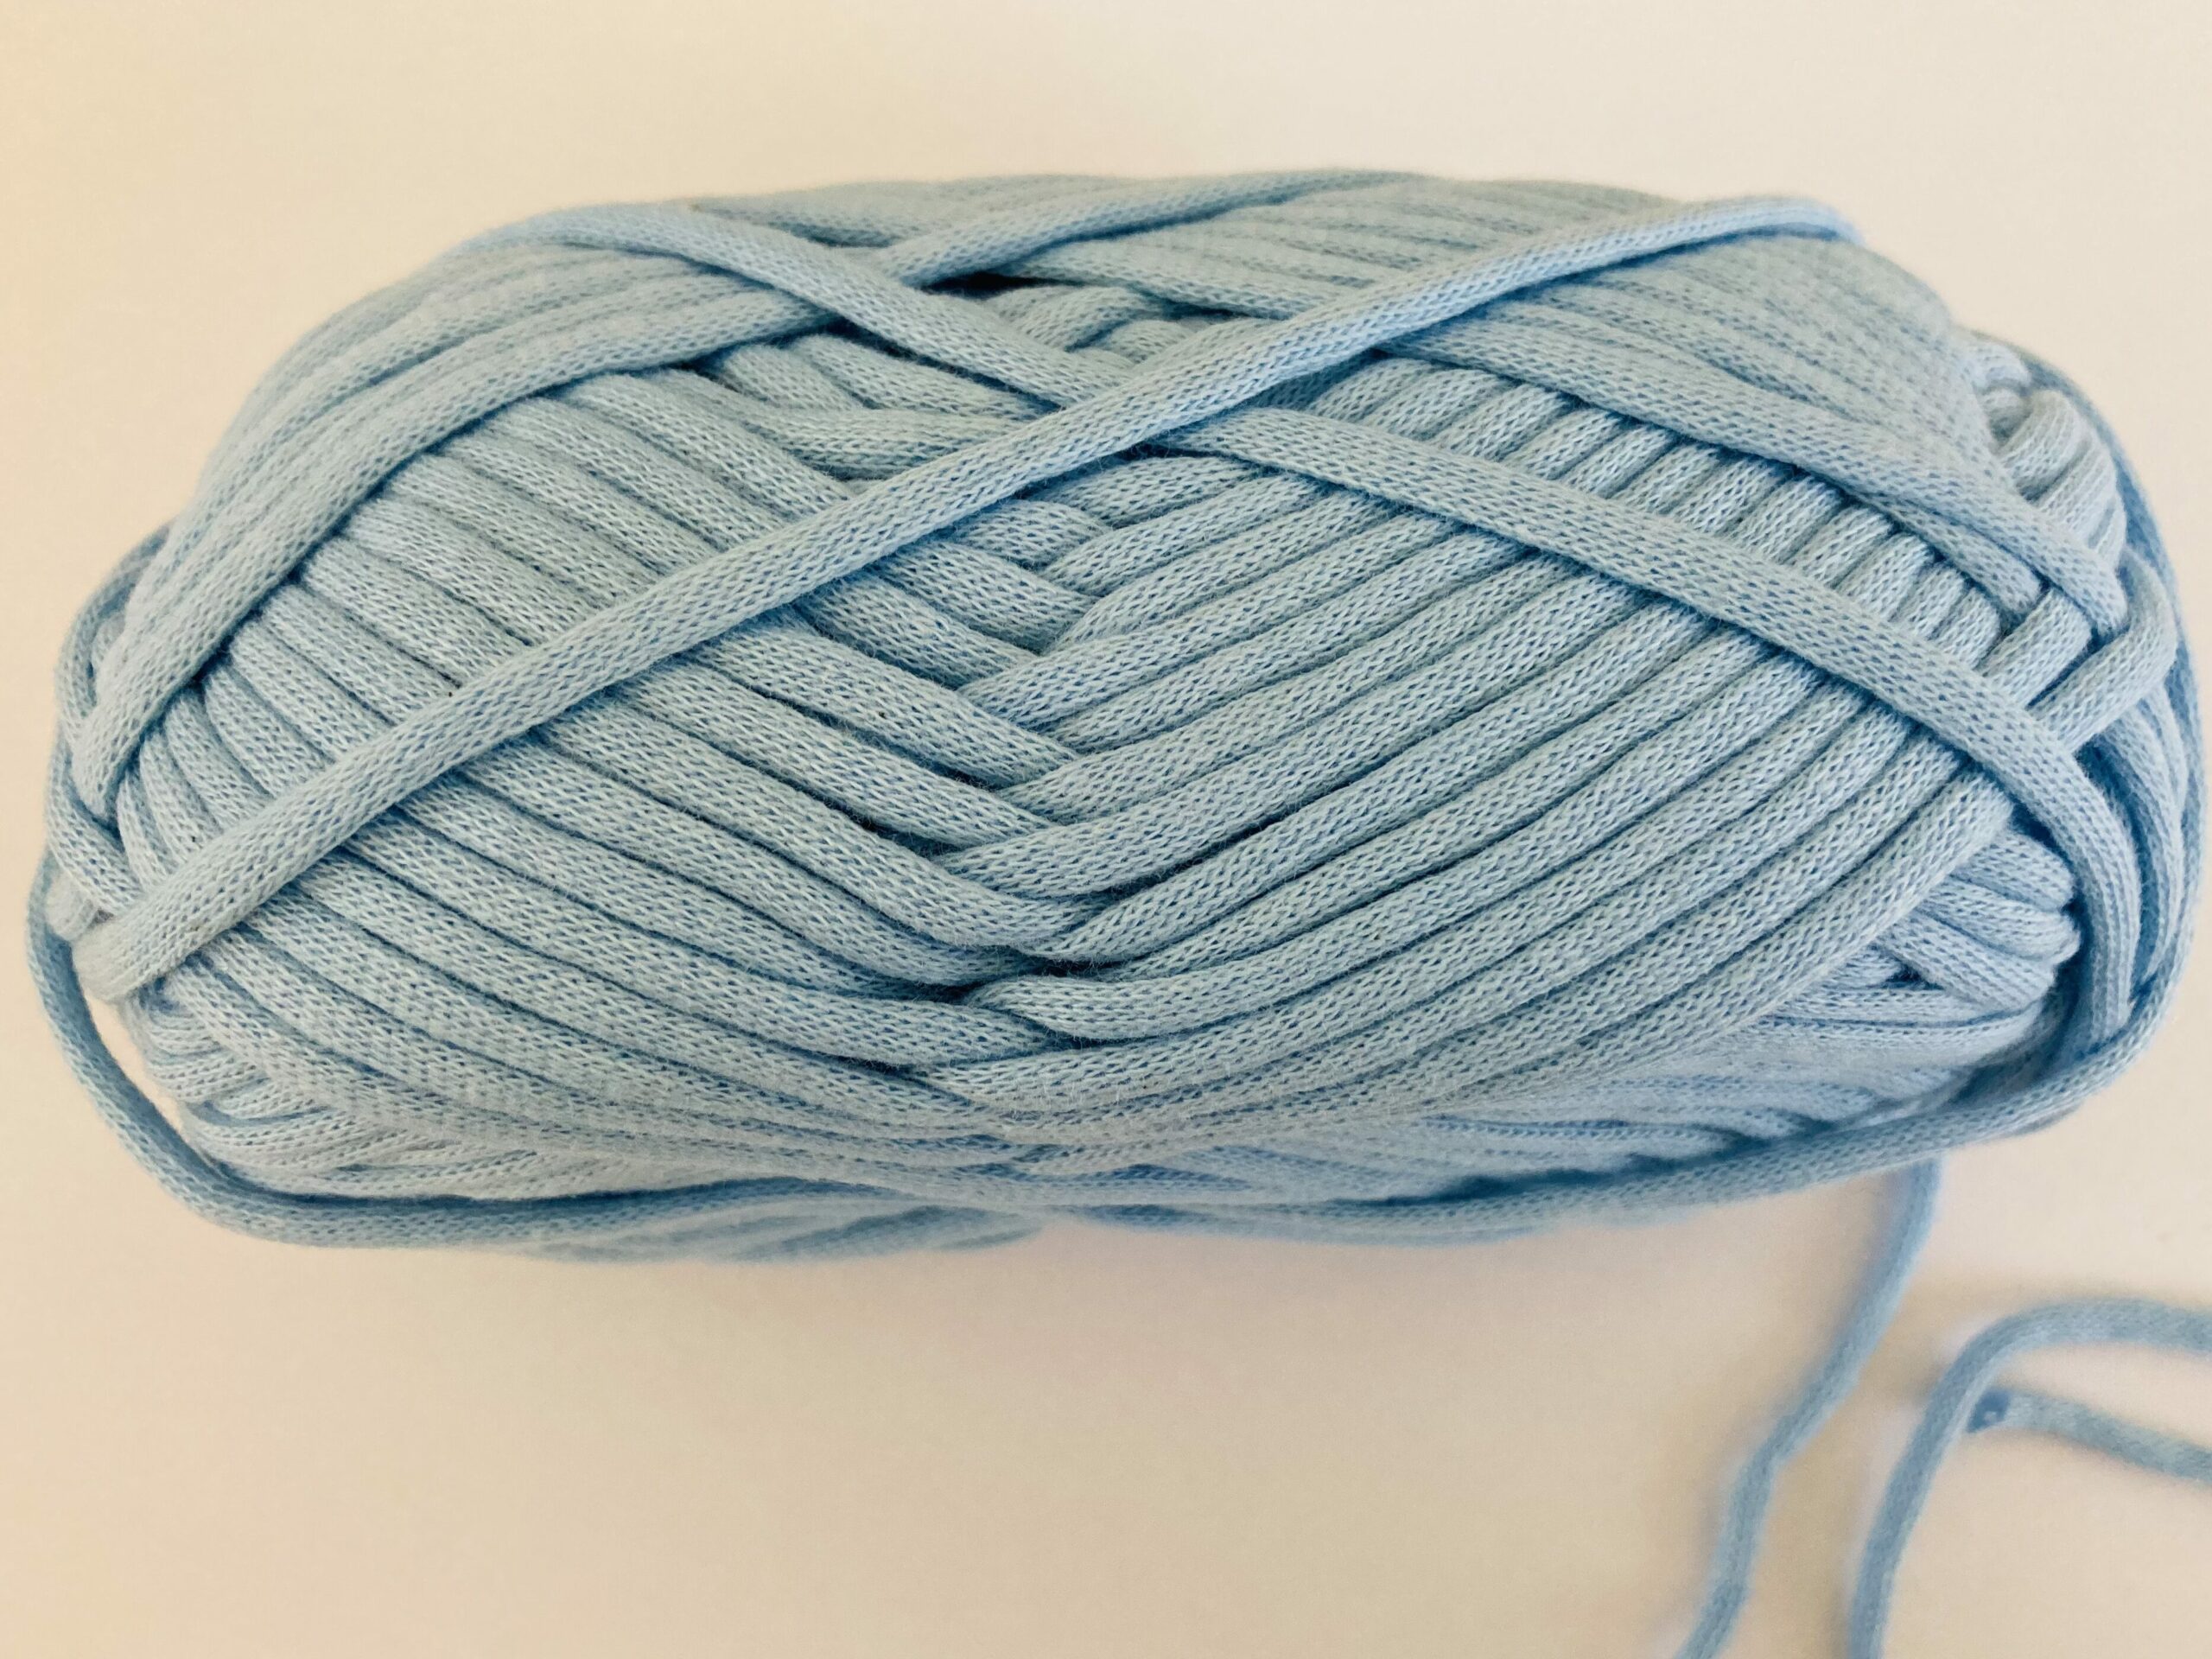
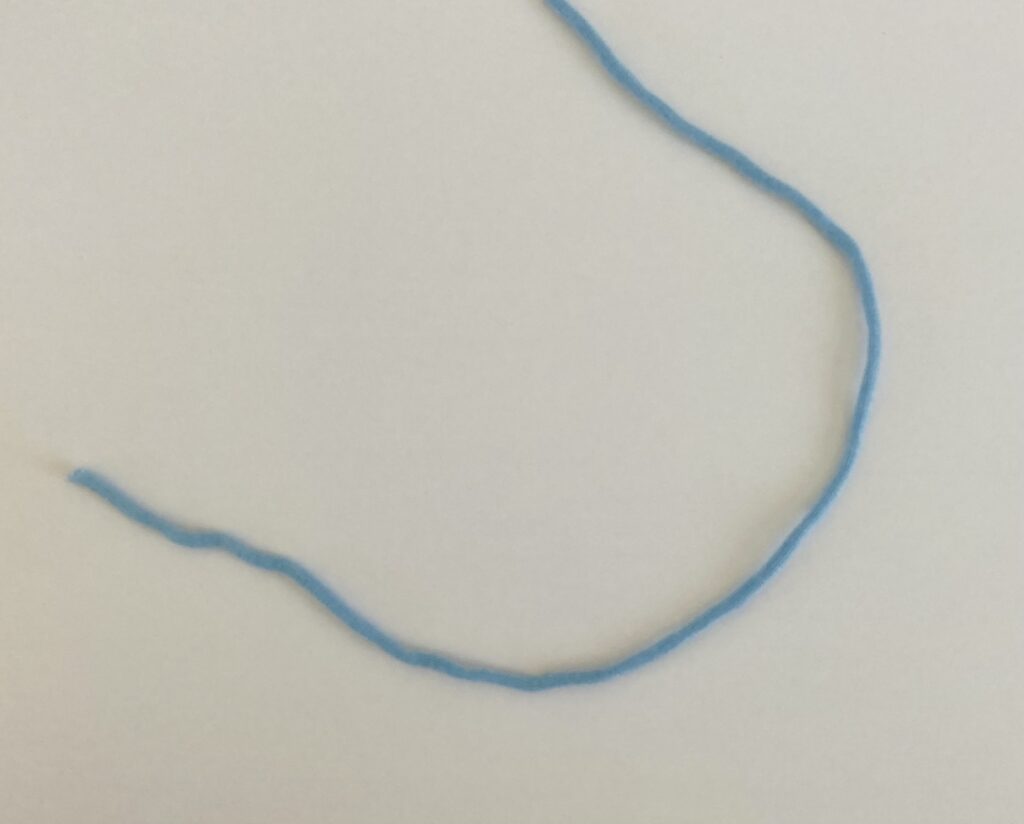
For this tutorial, I chose to use a chainette yarn. I’m pretty sure this is what this type of yarn is called, although I may be mistaken. Using a chainette yarn will provide an easy way to see what’s happening with our stitches, because it isn’t wound like regular yarn. It’s different from more conventional yarn in the sense that it is knitted as a tube using tiny thread, so the yarn won’t disintegrate or rip as easily when you are undoing/frogging your stitches when you are crocheting. This also means that the yarn won’t split when you are crocheting.
I suspect this is the reason this type of yarn is called chainette yarn because you can see the chainlike formation of knit stitches on the surface of the yarn, kind of like i-cord. Lion Brand 24/7 cotton yarn is also a more well-known chainette yarn, although I cannot describe what it’s like to crochet with it as I’ve never used it.
The particular yarn and hook I’ve shown above is from Temu. The close up image of the yarn on the bottom shows how it has a chain-like structure. I’ve also included the ergonomic 5.5mm hook in the first photo, which I’ll be using for this particular yarn in this tutorial.
You can opt to use just your fingers to make a slipknot, or you can also use a hook to create one. The first method I have shown below is more complex albeit not requiring a crochet hook. The second method shows images of me using a crochet hook during the process of making a slipknot, but you can opt to still use your finger in place of a crochet hook just like the first method I’ve shown in this blog post.
Creating the Slipknot
Method 1
Step 1: Creating the First Loop
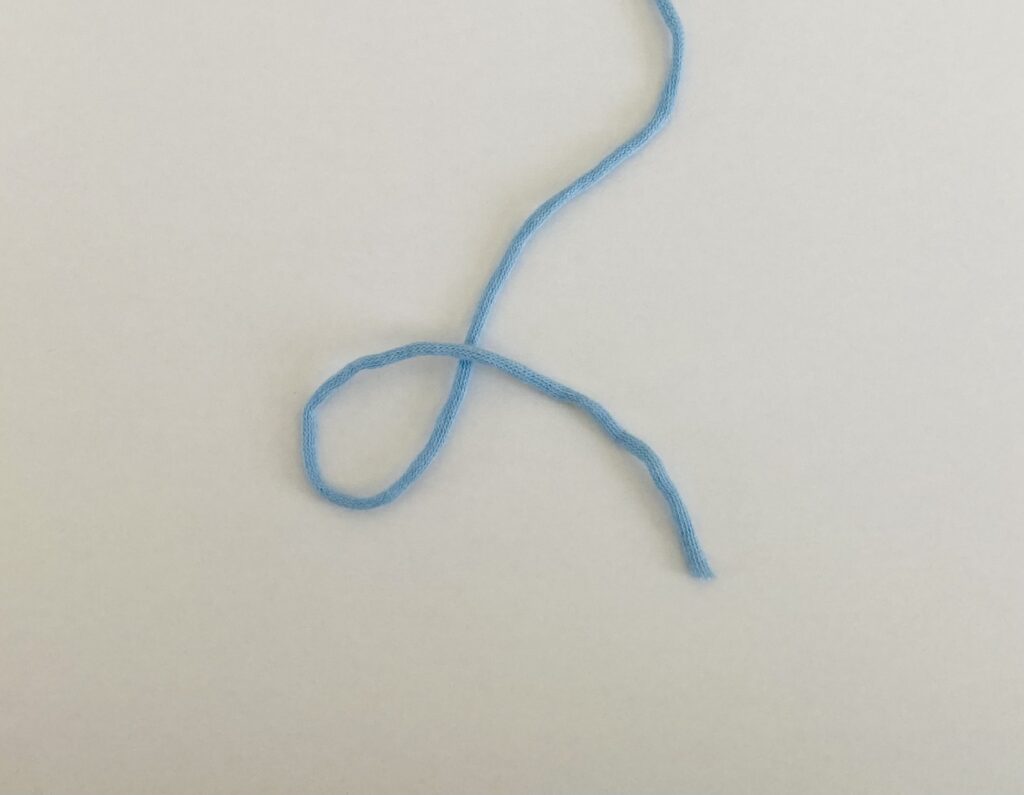
Lay out your yarn on a flat surface and take the end of the yarn in your right hand. Create a loop on the flat surface by laying the tail end over the other end of the yarn that is still connected to the yarn ball.
Step 2: Creating a Pretzel Shape
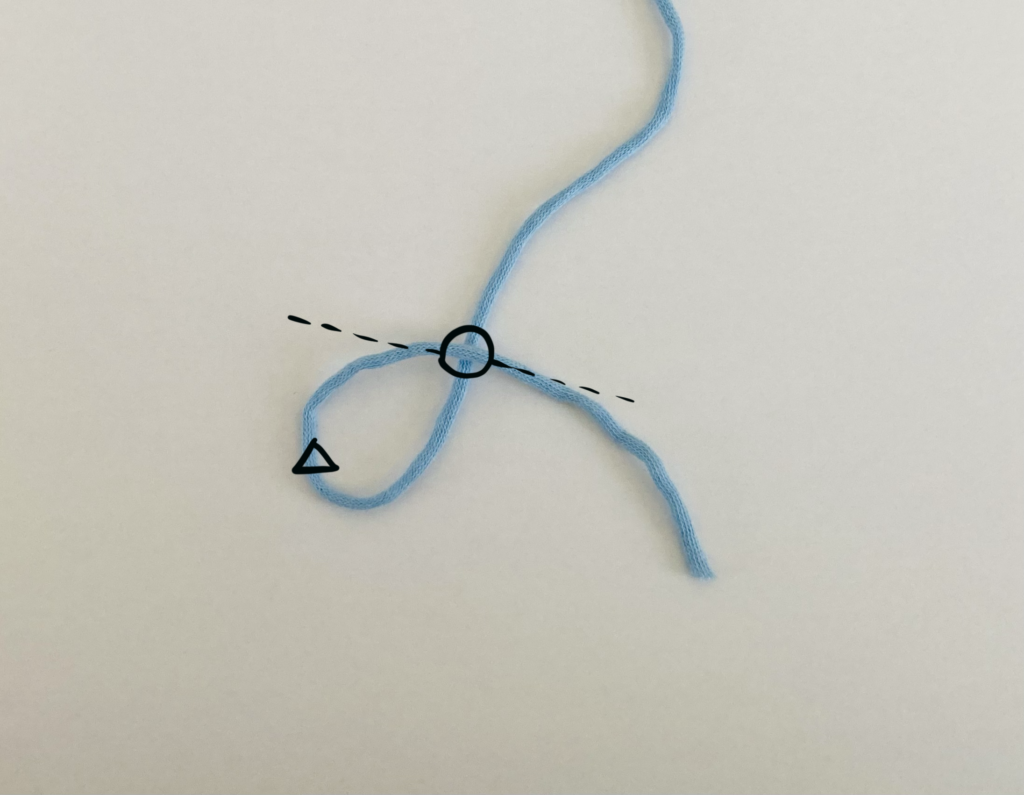
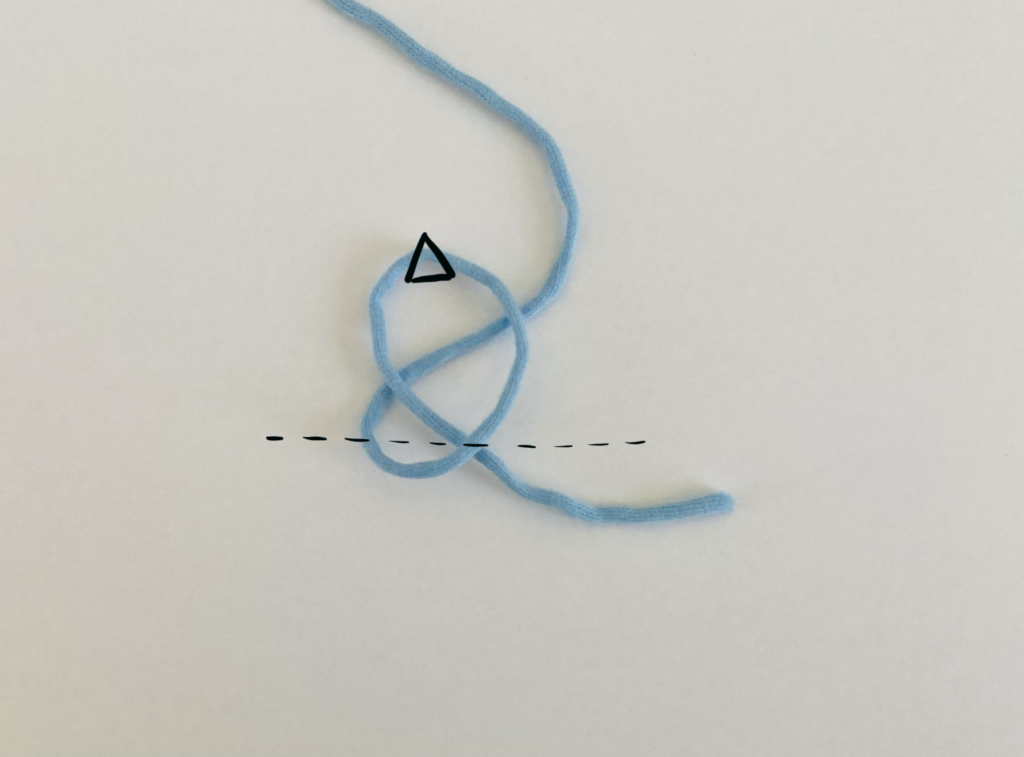
Now that you have created a loop on the flat surface, hold the intersection of the thread down with your index finger on your non-dominant hand (where the circle is), while pinching the edge of the loop with your dominant hand (where the triangle is). Now move your dominant hand over the intersection and place it flipped over the intersection. In other words, imagine that there is a line that is going through the intersection that the loop must be flipped over. You can see this in the images above in more detail.
Step 3: Pulling the Yarn Through
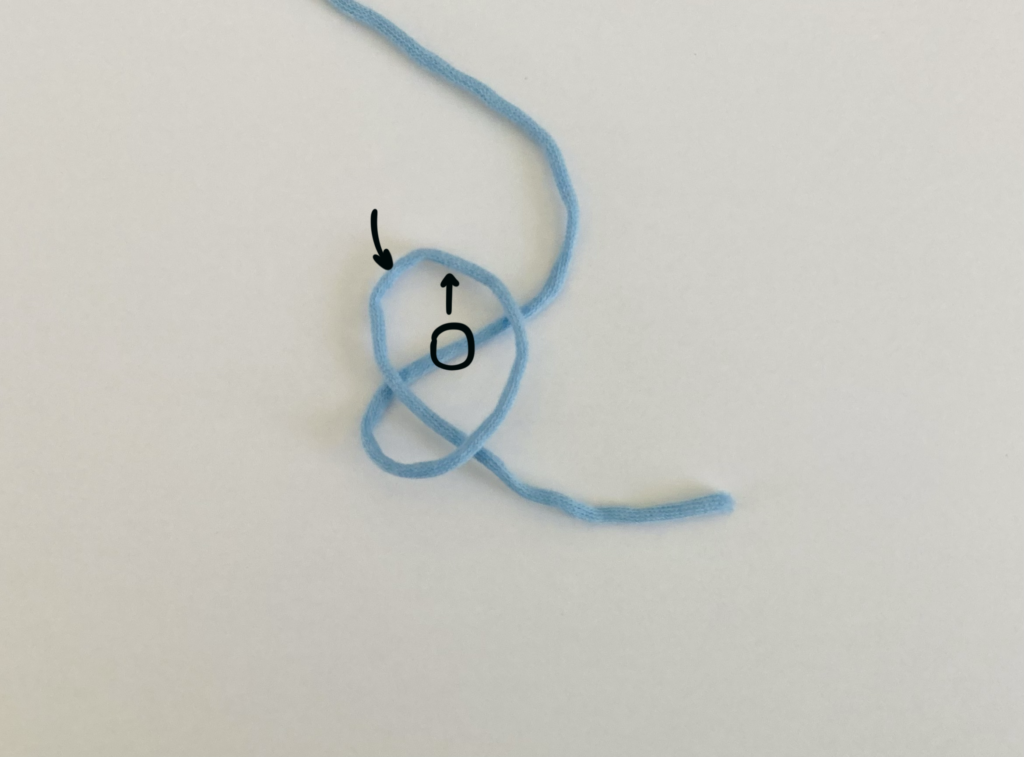
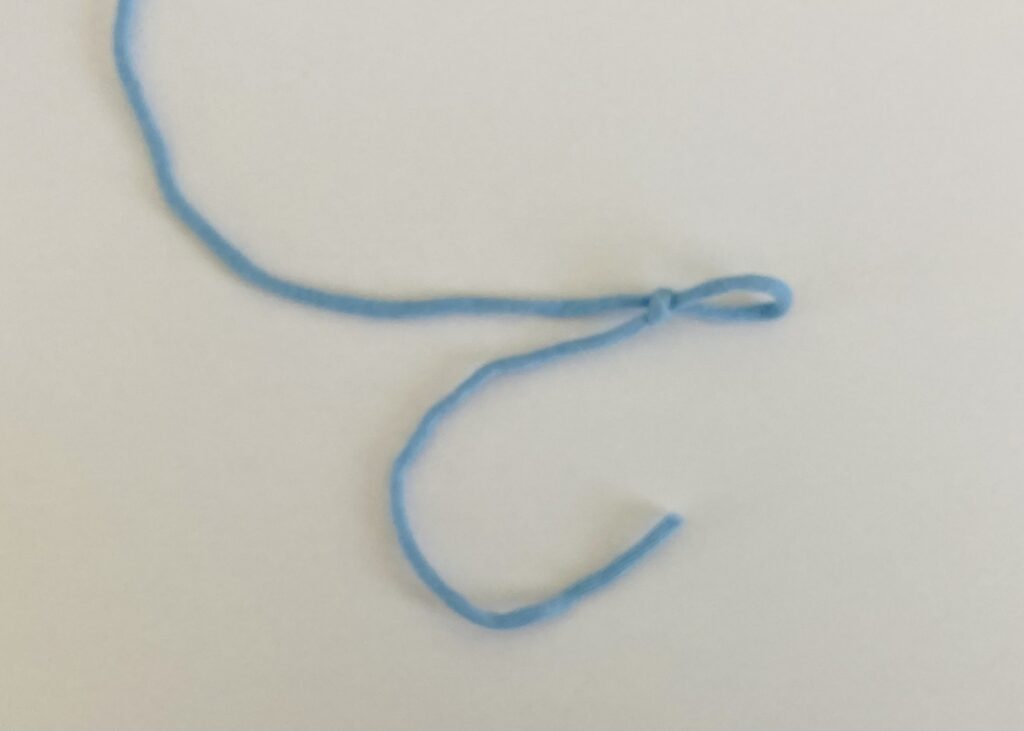
Now that you have a pretzel shape, you will have the yarn going across the loop from the back of it (where the outermost arrow is). For now, let’s call this the main loop. Now pinch the yarn where the circle is on the thread in the left image, and pull the yarn upwards. As the size of the pretzel becomes smaller, stop pulling the loop upwards, and now grip both the yarn’s tail end and the end that is connected to the ball together with your non-dominant hand, and start pulling the loop upwards with your dominant hand again. This should shrink the pretzel so much that it becomes a knot.
Step 4: Adjusting Loop Size
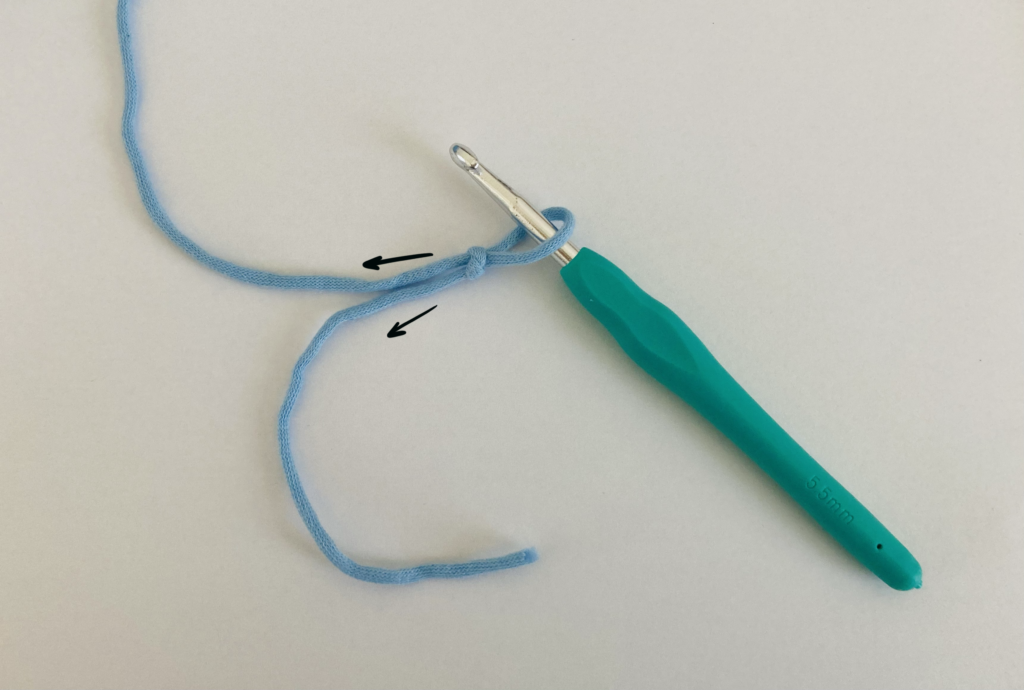
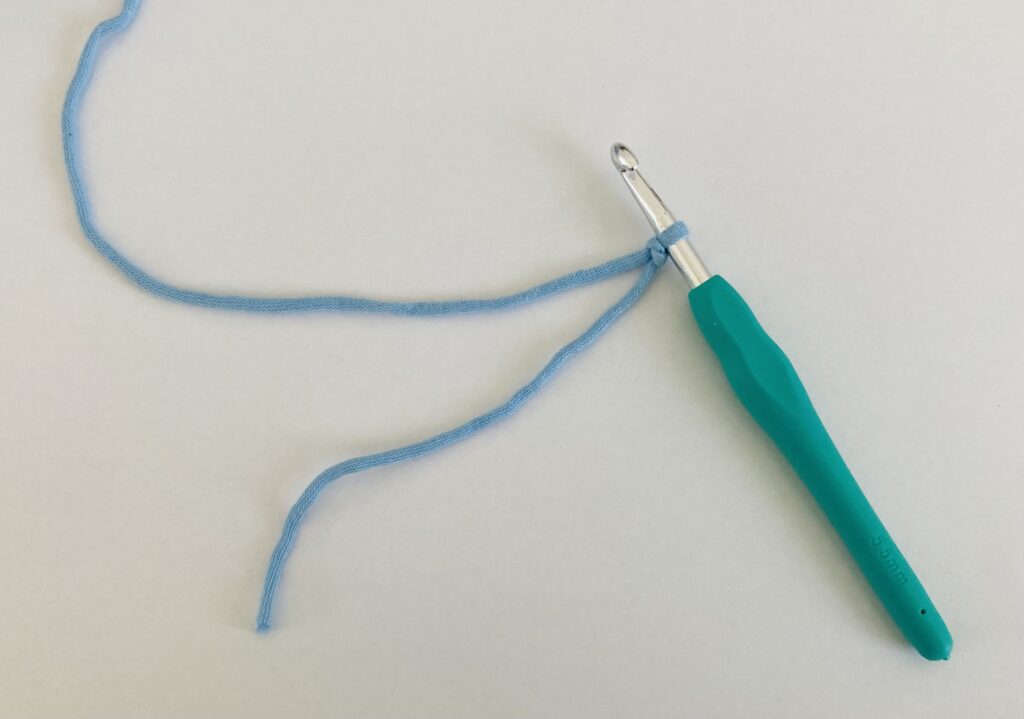
Now, insert the hook into the loop from the back of it. Pull the yarn connected to the ball of yarn with your non-dominant hand, as you hold the hook in your dominant hand. This should shrink the size of the loop so that it sits snug around your crochet hook. If it doesn’t shrink the loop, tug on the tail end of the yarn, and that should shrink it so that it sits snug around the crochet hook.
Hooray! You made a slipknot, which means you can move on to more complex stitches and projects!
I still didn’t get it. Why is this so hard?!
No worries if you didn’t get it! Sometimes it takes more than one way to learn how to make a slip knot or work a technique before it clicks. When I was first learning to crochet, I was laser focused on figuring out how to make a slipknot using this technique, that I totally overlooked other ways I can make one too. That’s why I want to share more than one way you can make a slipknot. Hopefully the following one below will be more straightforward and significantly easier than the one I showed you above. If not, be sure to check out other crocheters tutorials on how you can make a slipknot, as some ways may be easier to do than others. For method 2, read ahead.
Method 2
Step 1: Double Loops

Take the yarn you have and twirl it around the hook twice, as shown above.
Step 2: Moving Loops
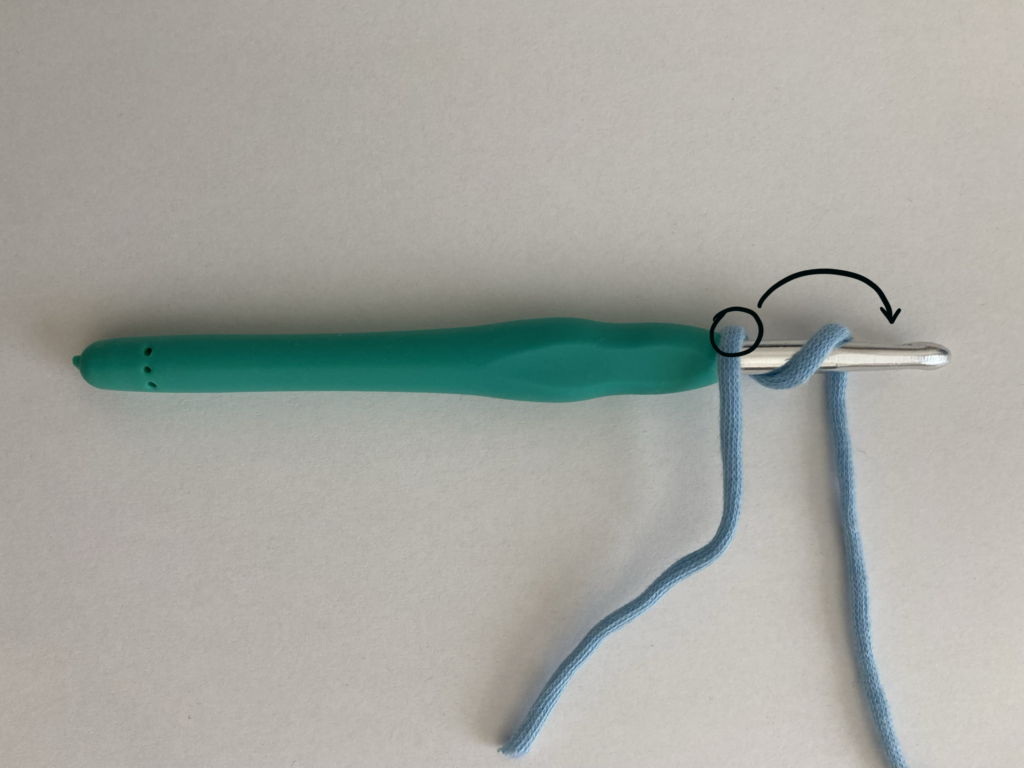
Take the loop at the left and place it over the loop on the right. This means that the left loop should end up at the right of the right loop. I’ve circled the loop that you should be moving so that it is easier to see what I am talking about.
Step 3: Moving Loops
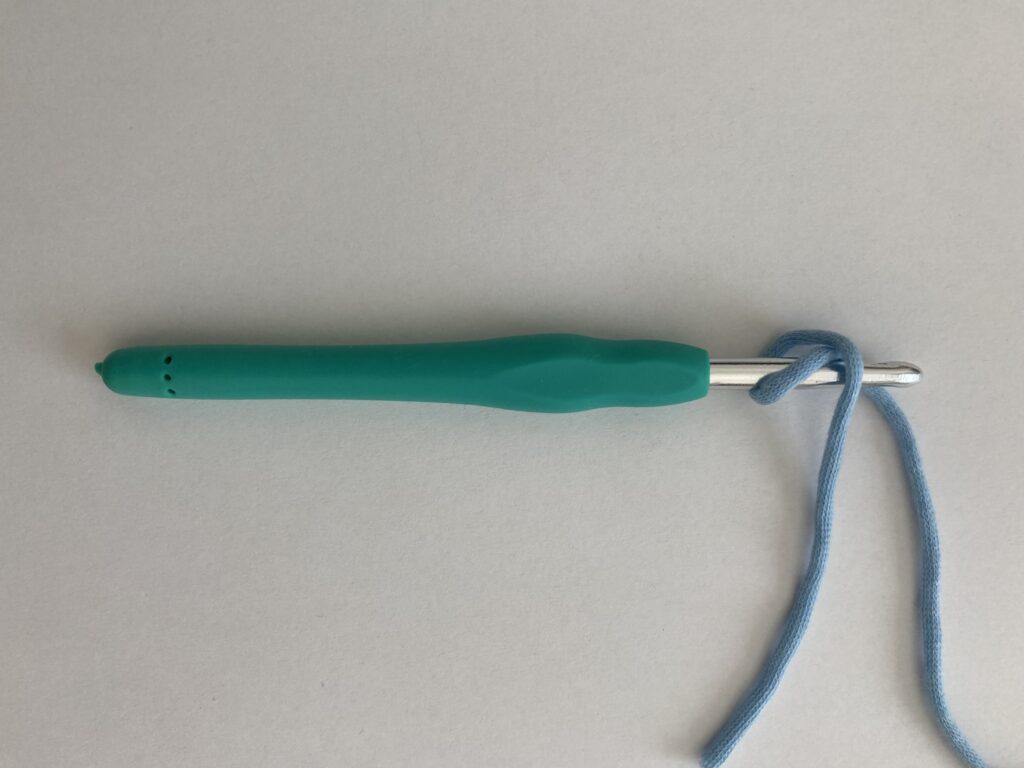
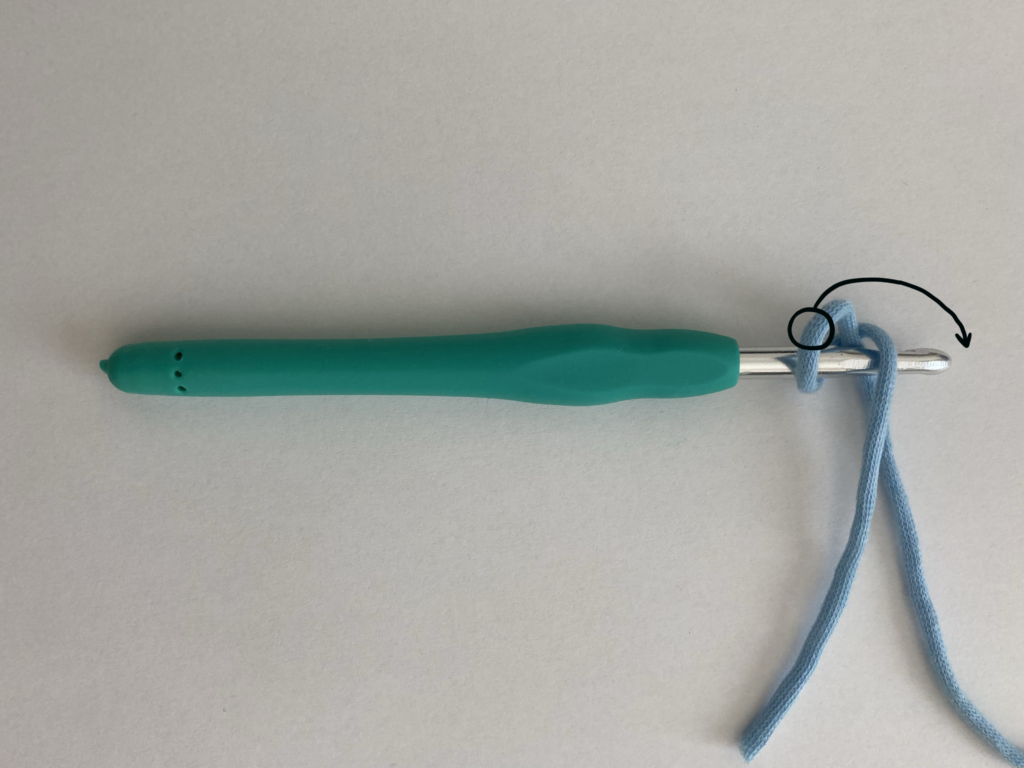
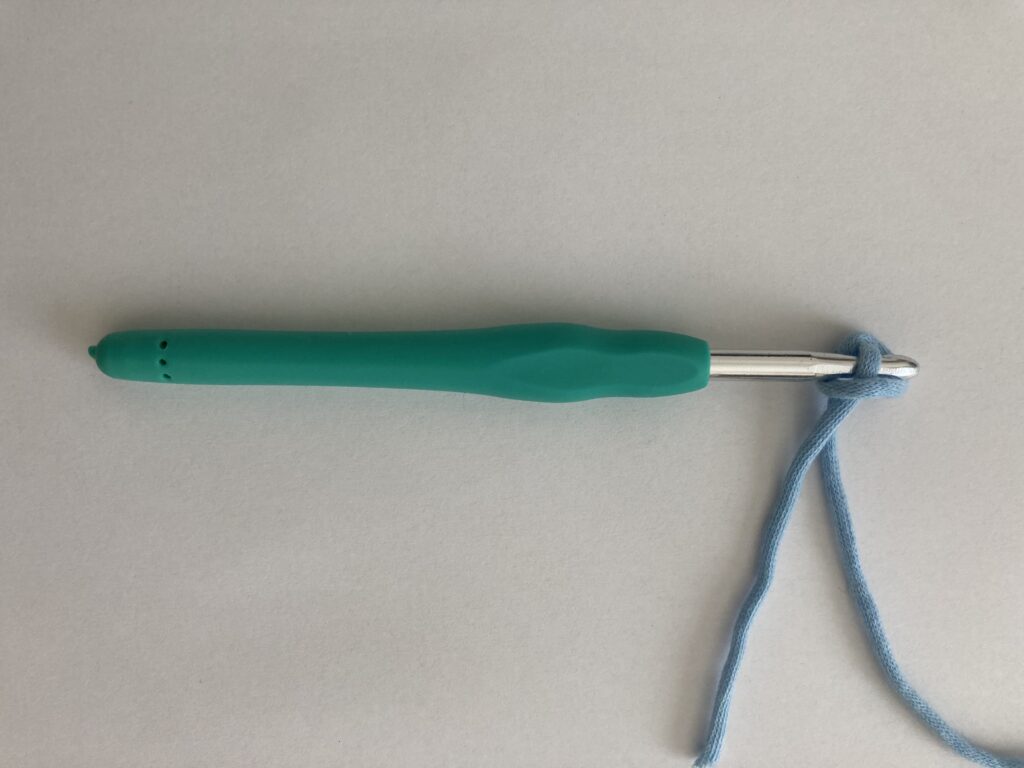
Now take the current left loop and place it over the loop on the right. This means the loop on the left will end up to the right of the right loop. This time, as you place the left loop over the right, slide it off the hook, leaving the remaining loop still on the hook. As usual, I’ve circled the loop that you should move, so that the instructions easier to understand.
Step 4: Pulling the Ends
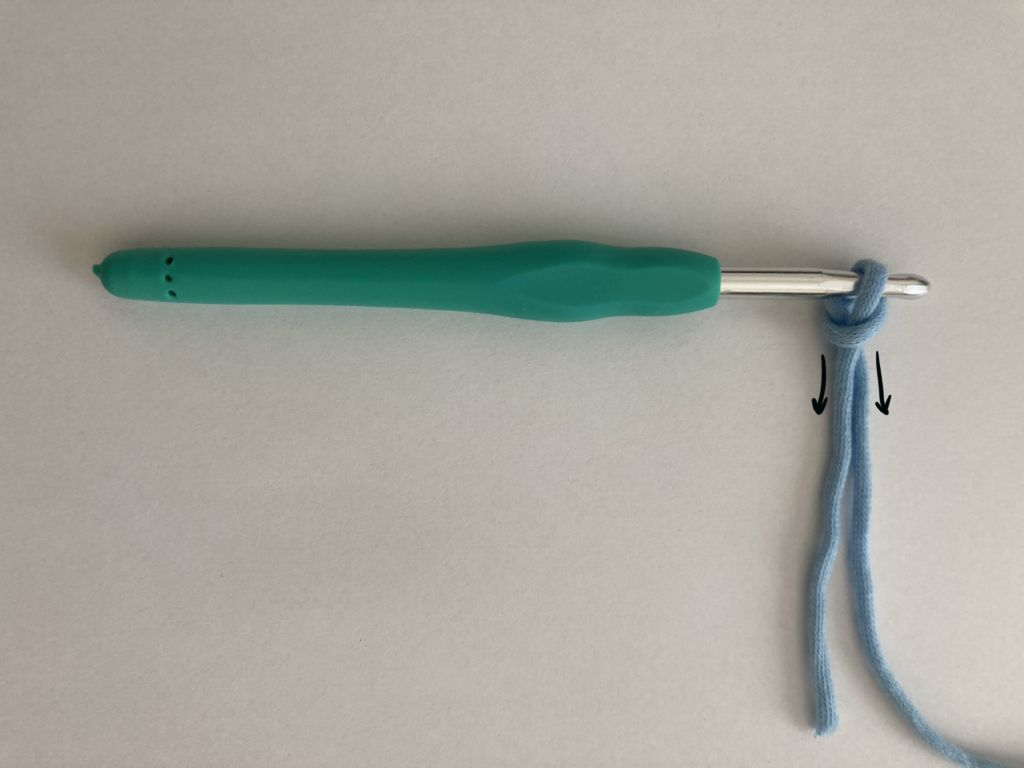
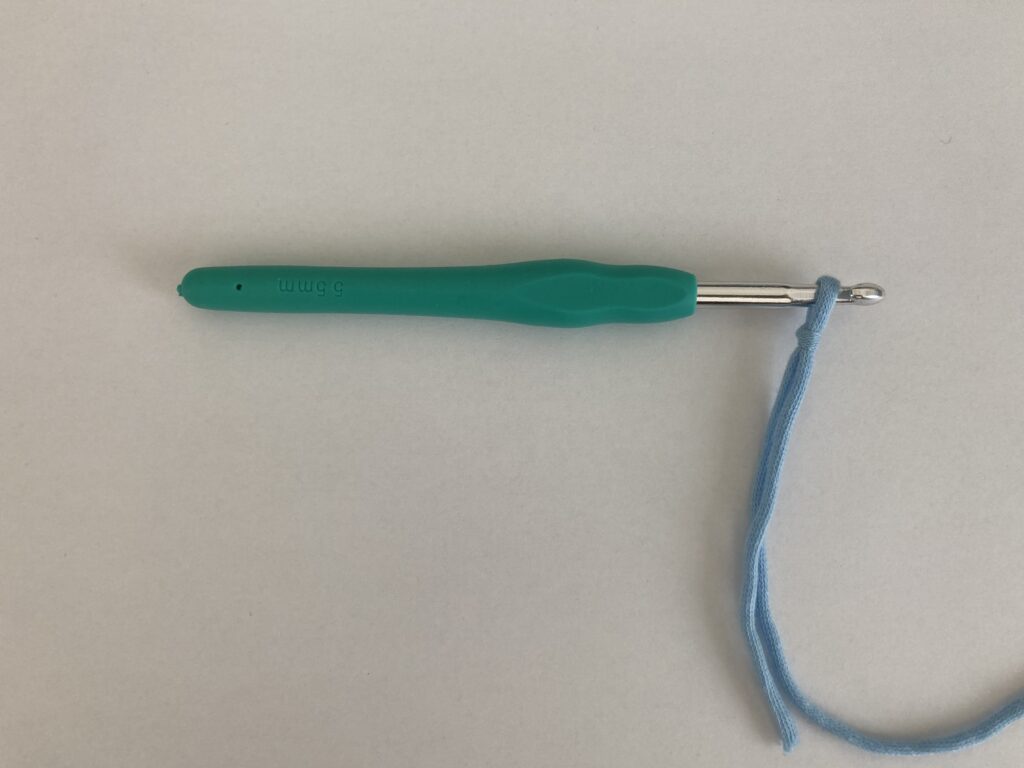
Now that you have the loop on the hook, pull down on both ends of the yarn, and then each end separately. This should tighten the slipknot on your hook.
Hooray! You made a slipknot.
If you are still having a hard time making a slipknot, be sure to check out other crocheters’ tutorials online as well. It may take a different style of teaching from the way I’ve described to make it click for you.
Why are slipknots important?
I decided to write this post because making a slipknot is usually one of the skills that gets overlooked sometimes, because a lot of crocheters might assume that people know how to make one already when they start their work on a crochet project. When I started to learn crochet, I had a really difficult time wrapping my head around how to create a slipknot because I ended up making a knot by looping together both of the ends of yarn. When you look at a slipknot, one misconception that people may have is that the loop you make isn’t size adjustable, so it’s quite similar to a regular knot. But a slipknot is unlike a regular knot because the thread is able to slip through the knot, so that it can sit snug around your crochet hook.
Slip knots are also a fundamental part of crochet, because they allow you to work on projects that do not start with a magic circle, but a circle made of chain stitches. These consist of instructions that begin with a chain that is slip stitched together, which will hopefully be discussed in another blog post.
I hope this tutorial helped to demystify the process of making a slipknot. I’m glad you made it this far in this blog post, and hope you have a wonderful time learning to crochet new things. Happy crocheting!

Leave a Reply