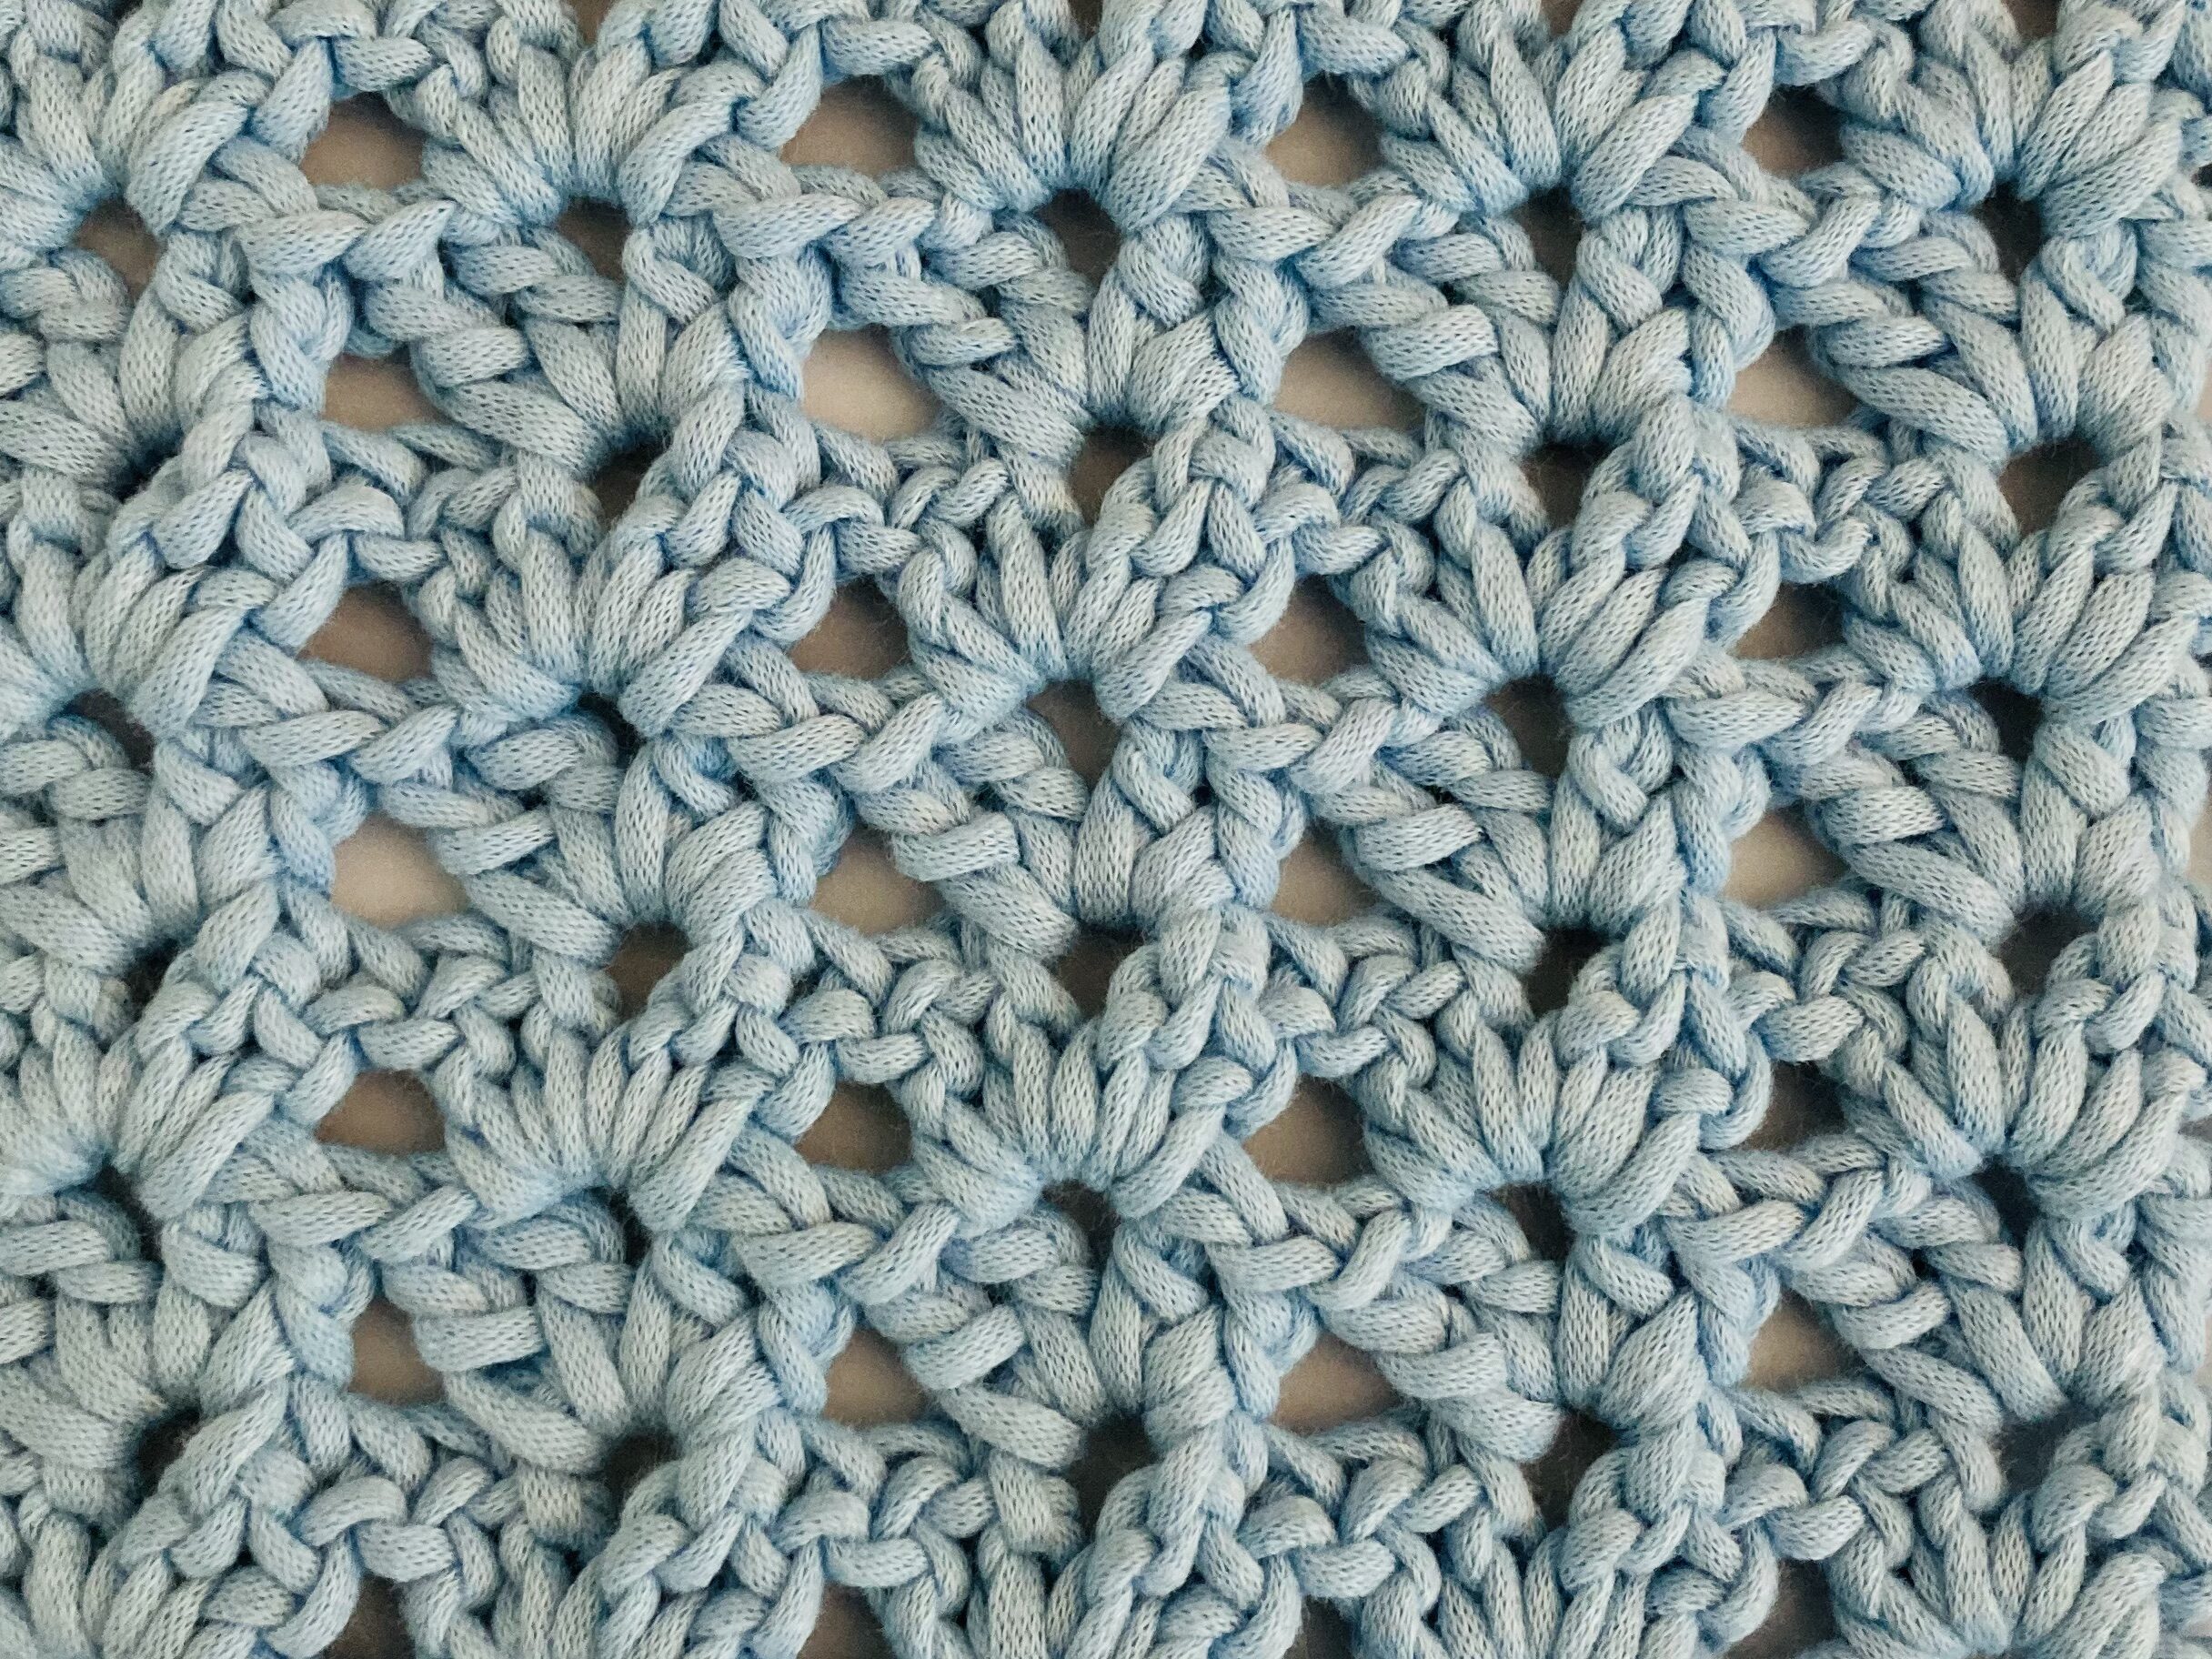
The iris stitch is a beautiful and lacy stitch that consists of double crochet stitches and chain stitches. It is a great stitch for shawls, scarves, and summer projects because of its lacy nature, and it works up quite quickly, which makes it a great stitch choice for larger projects. This Iris stitch crochet tutorial will teach you how to crochet the iris stitch via detailed explanations and images that will walk you through the process. Although this stitch looks advanced, it is quite easy to learn because double crochet stitches and chain stitches are used as building blocks to make the iris stitch. Without further ado, let’s get right into this tutorial so that you can add another wonderful crochet stitch to your skillset.
Stitch Multiples
For this iris stitch crochet pattern, we have to crochet a stitch multiple of 4 + 3. This means that any number of chains from 4 + 3, 8 + 3, 12 + 3, onwards can be used as a foundation chain in order to crochet the iris stitch. For this particular tutorial, I decided to chain 20 + 3, since 20 is a multiple of 4 and I need to add 3 chains extra which will match the stitch height of the first double crochet I will make in the first row.
Row Repeats
The iris stitch has a one row repeat. This is great because this means that you don’t need to spend too much time memorizing how to crochet the iris stitch because you only need to remember how to crochet one row. This makes this iris stitch crochet tutorial ideal for beginners who are seeking step-by-step instructions, because having a one row repeat means that if you can follow the instructions for the first row from this tutorial, you will be able to repeat it for several more rows without changing anything to continue the stitch pattern.
Prerequisites
You need to know…
Materials
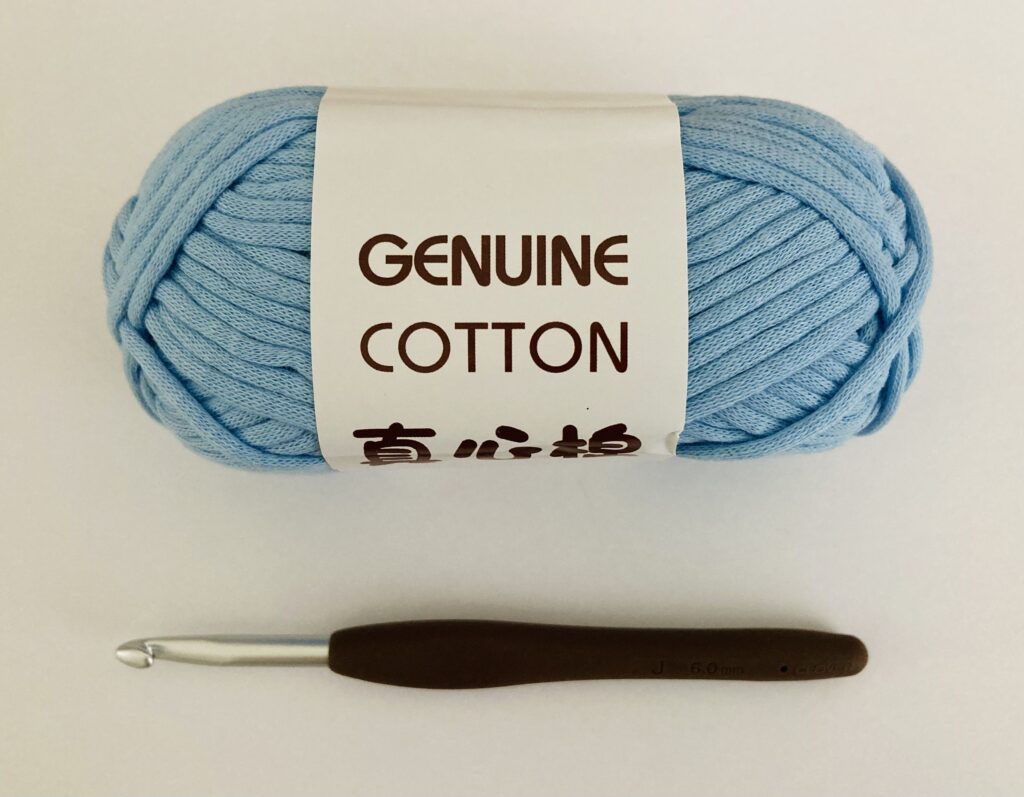
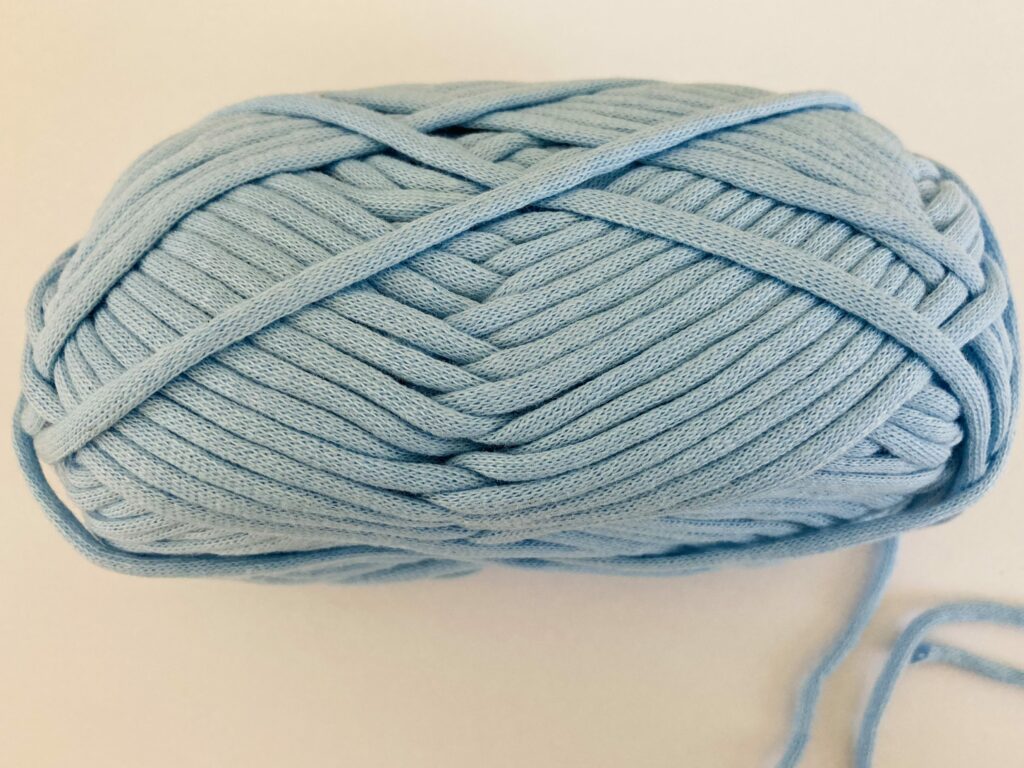
- Chainette Yarn – This kind of yarn is great if you are a beginner learning to crochet. This is because chainette yarn is usually knitted in a tube, which means that there is a very, very small chance that you will be able to split the yarn using your crochet hook. On the other hand, more conventionally spun yarn has a higher probability of being split by a crochet hook accidentally, and may lose its integrity as you frog stitches. The particular chainette yarn that I will be using in this tutorial which is shown in the images above is from Temu.
- Clover 6.00 mm Crochet Hook – I highly recommend this hook because it makes it much easier and faster to crochet. I suspect this is because of the matte hook head that makes it much easier for the stitches to quickly and easily slip off the hook as you crochet.
How to Crochet the Iris Stitch
Step 1: Chain 23
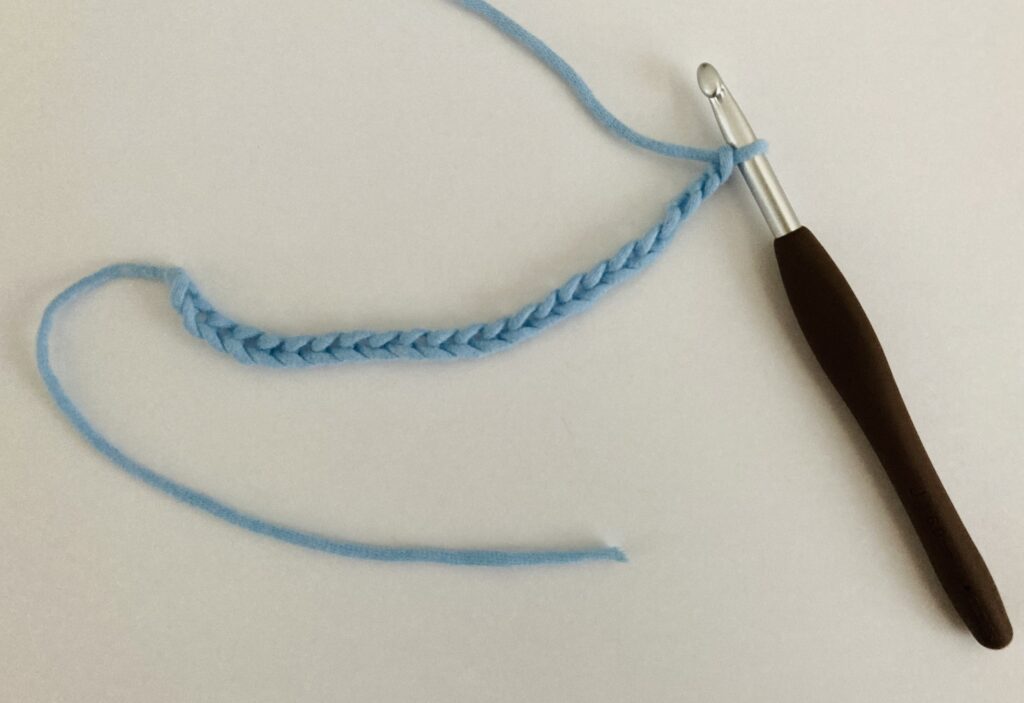
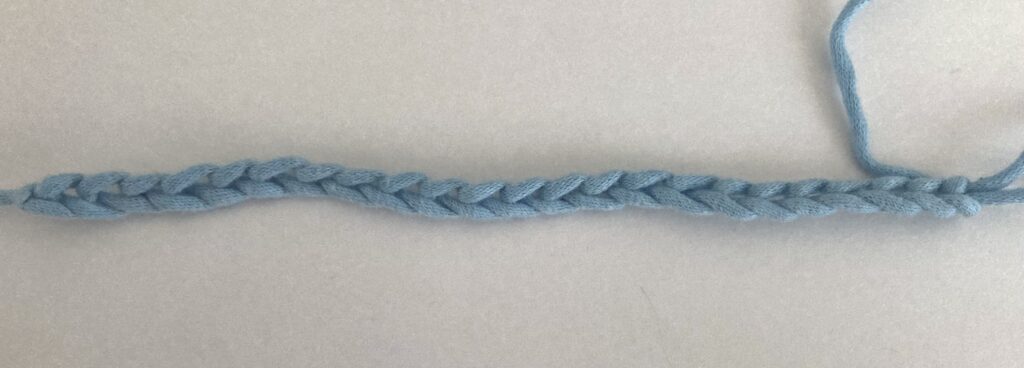
As mentioned in the stitch multiple section, we chain 20 + 3 in this Iris Stitch crochet tutorial because 20 is a multiple of 4, and we add three as our ‘turning chain’ despite it being the first row.
Step 2: Place 2 Double Crochet Stitches in 5th Chain from Hook
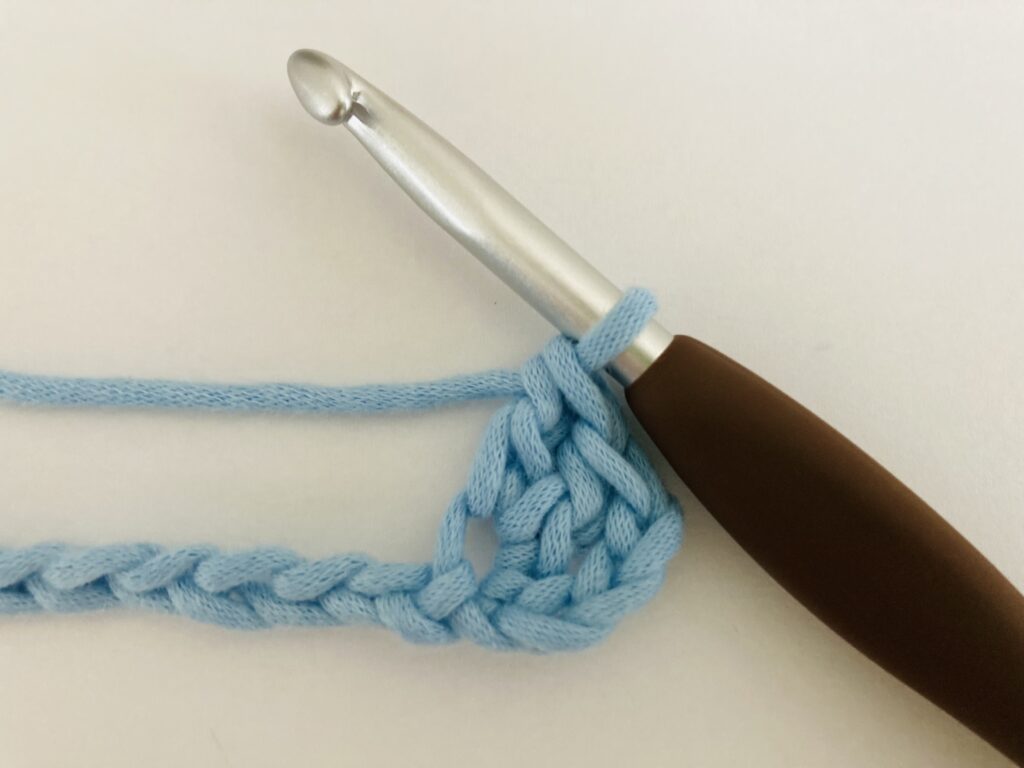
Now, place two double crochet stitches in the 5th chain from your hook. We can consider this as a double crochet increase as well, since we are making two double crochet stitches in the same chain stitch. This step begins the cluster that will make an Iris Stitch.
Step 3: Chain 1
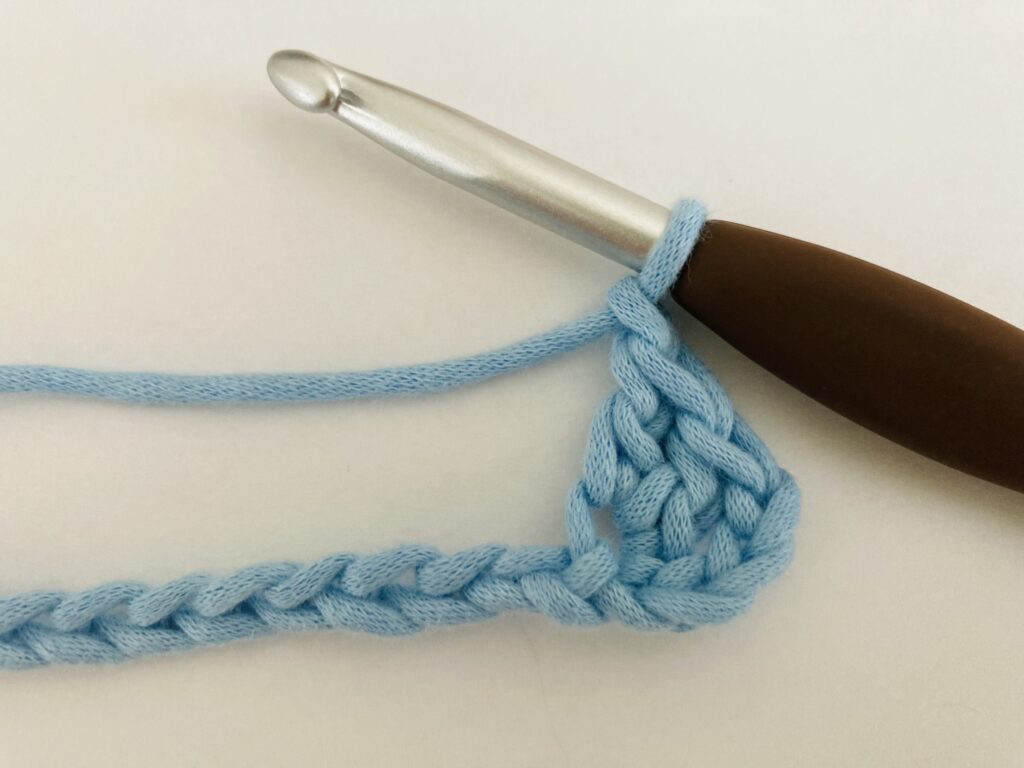
This will be considered a chain space, which will be referred to in the section about working more crochet stitches in the next row.
Step 4: Place 2 More Double Crochet Stitches in the Same Chain
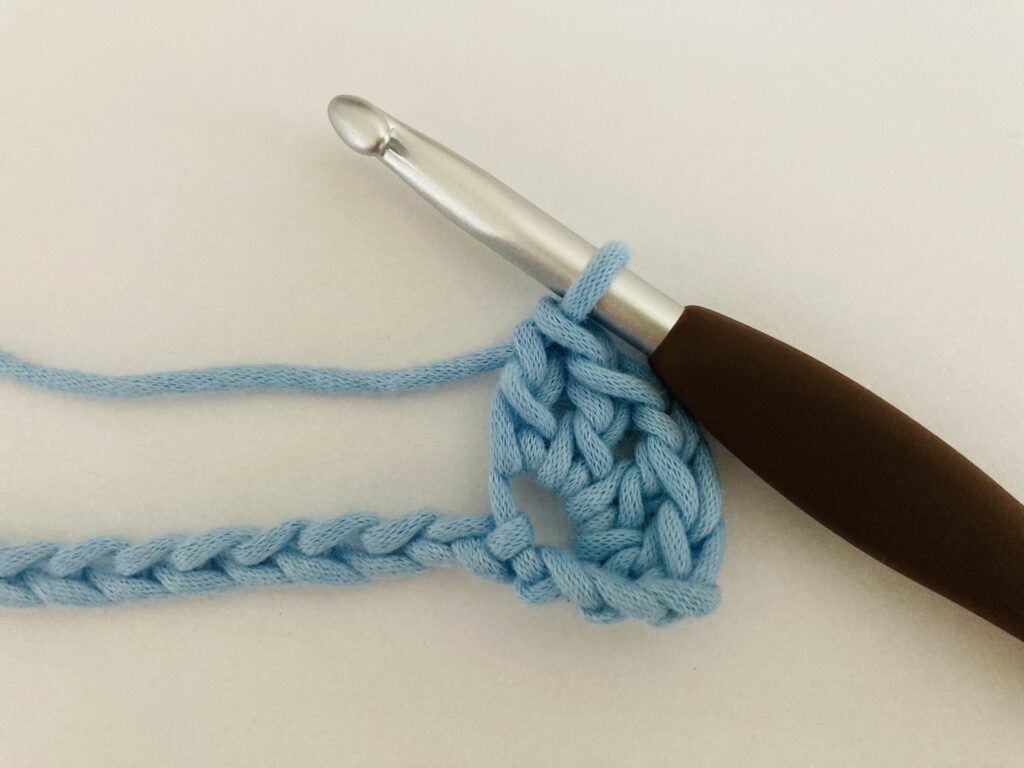
We placed two more double crochet stitches in the same chain stitch that we worked as part of the foundation chain. This means that we made four double crochet stitches in one chain. That concludes the cluster of stitches, namely 2 dc, 1 ch, 2 dc, which make up one Iris Stitch.
Step 5: Skip 3 Chains
In order to continue making more Iris Stitches, we skip the next three chains and continue working the established cluster pattern as before.
Step 6: Place Two Double Crochet in Next Chain
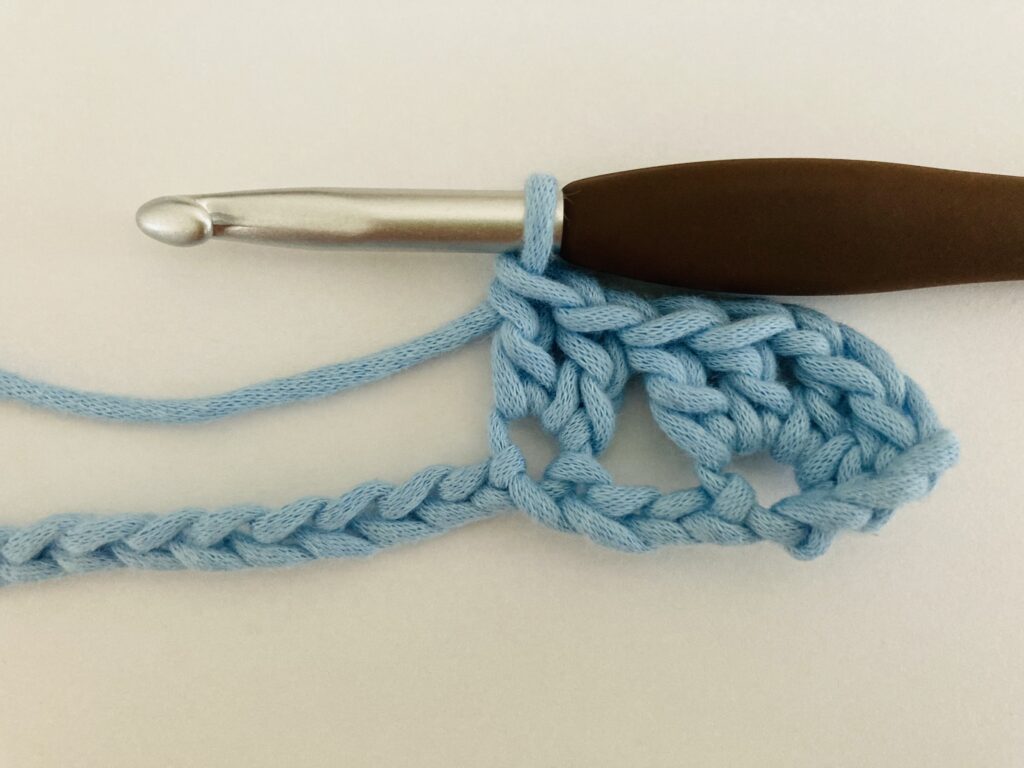
In the fourth chain after skipping three chains, we place two double crochet stitches. This could potentially be thought of as a double crochet increase.
Step 7: Chain 1
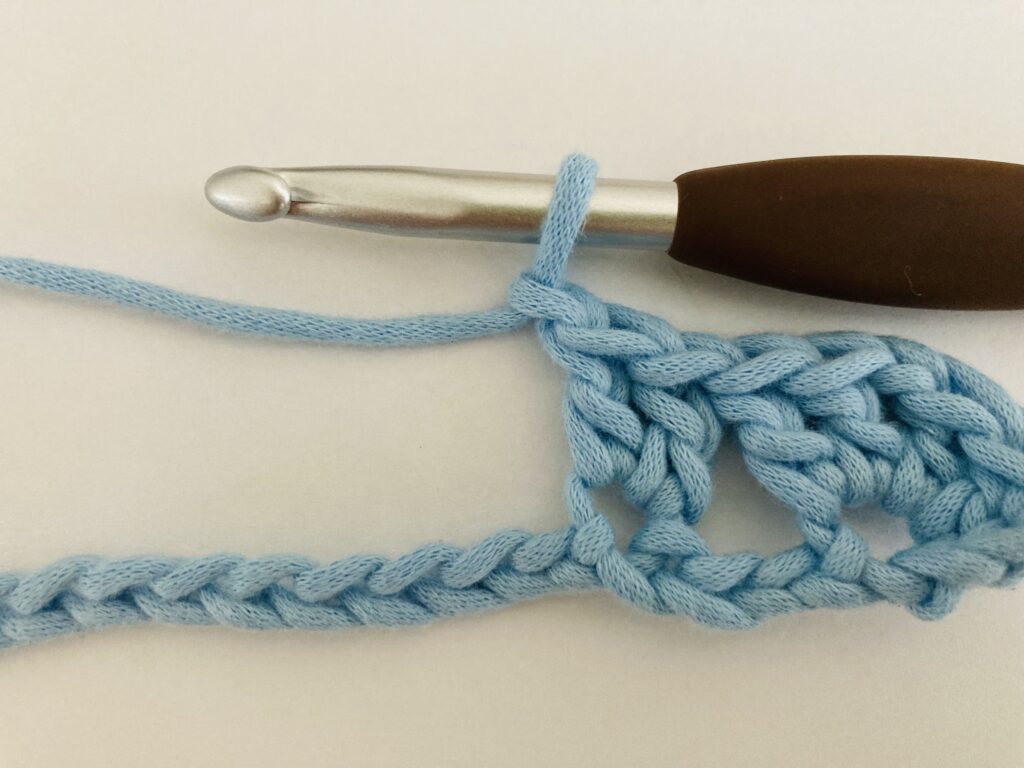
This makes the chain space.
Step 8: Place 2 More Double Crochet in the Same Chain
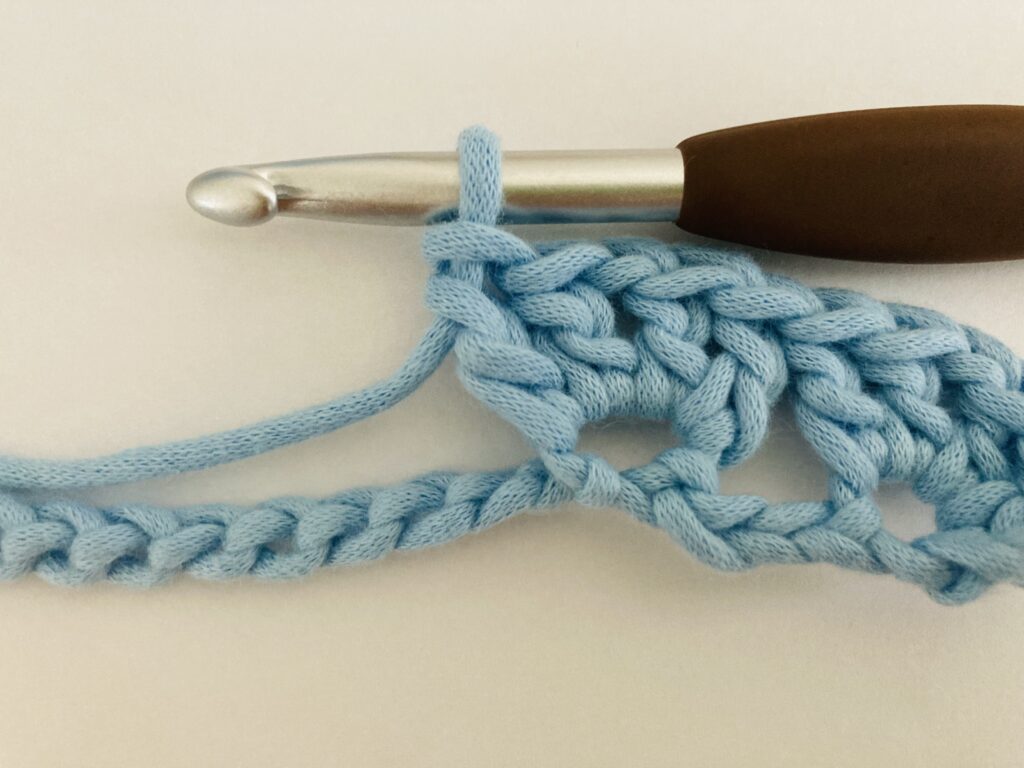
As usual, place two more double crochet in the same chain stitch of the foundation chain that we made in Step 1. This means that there are four double crochet stitches placed in one chain. This concludes the second Iris Stitch cluster.
Step 9: Continue Steps 5 – 8 Until 2 Chain Stitches Remain
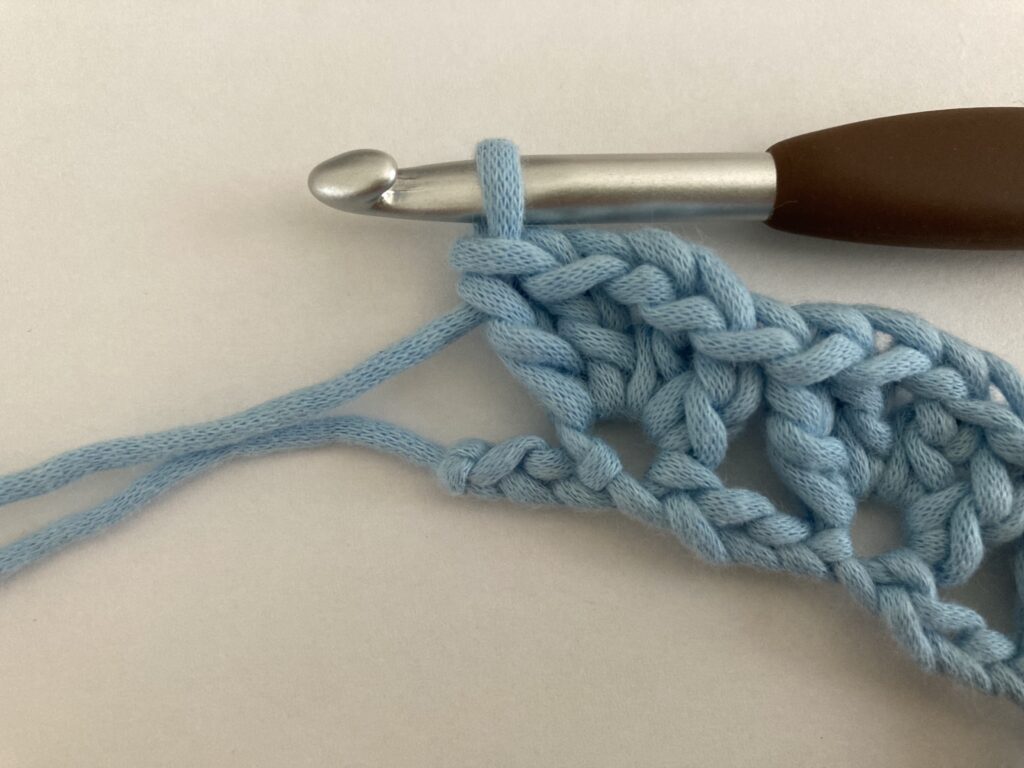
Continue crocheting the clusters in the established pattern above until you reach the end of the row, and stop when you have two chain stitches remaining right after a cluster of 2 dc, 1 ch, 2 dc.
Step 10: Double Crochet in the Last Stitch of the Row or the Turning Chain
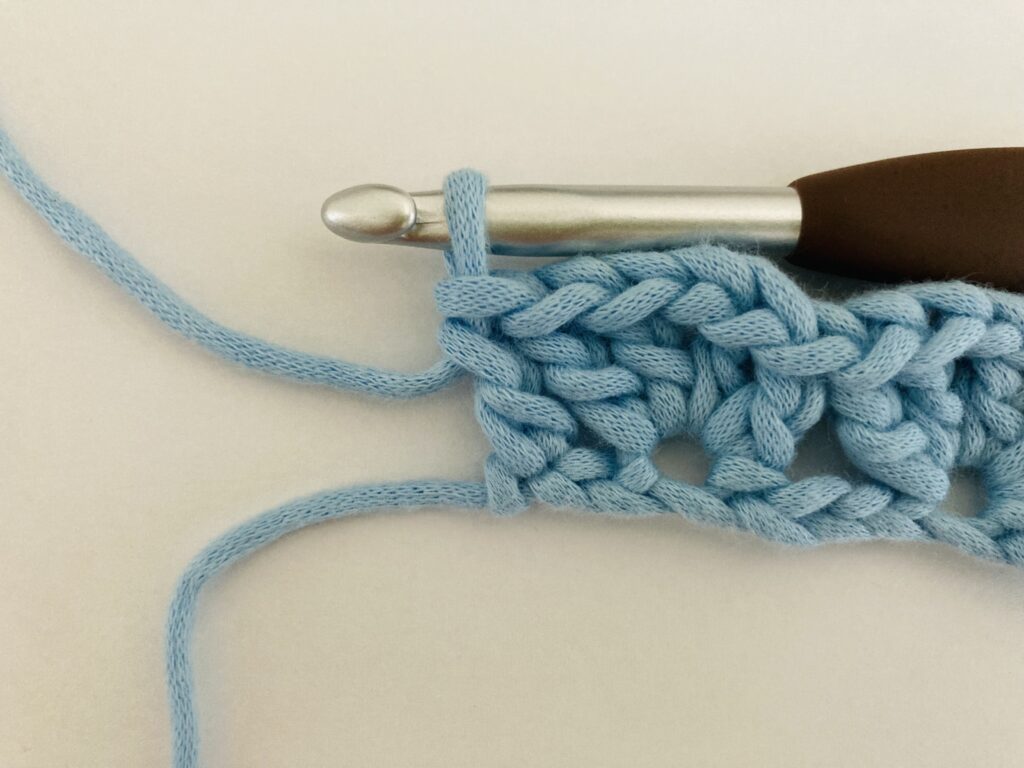
In the very first row that you work on, you will have to double crochet in the last chain stitch. For every other row that you crochet after the first row, you make a double crochet in the turning chain of the previous row. This means that you treat the turning chain as a double crochet stitch. An easy way to crochet into the turning chain is to insert your hook under the turning chain and make a double crochet stitch.
Anatomy of the Iris Stitch
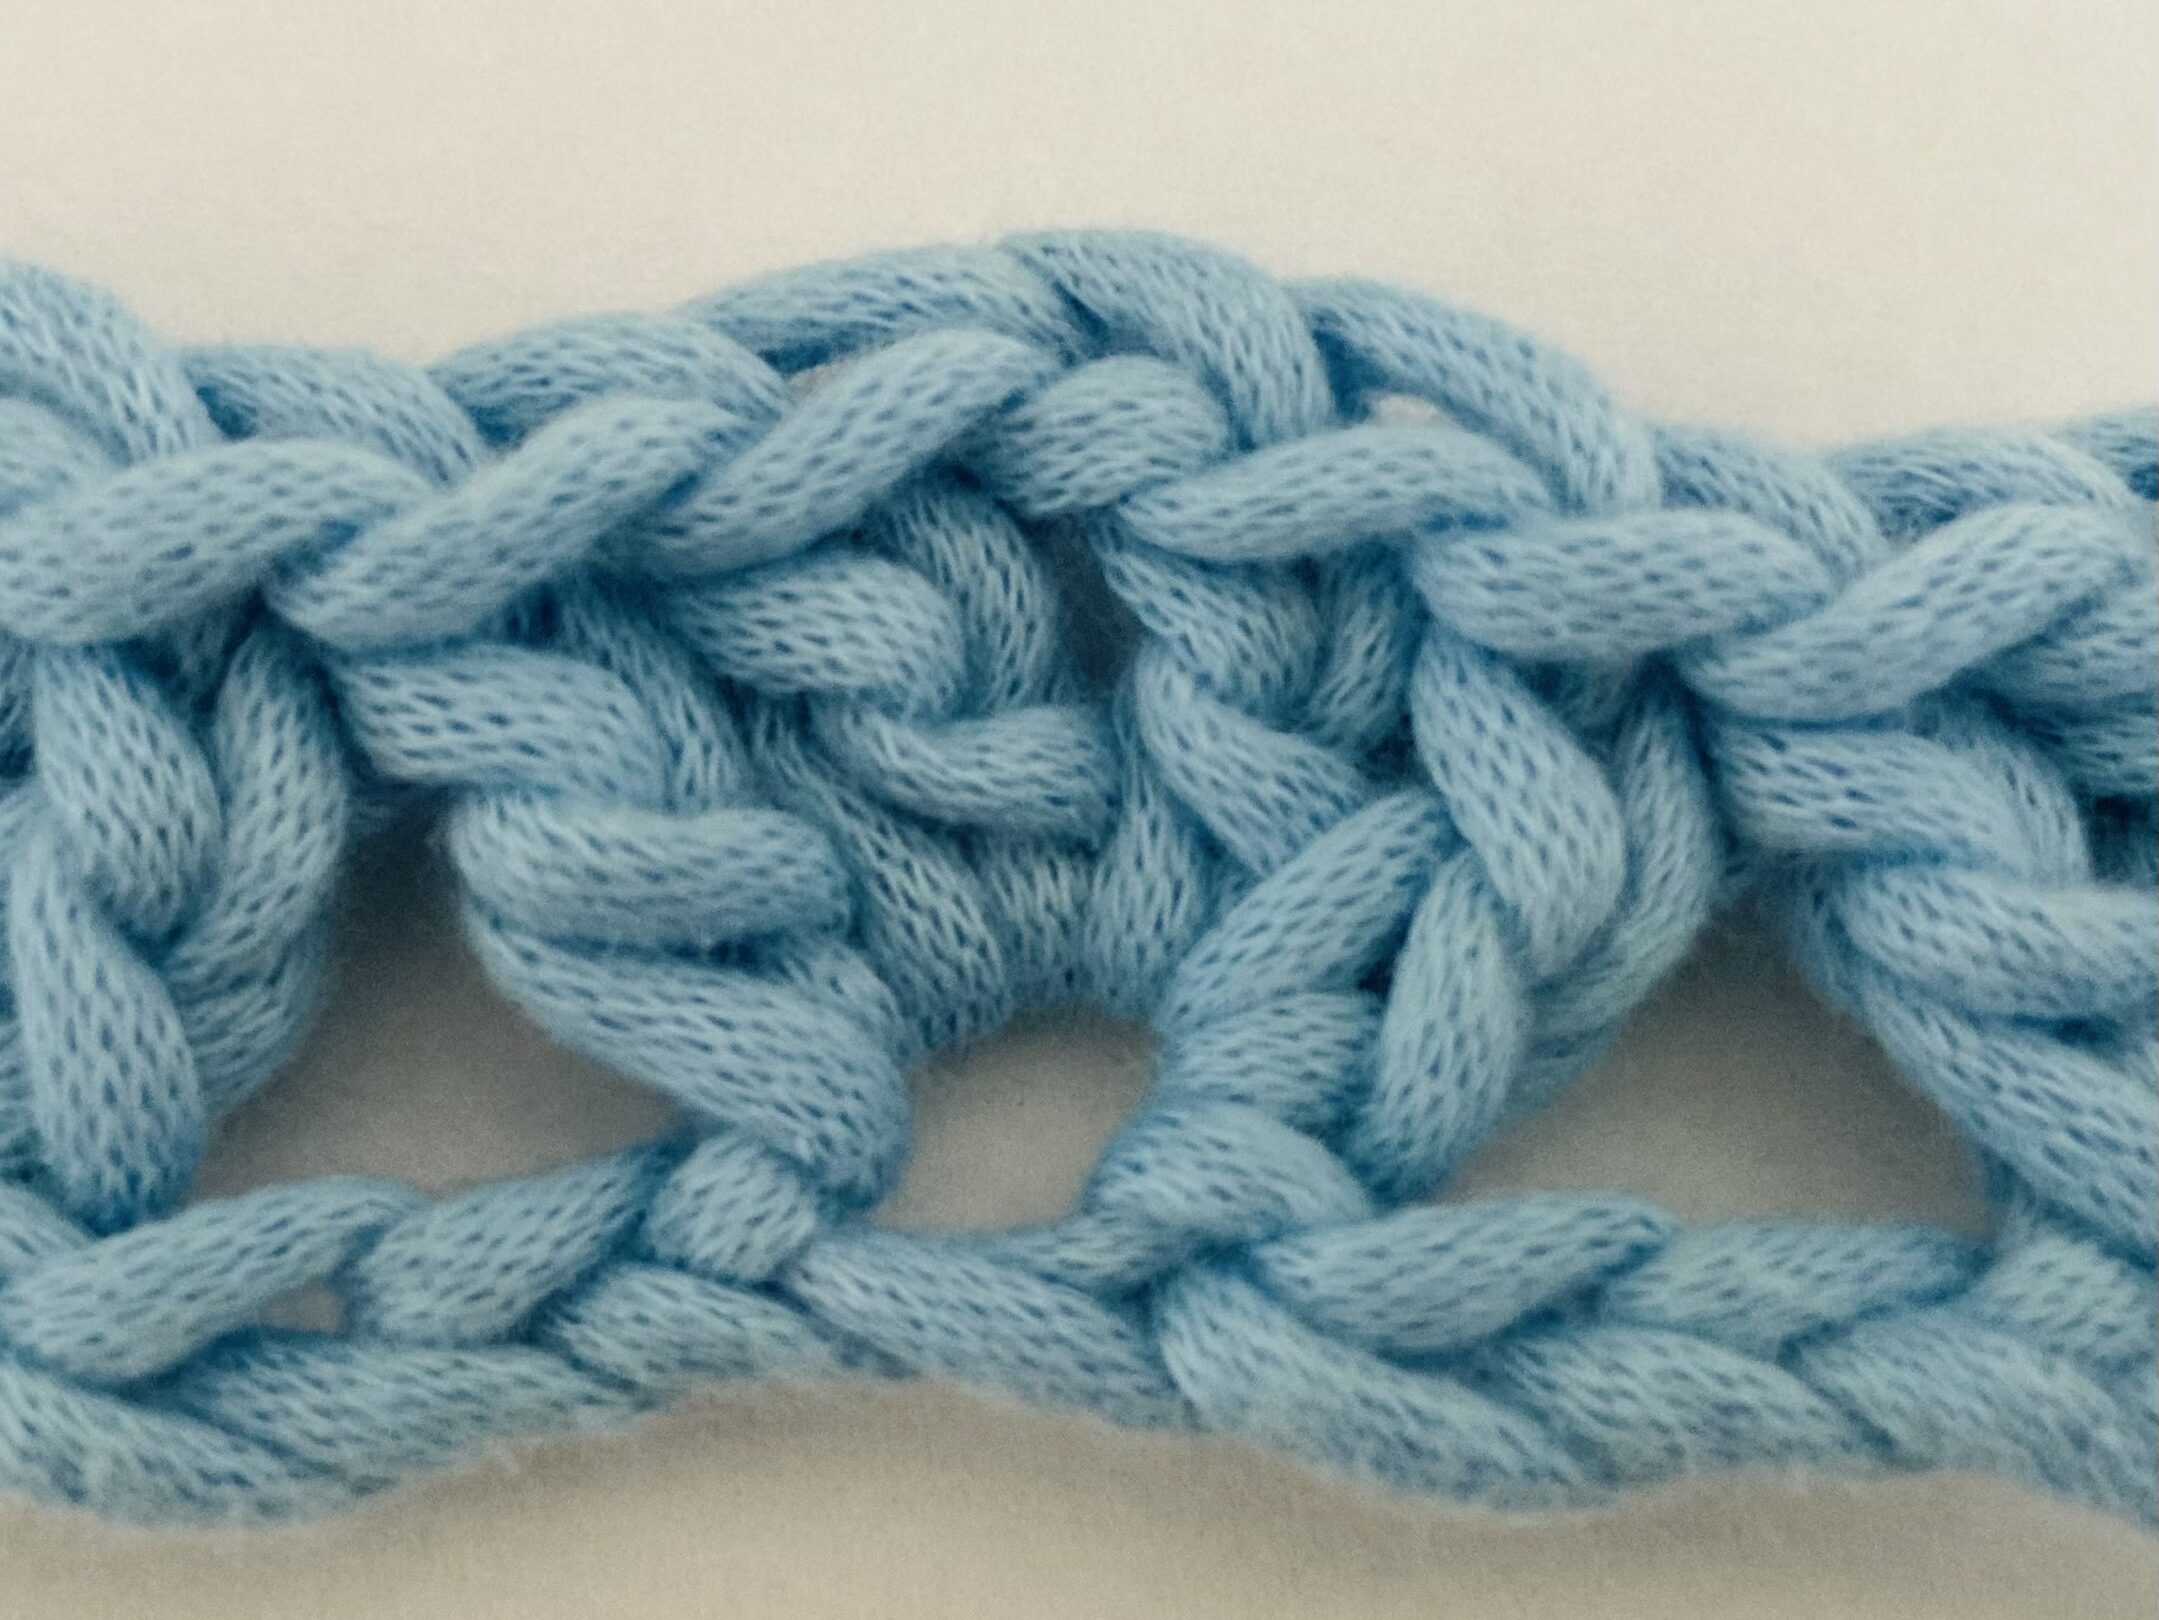
The above image was included to clear up any confusion about what stitches an Iris Stitch is made of. Double crochet stitches and chain stitches are used as building blocks to create a cluster, where you place two double crochet stitches, one chain stitch, and two double crochet stitches all in one chain. When you work Iris Stitches in the next row, you place these clusters (of 2 dc, 1 ch, 2 dc) in the chain space in the center of the clusters of the previous row.
How Do I Continue Working in the Next Row?
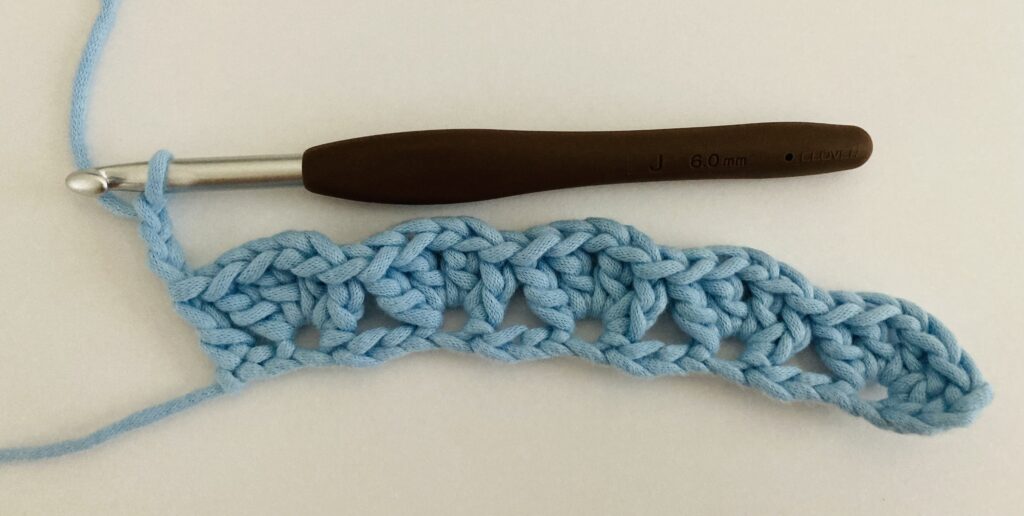
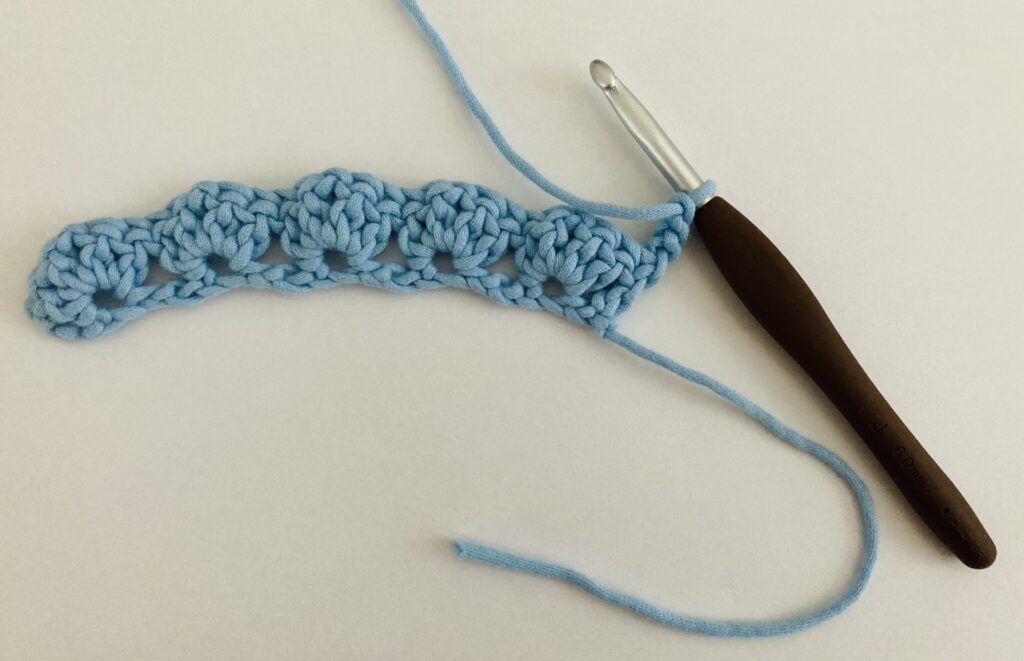
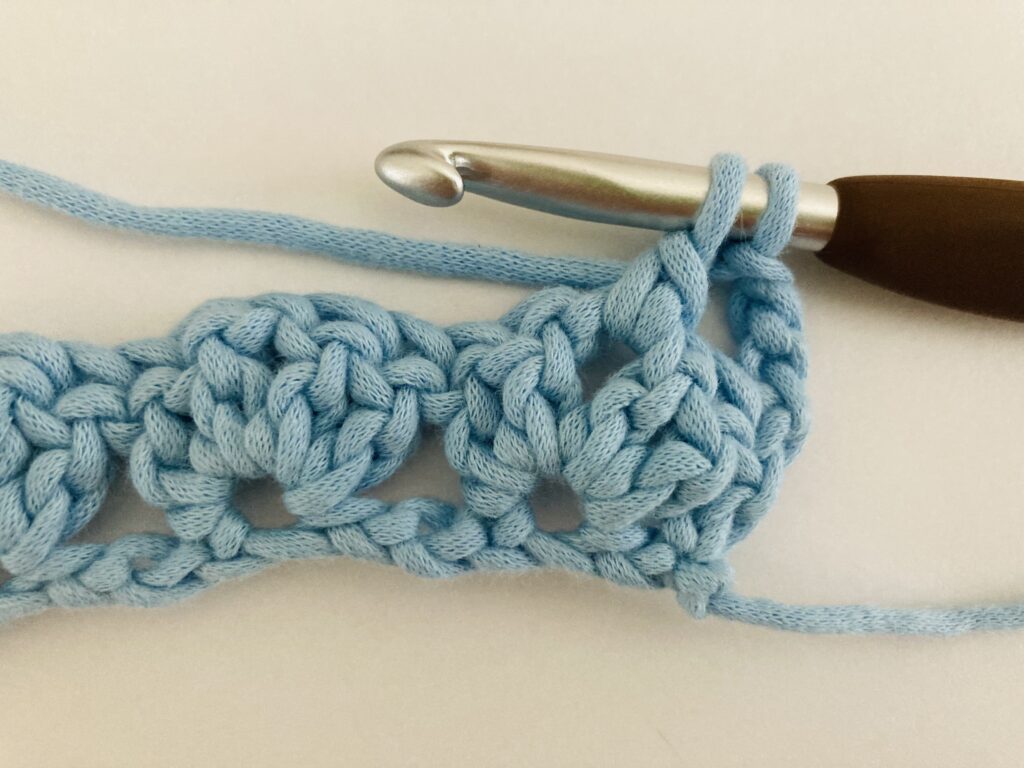
In order to continue crocheting in the next row, you have to do the following three steps anytime you reach the end of the row, or if you would like to end the row early:
- Chain 3 – This step is important because it allows you to keep the same height in each row according to the height of all of the double crochet stitches.
- Turn your work
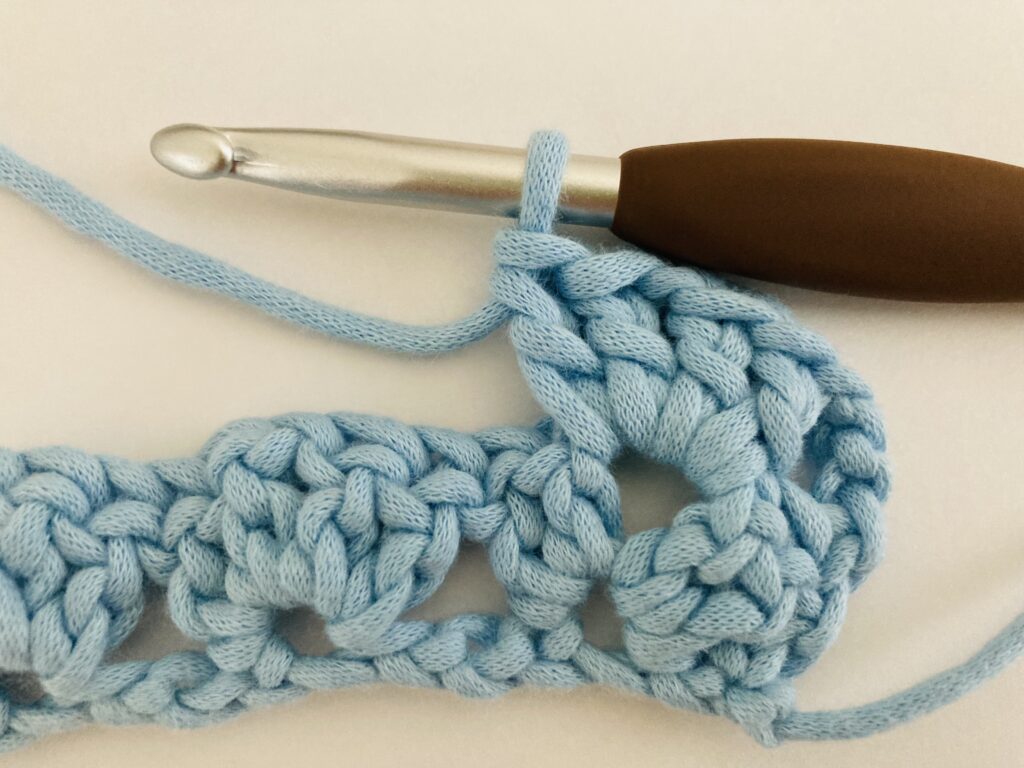
- Continue working this stitch pattern in the chain spaces, in this case. This is shown in the above image, where you make the stitch cluster of 2 dc, 1 ch, 2 dc in the chain space of the previous row.
Conclusion
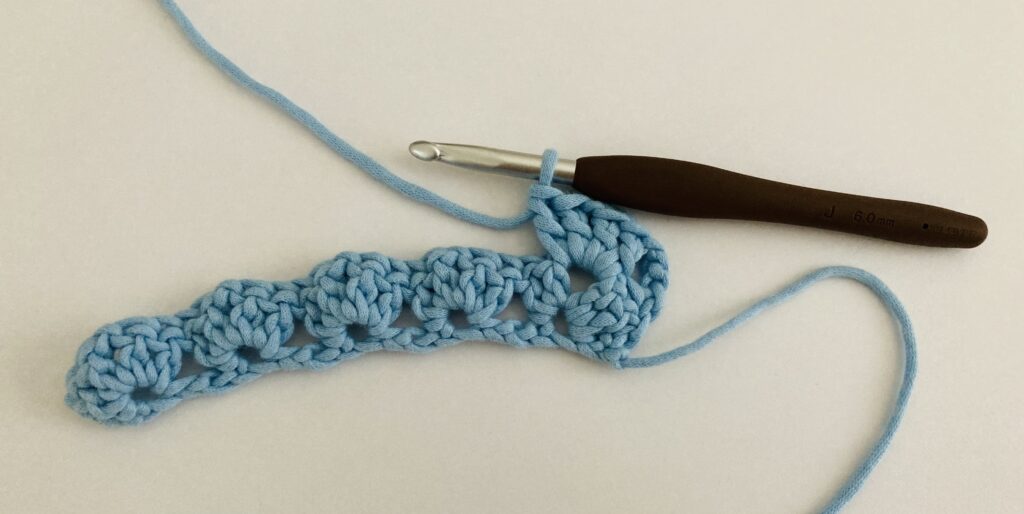
I hope this tutorial helped you gain a better understanding of what the crochet iris stitch consists of! If you thought this was an easy iris stitch tutorial, feel free to comment down below to speak about your experience crocheting the iris stitch and share this tutorial. As you can see from this tutorial, the iris stitch is quite easy to learn, and creates a wonderfully complex and geometric pattern that you can use in various projects such as crochet scarves, shawls, and blankets etc. I hope this tutorial was straightforward and gave some insight into how to crochet the iris stitch. Stay tuned for more stitch tutorials. Happy Crocheting!

Leave a Reply