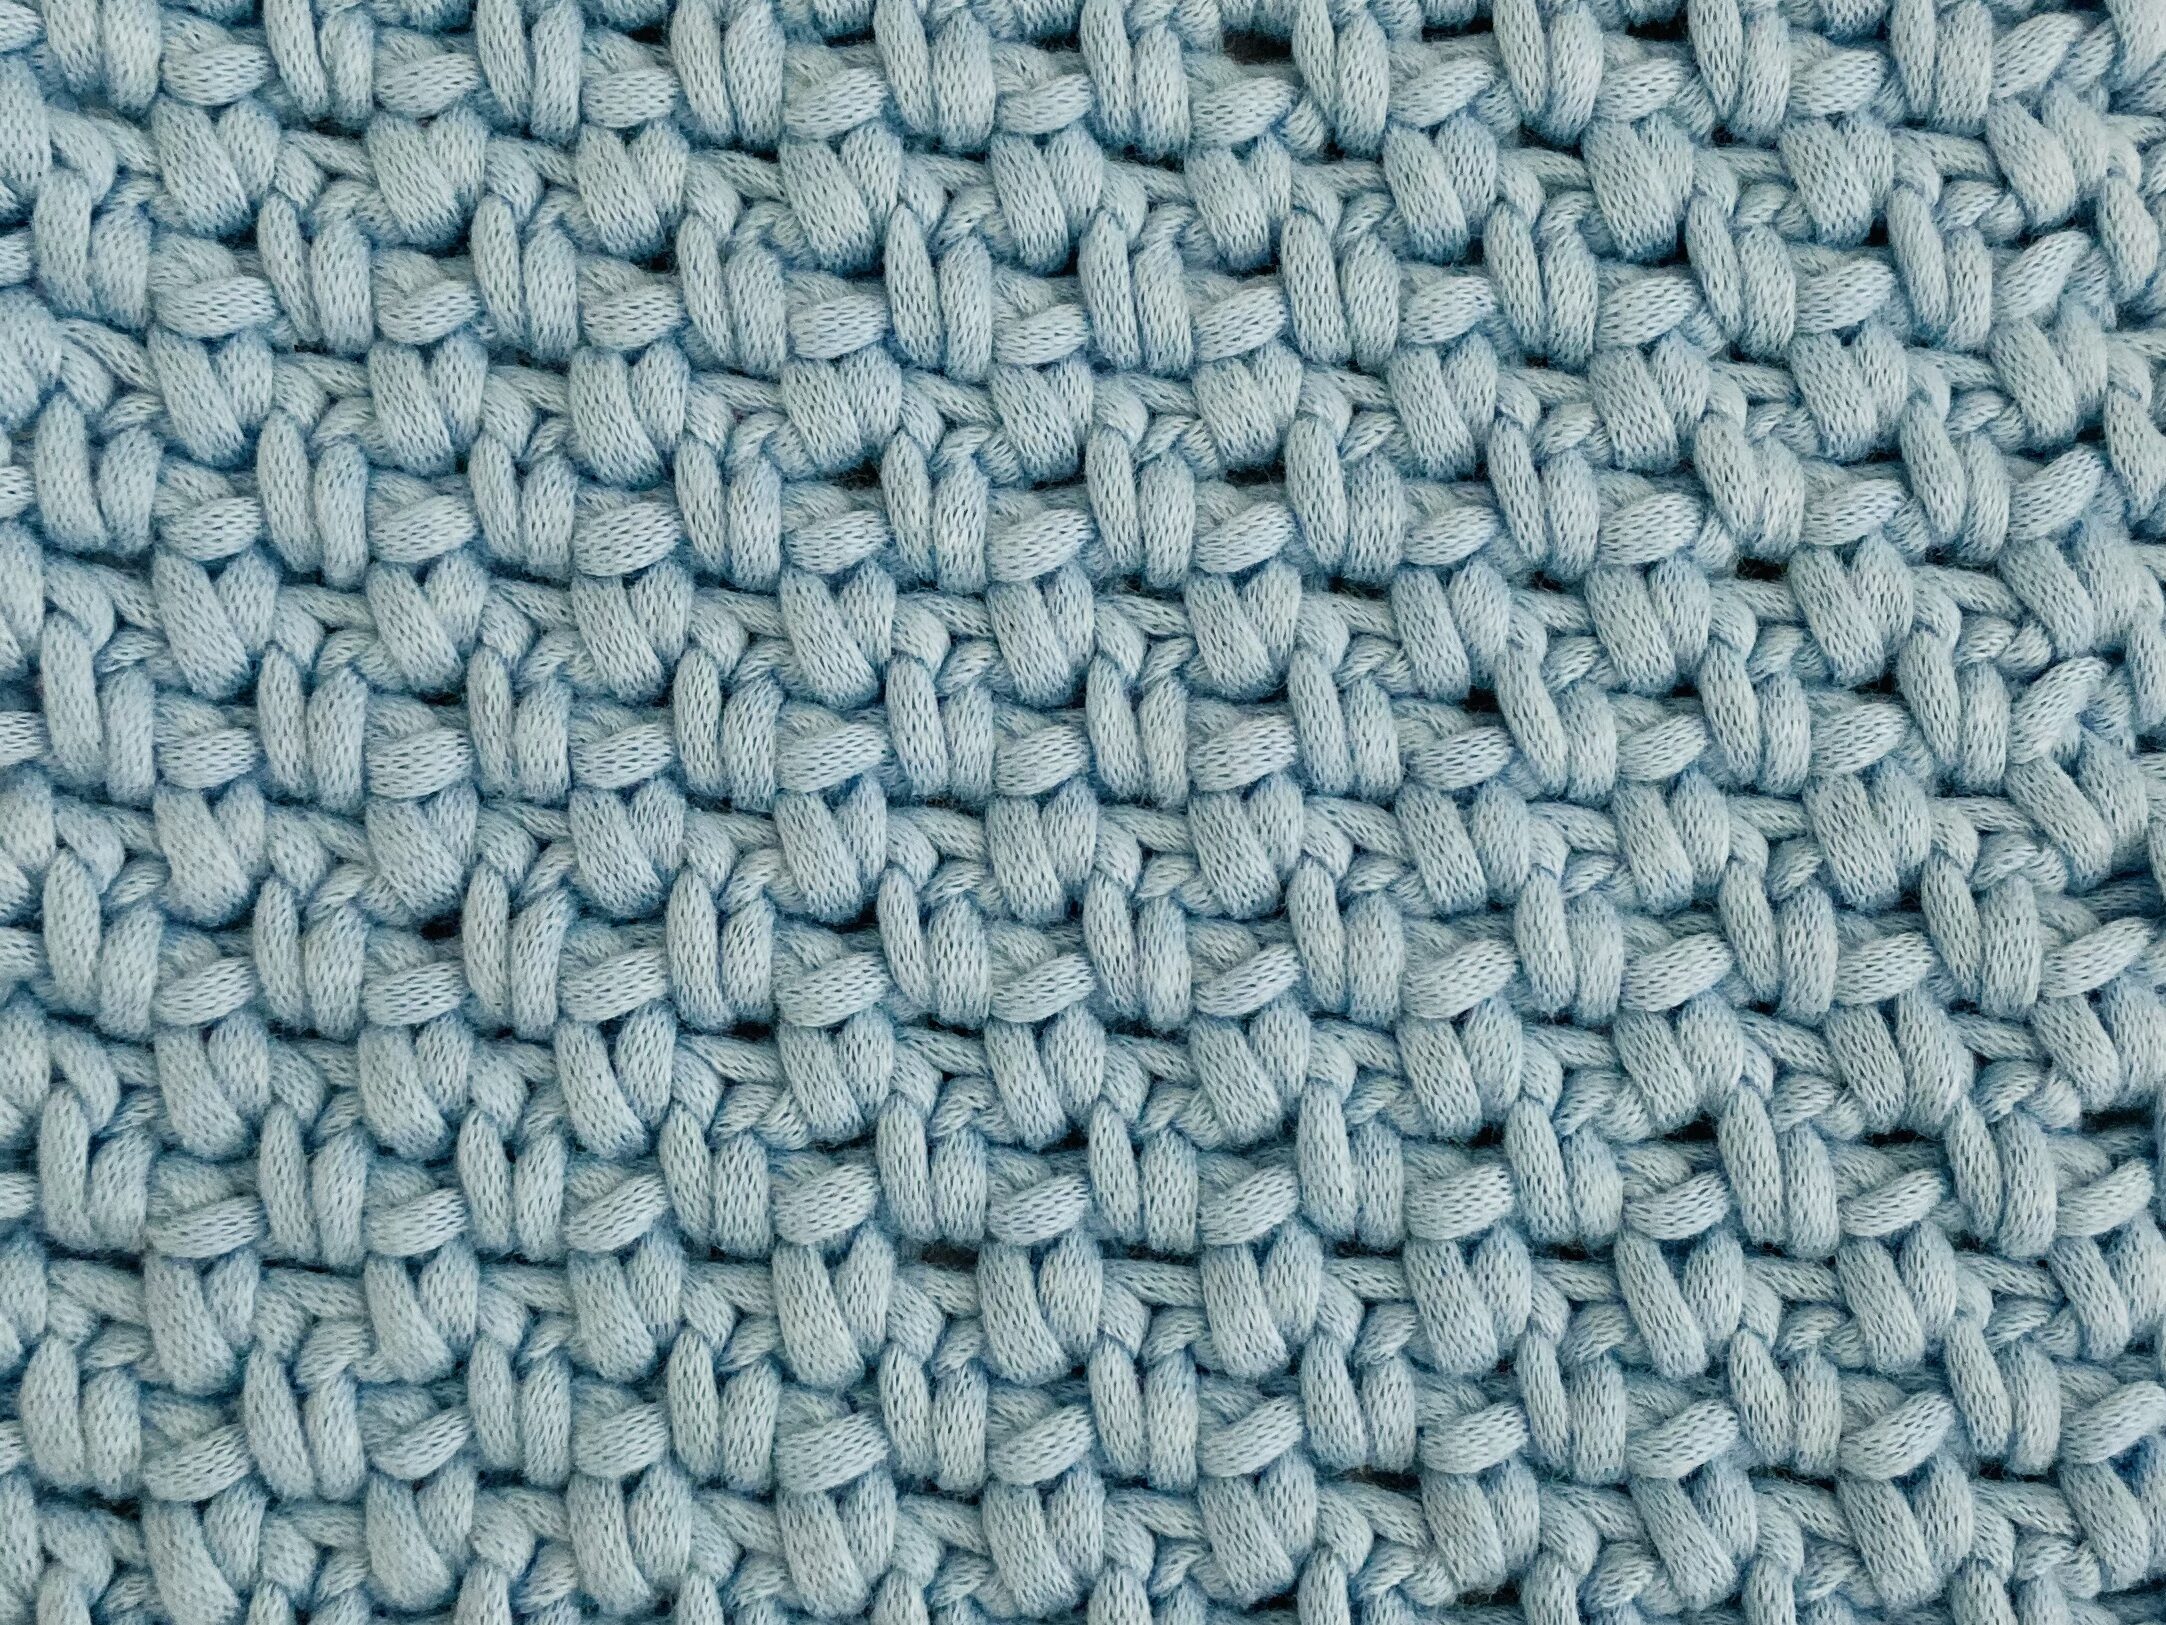
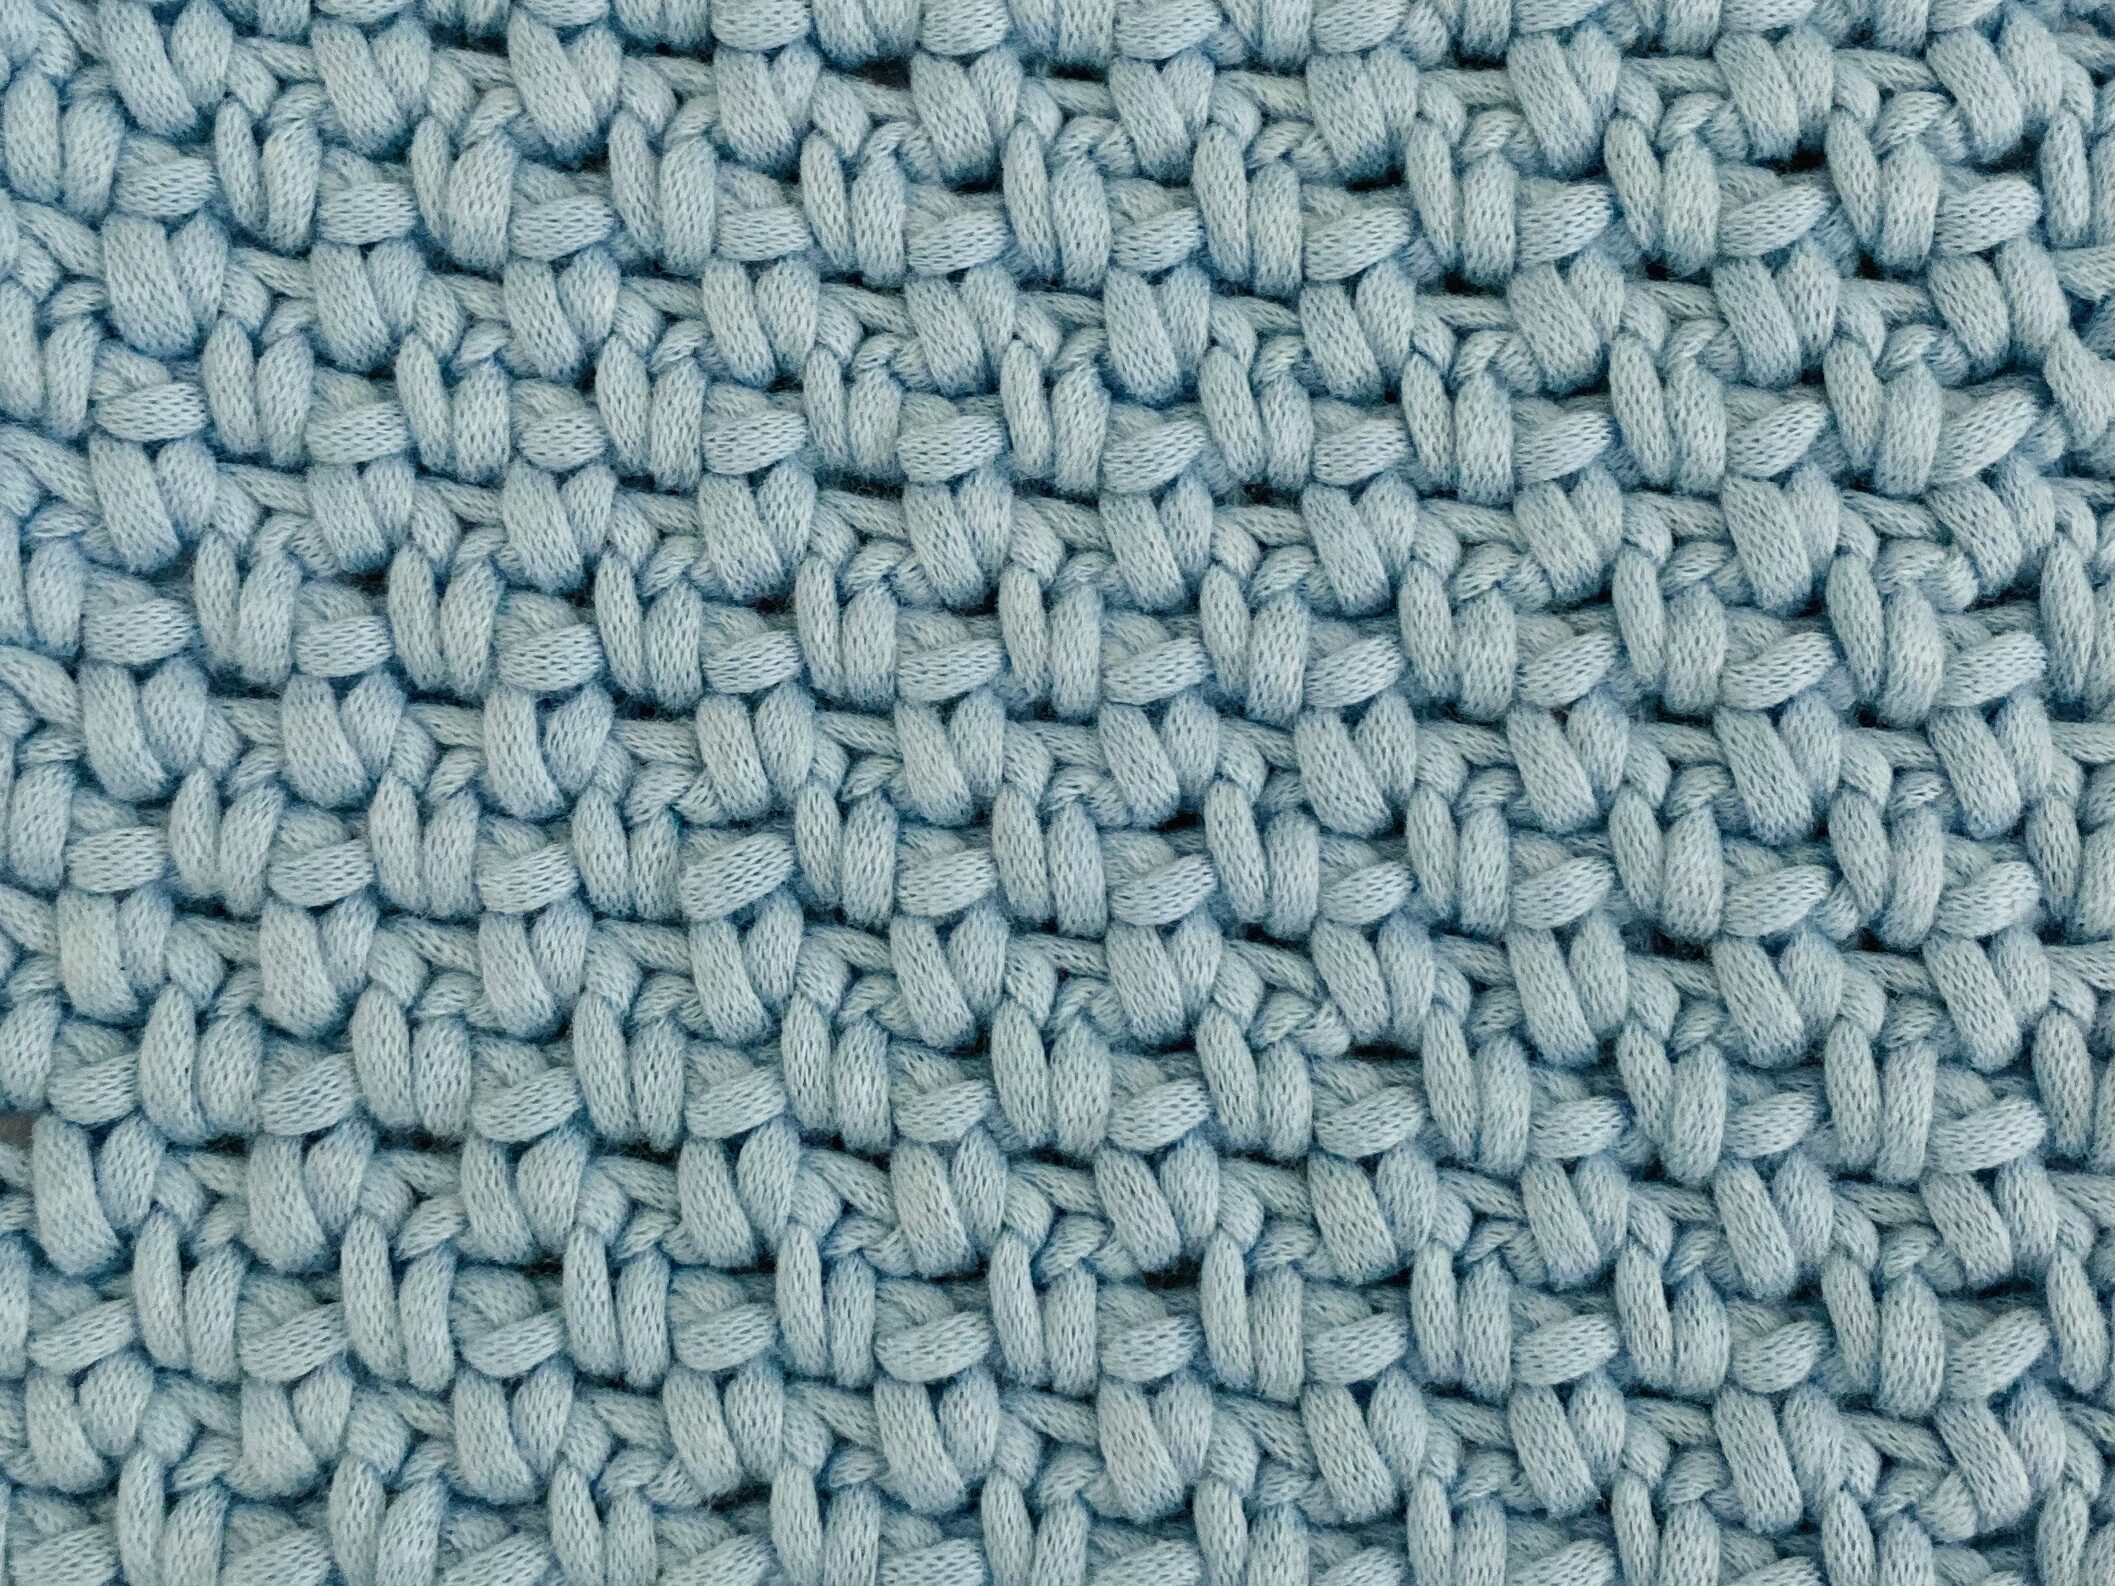
The moss stitch is another fabulous decorative stitch that is great to learn when you want to crochet scarves, blankets, or even placemats. A great characteristic of moss stitch is that it is a stitch that is easy to learn for beginners because it doesn’t involve much thought to crochet if you know how to crochet a slipknot, how to single crochet, and how to chain. This is great news because that means you can work moss stitch into a crochet project while you watch TV or you relax. It is quite a therapeutic stitch, which is why I am excited to show you how to crochet the moss stitch. It is also aesthetically pleasing, and looks quite close-knit although it creates a stretchy mesh-like fabric. The moss stitch will totally become your favorite once you realize how easy it is to create such a nice looking fabric. If this stitch becomes your favorite, feel free to check out some of these other beautiful crochet stitches that I’ve written blog posts about as well:
- How to Crochet the Iris Stitch: Easy Step-by-Step Tutorial for Beginners
- How to Crochet the Lemon Peel / Griddle / Seed Stitch: A Complete Beginner’s Guide
- Learn to Crochet the Rice Stitch: Simple Tutorial for Beginners
Without further ado, let’s get right into this tutorial!
Row Repeat
This pattern has a one row repeat because you only have to learn how to crochet a row in moss stitch once. After that, you can repeat the stitch pattern for as many rows as you like. This is what makes moss stitch such a therapeutic stitch to crochet a larger project in, because it becomes very mechanical because you don’t have to think much about what to do next. It is also great for beginners because it works up quickly, so you get almost instant feedback about how you can improve your crochet stitches. It also gives a sense of joy knowing that a big project can be accomplished quickly when you are a beginner crocheter, which makes moss stitch such an enjoyable and aesthetically pleasing stitch to work with regardless of where you are in your crochet journey.
Fun Fact: Moss Stitch in crochet is also known as the Granite, Linen, or Woven Stitch. There is also a Moss Stitch in knitting as well.
Stitch Multiple
An even number of chains.
Prerequisites
The moss stitch is a relatively easy stitch pattern to pick up, but if you need to brush up on the basics, I recommend reading these blog posts before you begin to crochet the moss stitch:
- How to Crochet A Slipknot for Beginners (with Pictures)
- How to Single Crochet for Beginners – Step by Step Photo Tutorial
- How to Crochet a Chain (ch) for Beginners – Photo Tutorial
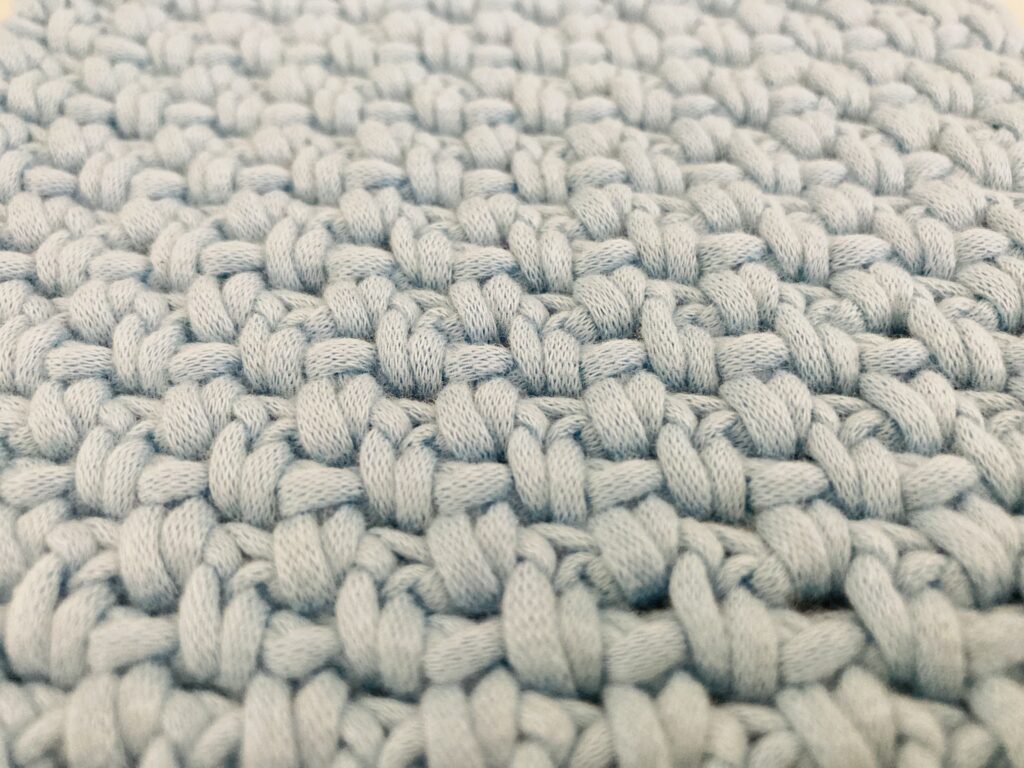
The best part about the moss stitch is that it strikes me as one of those stitches where you can watch TV as you work on a large project or swatch that involves this stitch. This stitch is great for hats, mittens, scarves, blankets and placemats. One unique characteristic about the moss stitch is that it has an airy, mesh like appearance when stretched, but can seem like a solid stitch pattern that almost looks knitted because of how close together the stitches look. As such, it may not be as warm as expected because of the gaps between stitches, but nonetheless will serve as a good crochet stitch to learn as a beginner or intermediate crocheter.
Materials
As with most stitch tutorials that I have written on this blog thus far, I decided to crochet this swatch in Moss Stitch using a 6.00 mm Clover Crochet Hook and Chainette Yarn. I’ve discussed why these two materials are great for this tutorial in the bullet points below:
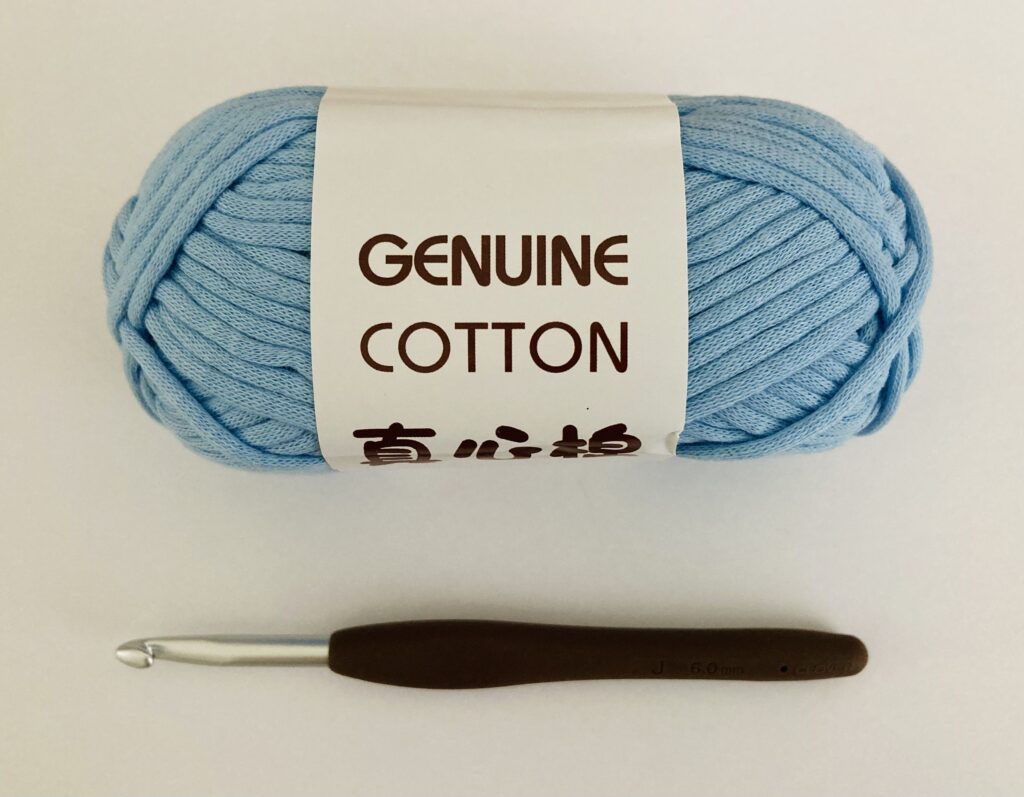
- 6.00 mm Clover Crochet Hook – This crochet hook is great because of its matte hook shaft. This makes it easy to crochet quickly and to complete projects efficiently. Another added benefit of the Clover Crochet Hook is the fact that it has a rubber ergonomic handle, which helps to prevent wrist pain from prolonged periods of crocheting. If you are a beginner or intermediate crocheter, I recommend checking out the whole line of Clover Crochet Hooks from Japan online.
- Chainette Yarn – I decided to use chainette yarn because I love the stitch definition you get when you use a yarn that isn’t conventionally spun. The advantage of using chainette yarn is that the yarn doesn’t have these fibers that come off of it as much, which means that there is a lesser chance of it fraying as you undo and redo your crochet stitches. The particular one I am using in this tutorial is from Temu. I decided to use a 6.00 mm hook with this yarn because it seems like it is a 5 weight yarn. If you don’t have any chainette yarn, you can also use any other yarn of a similar weight to learn the wonderful moss stitch.
How to Crochet the Moss Stitch
Row 1
Step 1: Chain 14. Any even number works here, but for this tutorial, I decided to chain 14 so that it is more manageable.
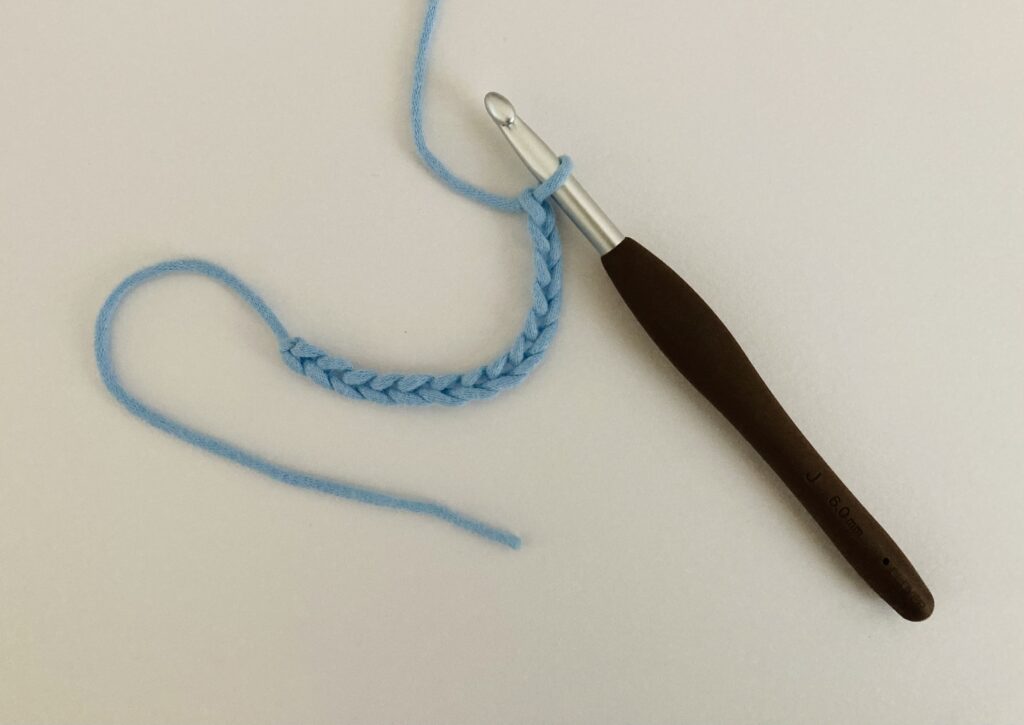
Step 2: Single crochet in the fourth chain from your hook.
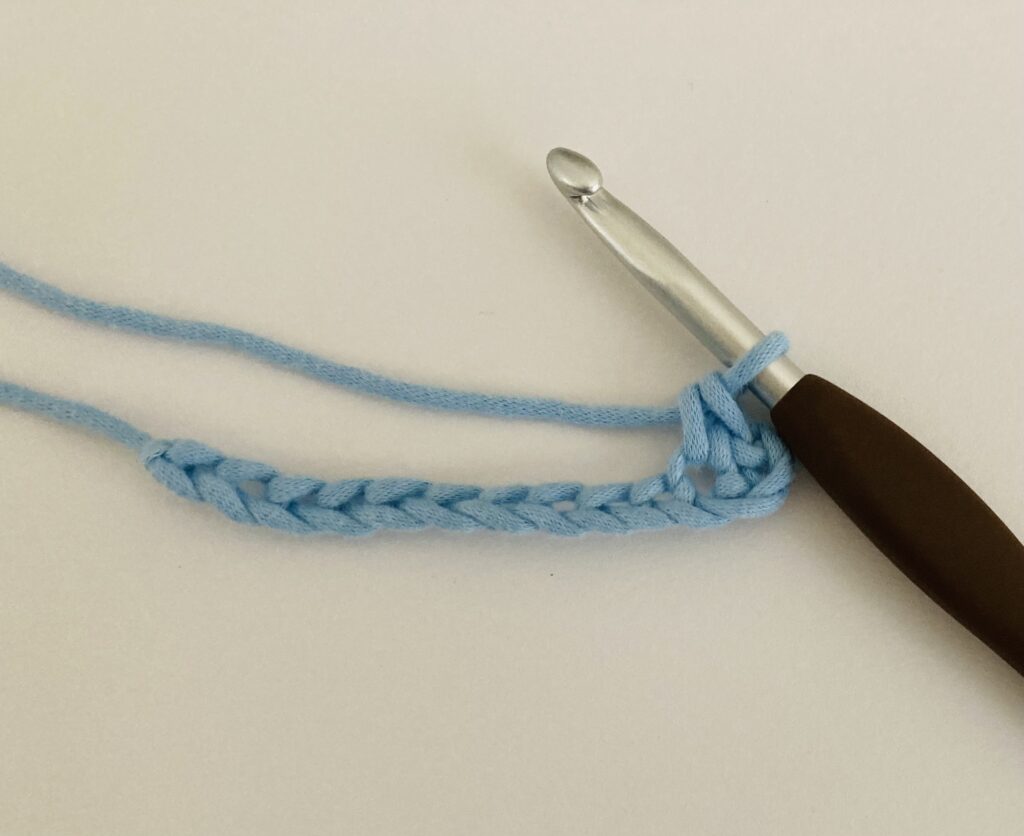
Step 3: Chain one, and skip one chain.
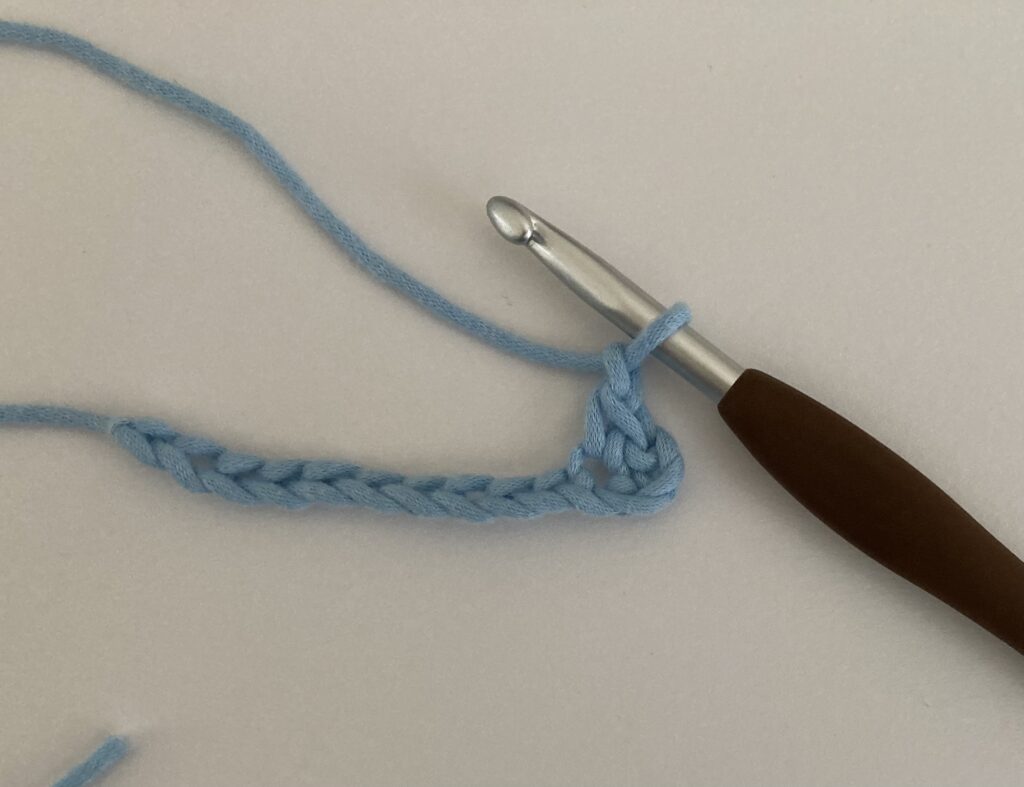
Step 4: Single crochet in the next stitch.
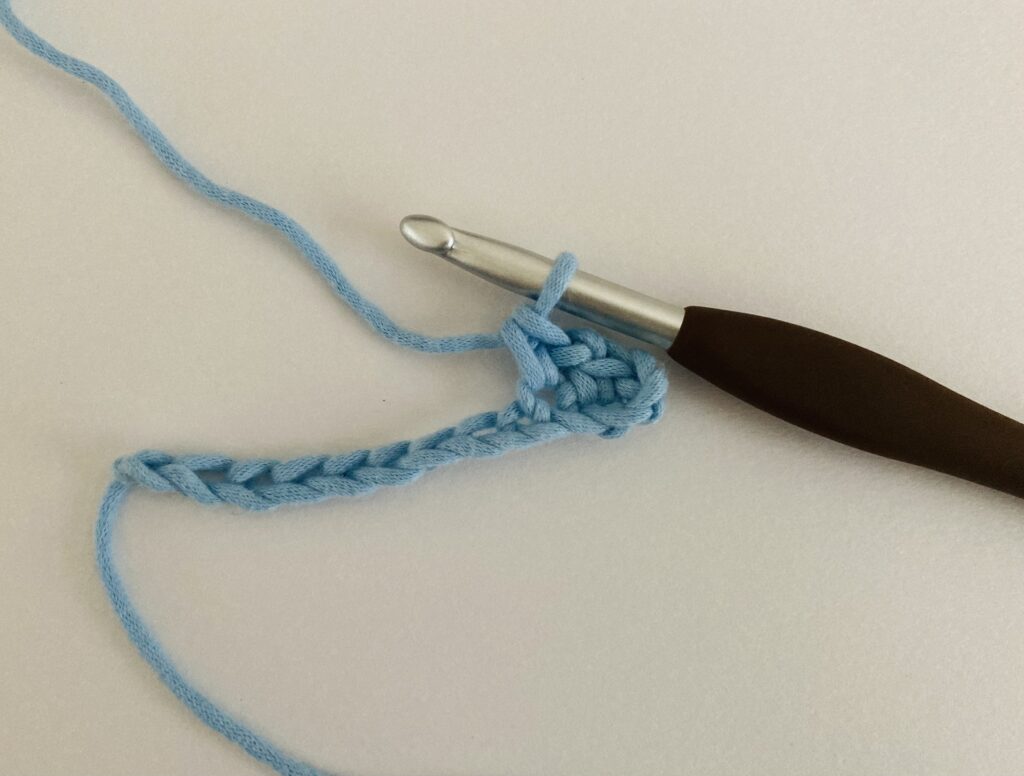
Step 5: Repeat steps 3 and 4 until the end of the row.
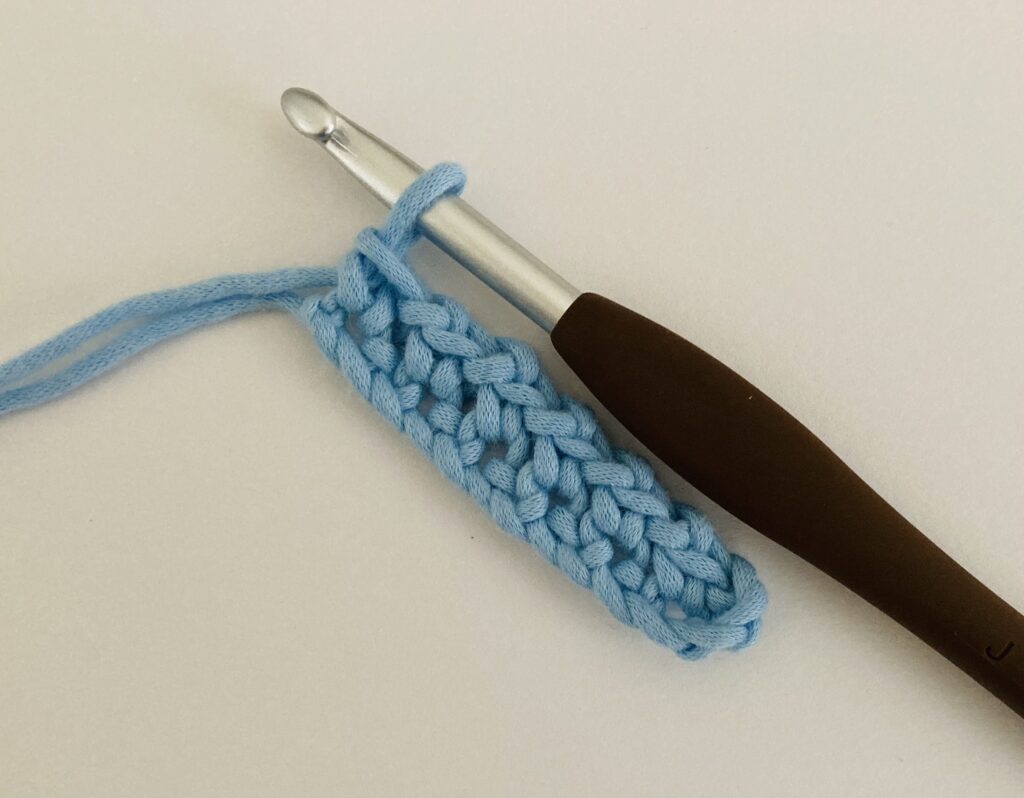
This is what the end of row 1 looks like:
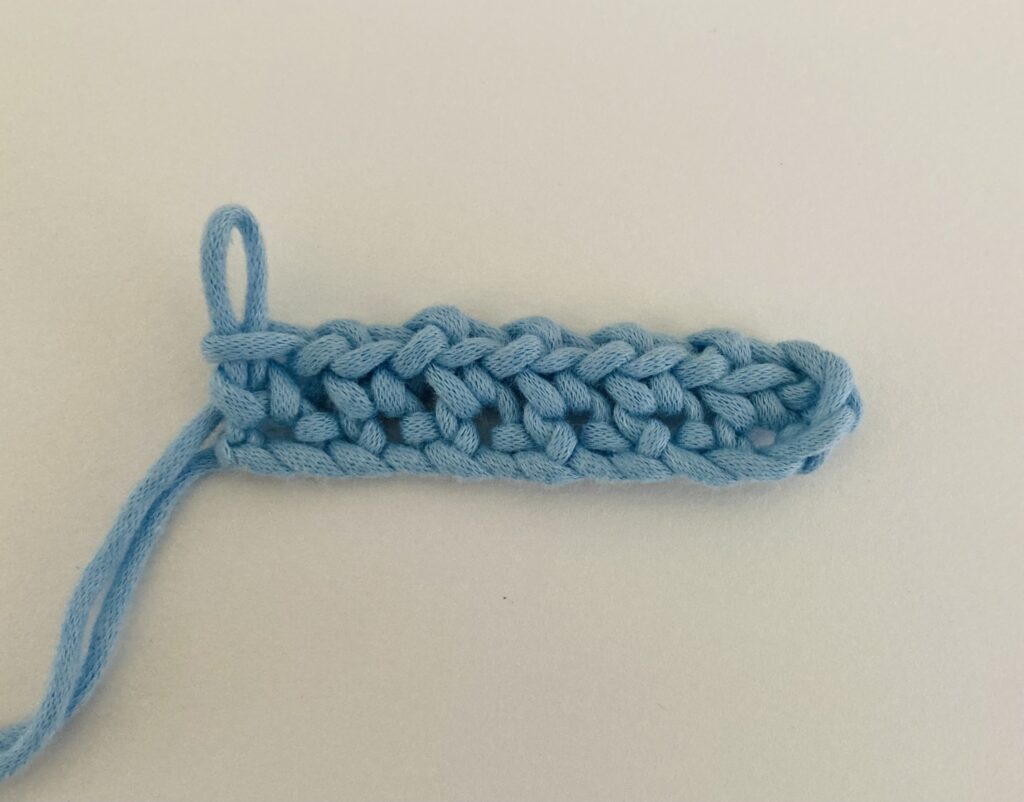
Row 2
Step 6: Chain two, turn.
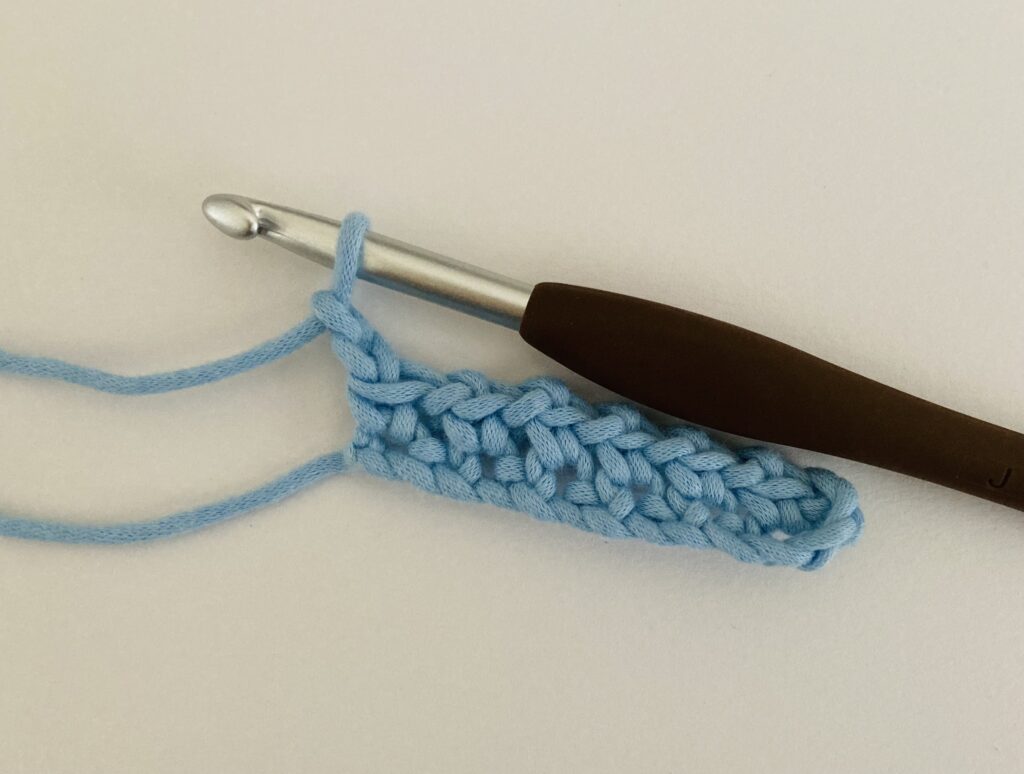
The image above shows you what your work should look like once you chain 2. I haven’t turned my work in the above photo, but make sure to do so once you chain 2.
Step 7: Single crochet in the chain space after the first single crochet stitch.

Step 8: Chain one.
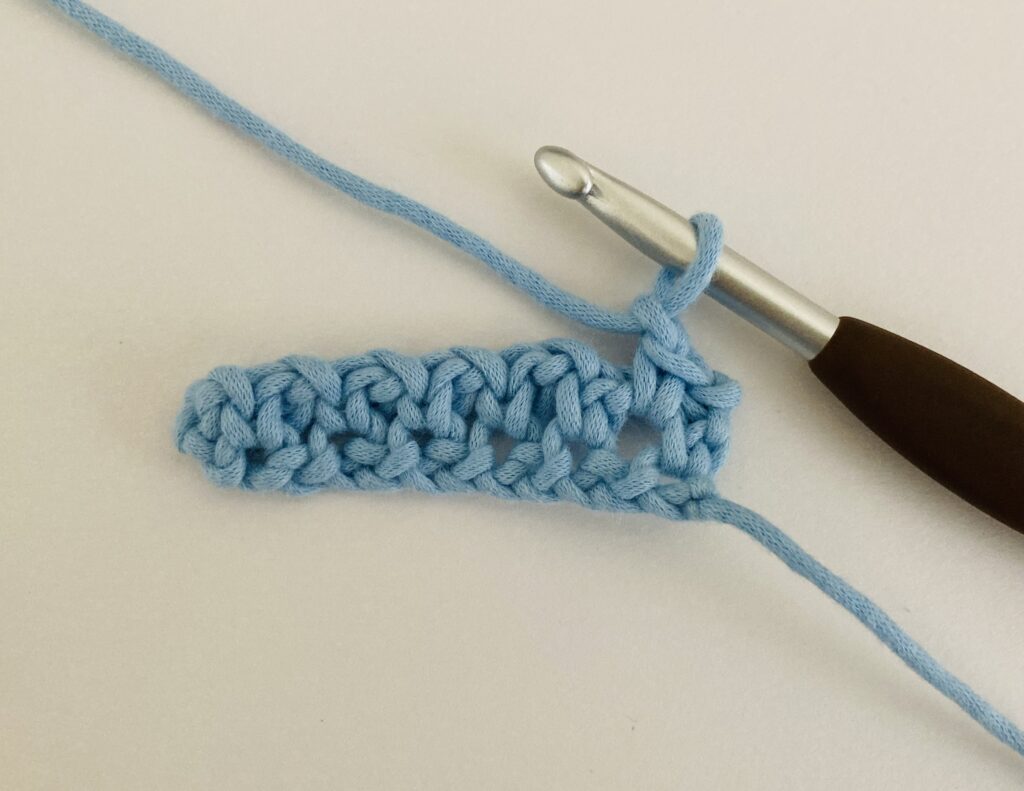
Step 9: Single crochet in the next chain space.
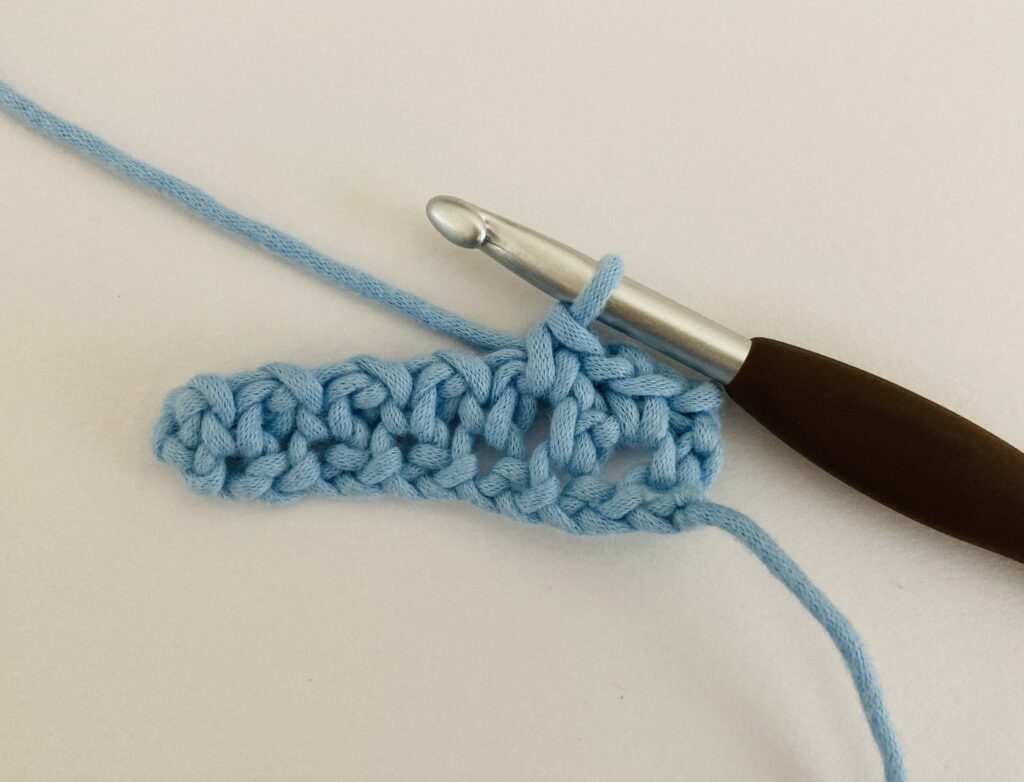
Step 10: Repeat steps 8 and 9 until the end of the row.
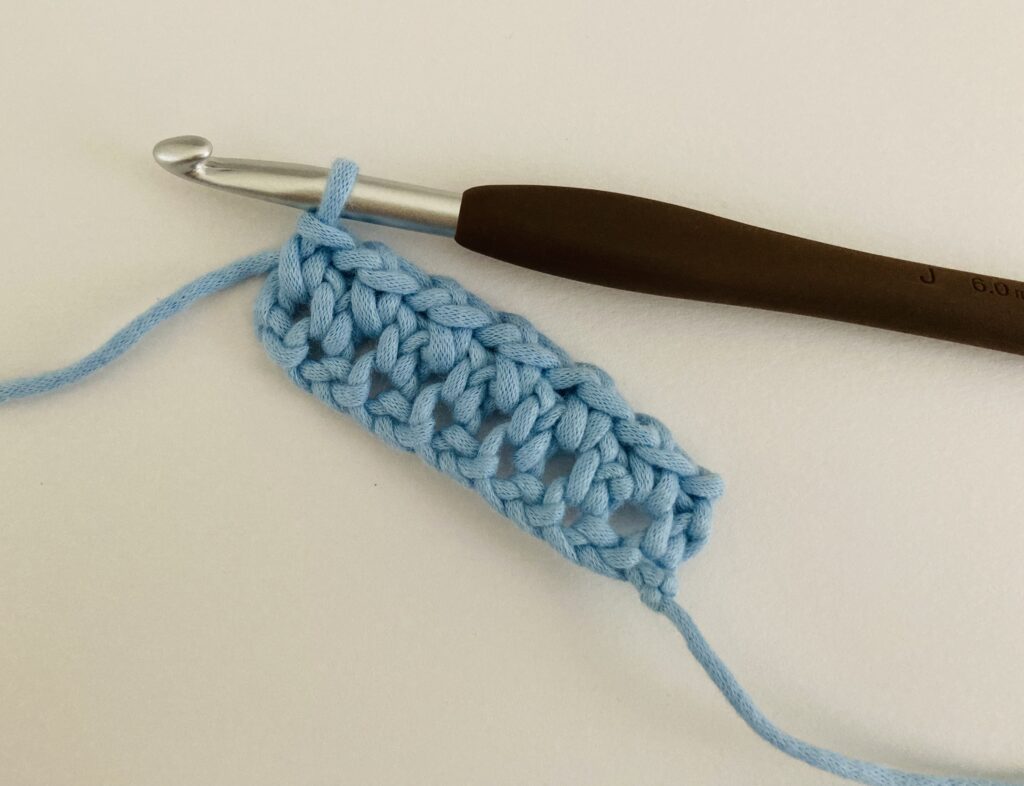
Note: When you reach the end of the row, you will have to place a single crochet stitch in the turning chain that you made at the start of the row, as shown below.
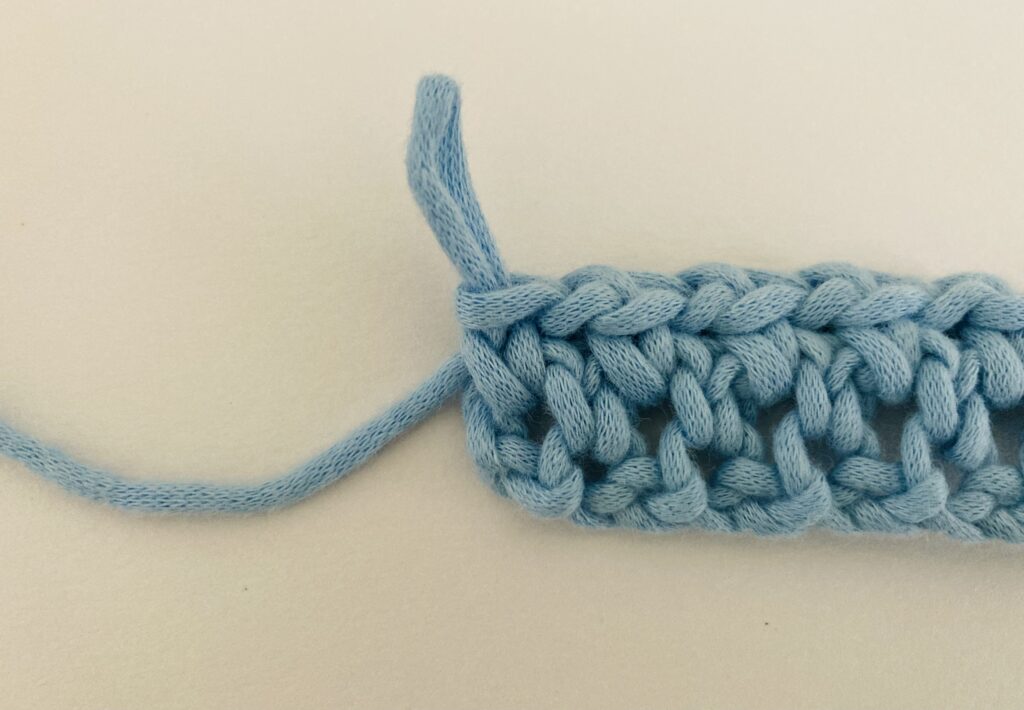
This is what the end of row 2 looks like:
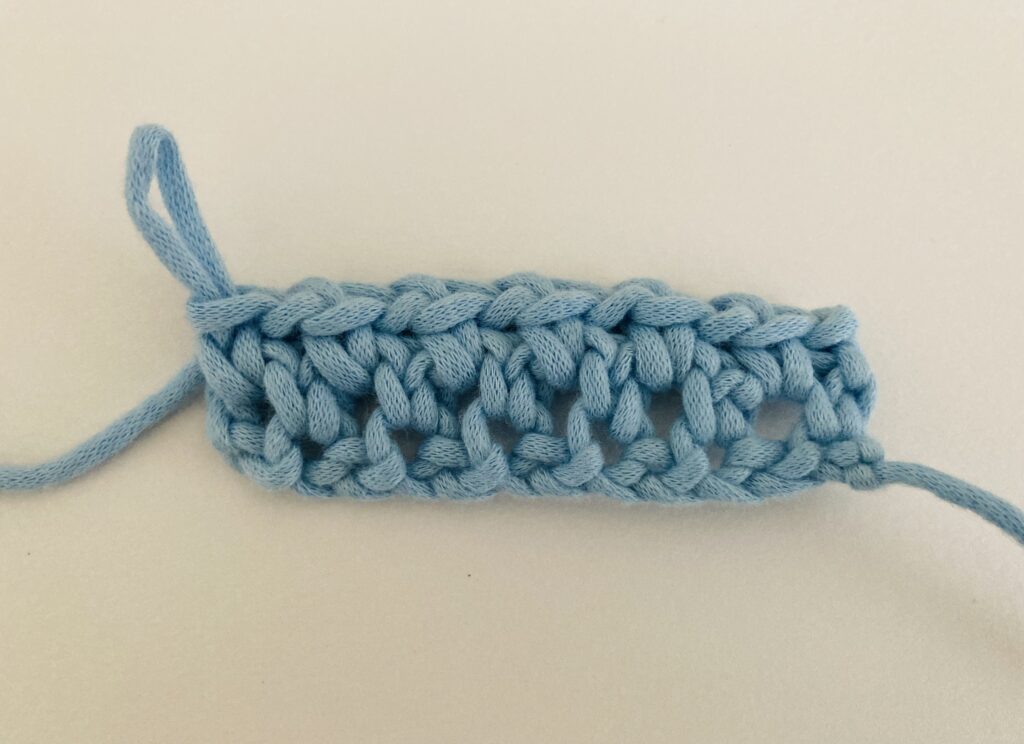
Row 3 and onwards
For all rows after the second row, repeat steps 7 through 10.
Conclusion
I hope this tutorial made it much easier to get started with crochet moss stitch. I also hope the images made it much easier to follow along and learn about how to crochet the moss stitch. I tried to make this blog post more concise, so let me know if you liked learning from this blog post, and how you plan to incorporate moss stitch into your crochet projects. Happy crocheting!

Leave a Reply