If you’re looking for an easy single crochet pattern for beginners, look no further! This blog post was made as a beginners guide to single crochet. Single crochet is a great stitch to learn as a beginner, because it is one of the fundamental stitches that you can use to make more complex projects. In this beginner guide to single crochet, you will gain more insights through detailed images showing you what it means to yarn over. Specifically, the images will detail the step by step single crochet instructions provided, as it will show you how to hold yarn for a single crochet, which will make learning how to single crochet for beginners an absolute breeze! Having a visual representation of the stitches will make it easy to understand what’s going on as you progress through this single crochet tutorial for beginners. Without further ado, let’s get into this tutorial!
Materials
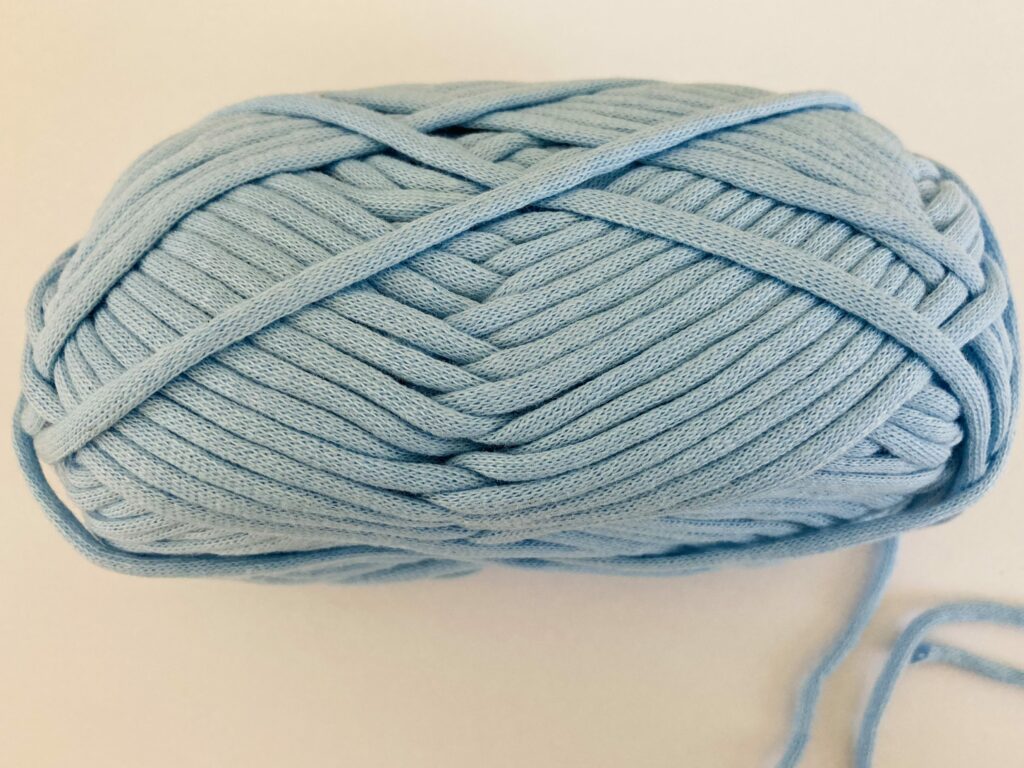
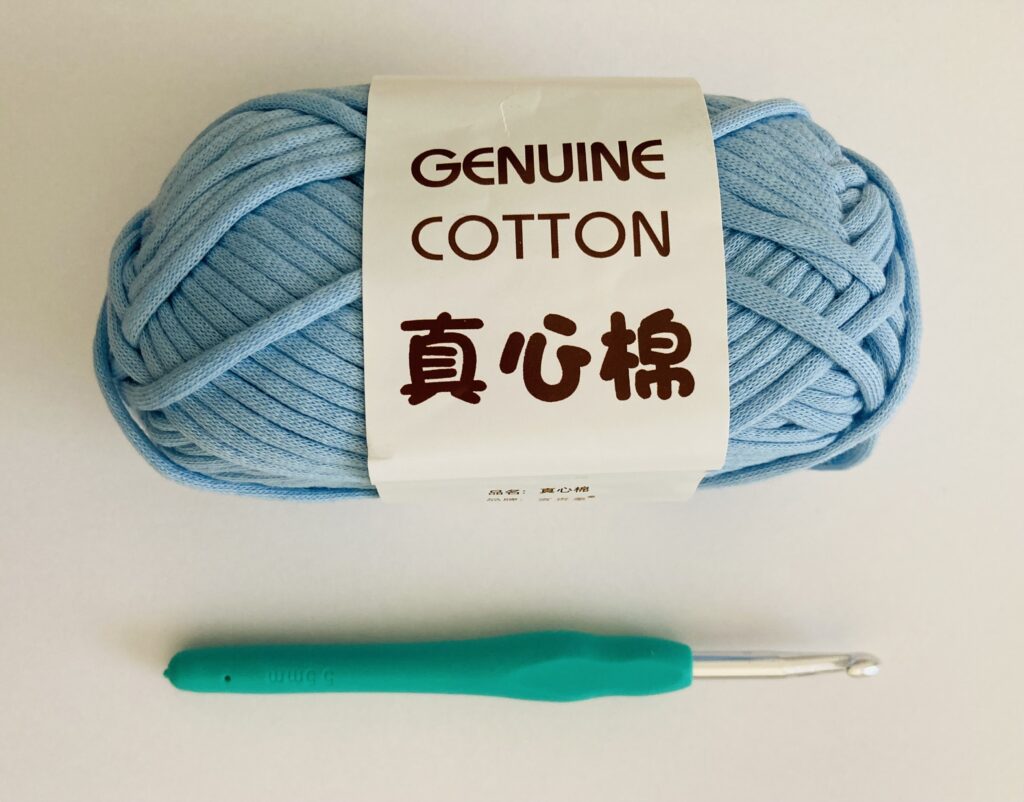
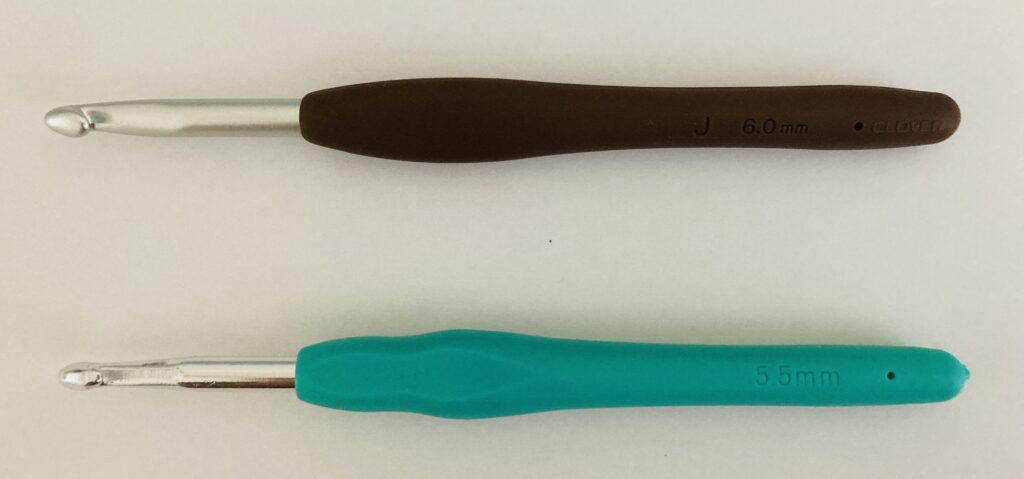
Just like other tutorials in this series, such as How to Make A Chain, How to Half Double Crochet and How to Double Crochet, I decided to use a chainette yarn to show you how to single crochet in this tutorial. This is because using a chainette yarn allows us to see our stitches better and makes it easier to see different parts of each stitch. I bought this yarn and the teal 5.5 mm hook you see in the photo in Temu. In the zoomed in photo of the yarn, you can see the yarn’s chain-like composition since it is knitted in a tube, which makes it almost impossible to split this yarn using a crochet hook. I also recommend you get a 6.00 mm Clover Crochet Hook, as it makes crocheting a breeze. This hook moves through yarn like butter, which I suspect is because of its matte hook. The ergonomic handle is also great, as you can crochet for a longer amount of time before you need to take a break.
How to Single Crochet – Step by Step with Images
Step 1: Chain 20
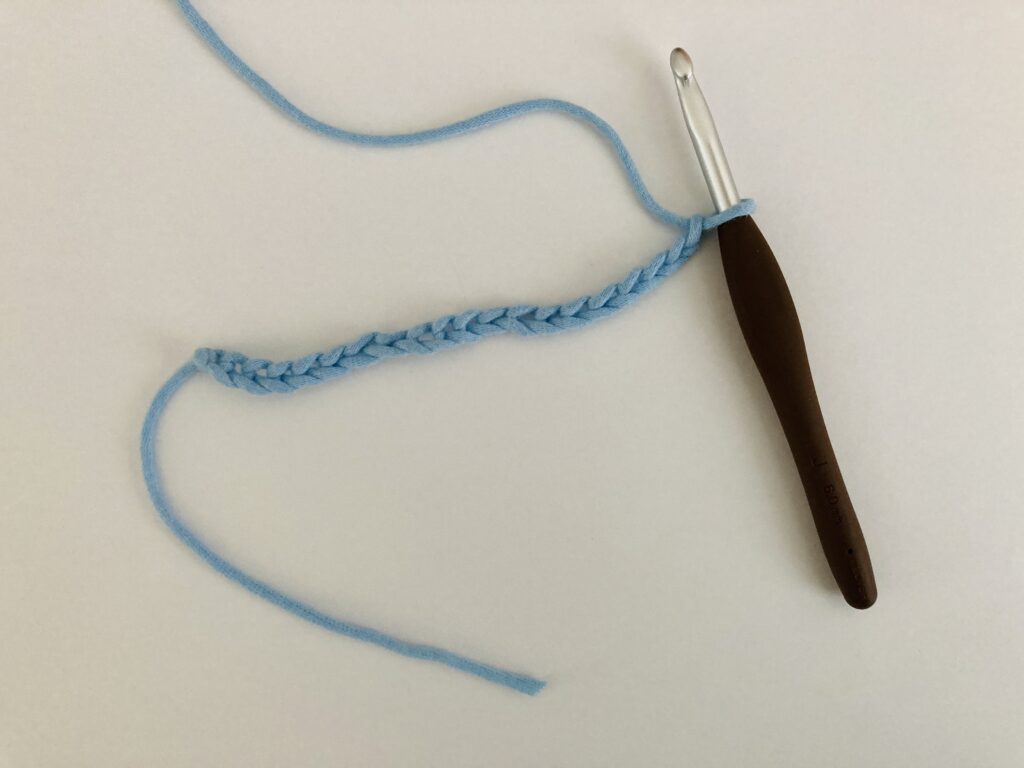
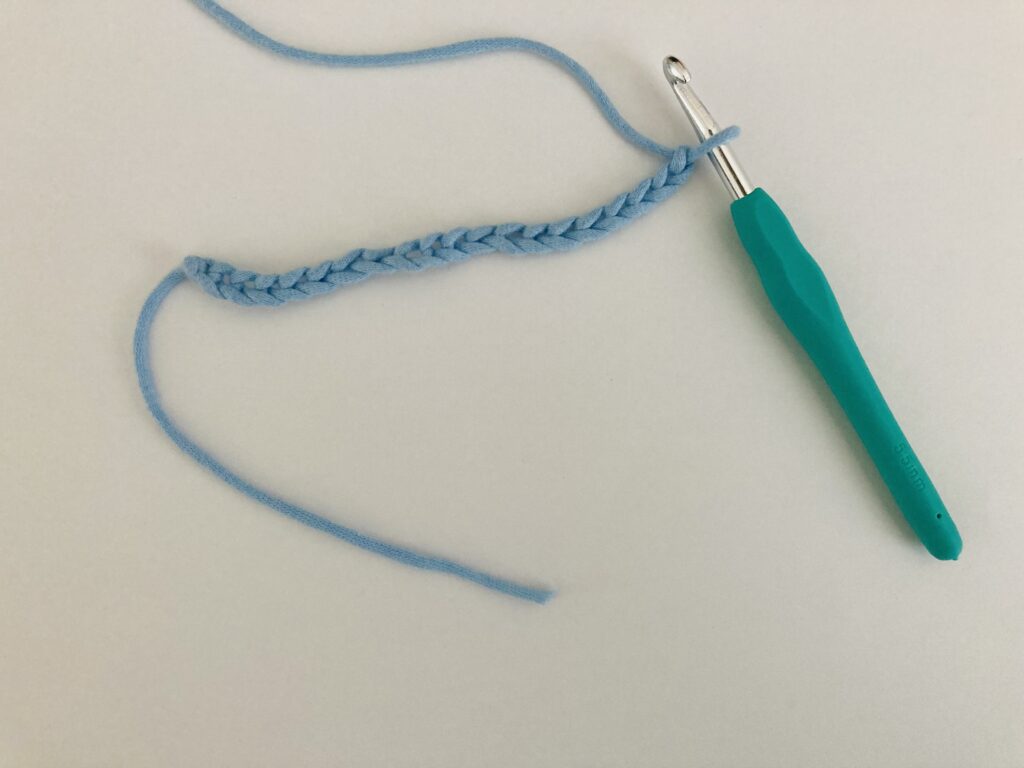
In this step, we chain 20 so that we have a foundation chain large enough so that we can make single crochet stitches. If you are unfamiliar with making a regular chain, I suggest checking out the blog post called How to Make A Chain (ch) for Beginners. This blog post will take you through the process of making a chain step by step, which will allow you to better grasp this step of the process. I opted to make the chain using my 6.00 mm Clover Hook in this step.
Step 2 (Optional): Swap Out Your Hook
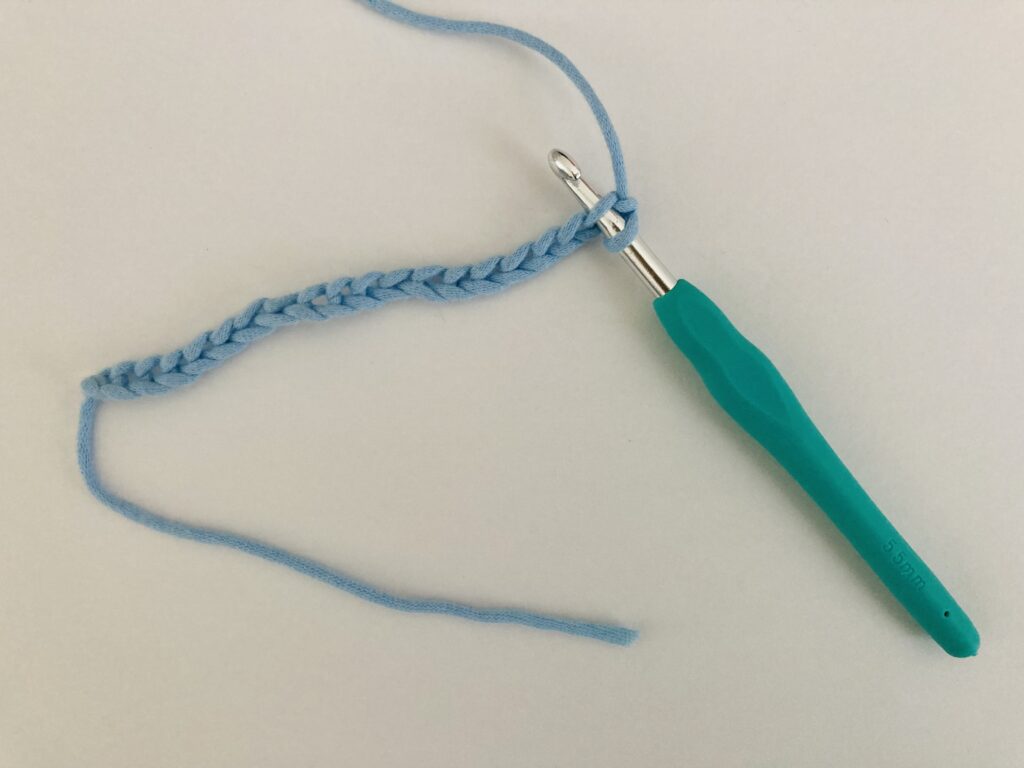
As an optional step, you can also swap your hook size for a smaller hook than the one you used to crochet the chain. This is only recommended if you chain too tightly, and can be beneficial in creating single crochet stitches in the next couple of rows because it will help to keep your work straight and not curl, or curve. If you want to size up your hook when making a chain, I would recommend sizing up 0.5 mm minimum and 1.00 mm maximum. In this case, I have crocheted the chain using a 6.00 mm hook, and then sized down the hook before I start crocheting single crochet stitches because this will enable me to keep my work looking tidy and not cinched at the bottom.
Step 3: Insert Your Hook into The Second Chain from Hook
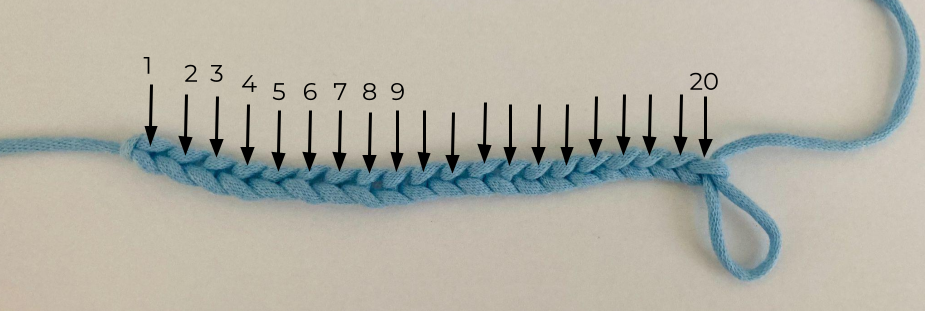
Remember in the blog post tutorials named How to Double Crochet and How to Half Double Crochet, I said that you skip 3 and 2 chain stitches at the beginning of each row respectively? Well, the equivalent chain height for a single crochet is 1 chain. This means that you skip one chain at the beginning of this row (remember we don’t count the loop on the hook) and insert your hook into the second chain from your hook. If we do this, we should have a total of 19 single crochet stitches at the end of the row (assuming you chained 20) since 20 – 1 = 19. This is because you aren’t making a single crochet in the one chain that you skip, but you are making them in the rest of the chains.
Step 4: Yarn Over
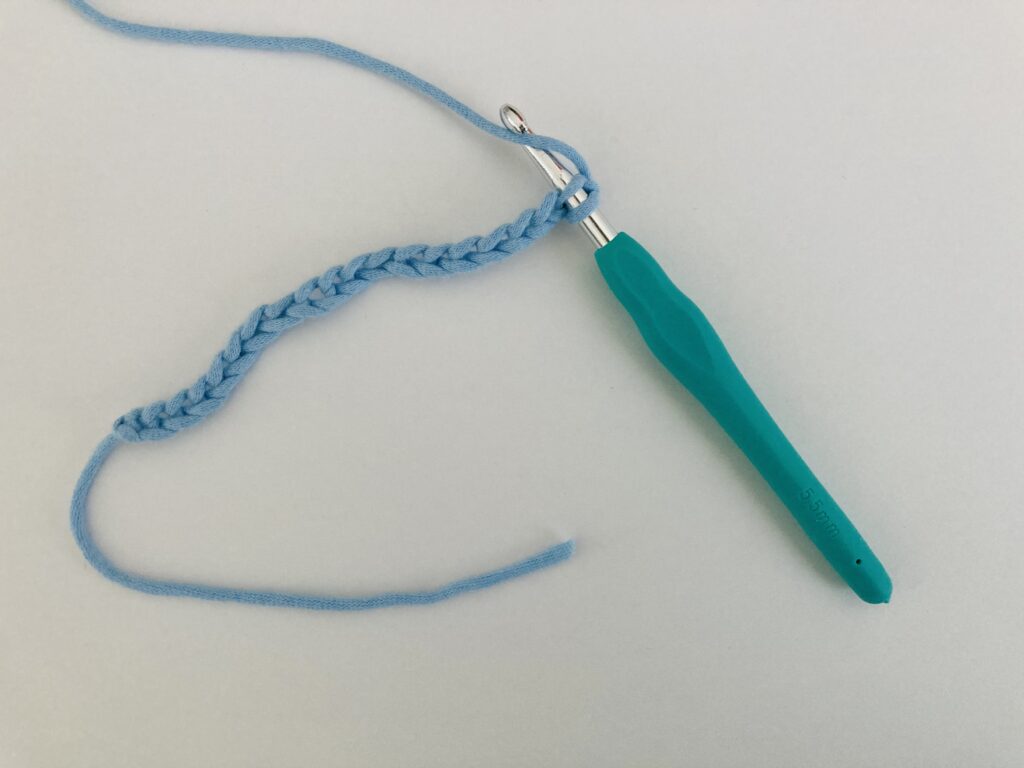
As mentioned in earlier tutorials, yarn-ing over the hook is its own skill itself (haha). I mean, it is a really versatile skill because it’s used as one of the building blocks of every single crochet stitch (that I know of). You know how protons and neutrons make up an atom as subatomic particles? Well, if you use that analogy, yarn-ing over is a subatomic particle and every crochet stitch is an atom, which is why yarning over is also an important step of this process. Make sure that when you yarn over, your yarn goes from the back of your hook, over your hook, and to the front of your hook. When done the other way around, where the yarn goes from the front to the back of your hook, you would be yarning under.
Step 5: Pull Loop Through Chain
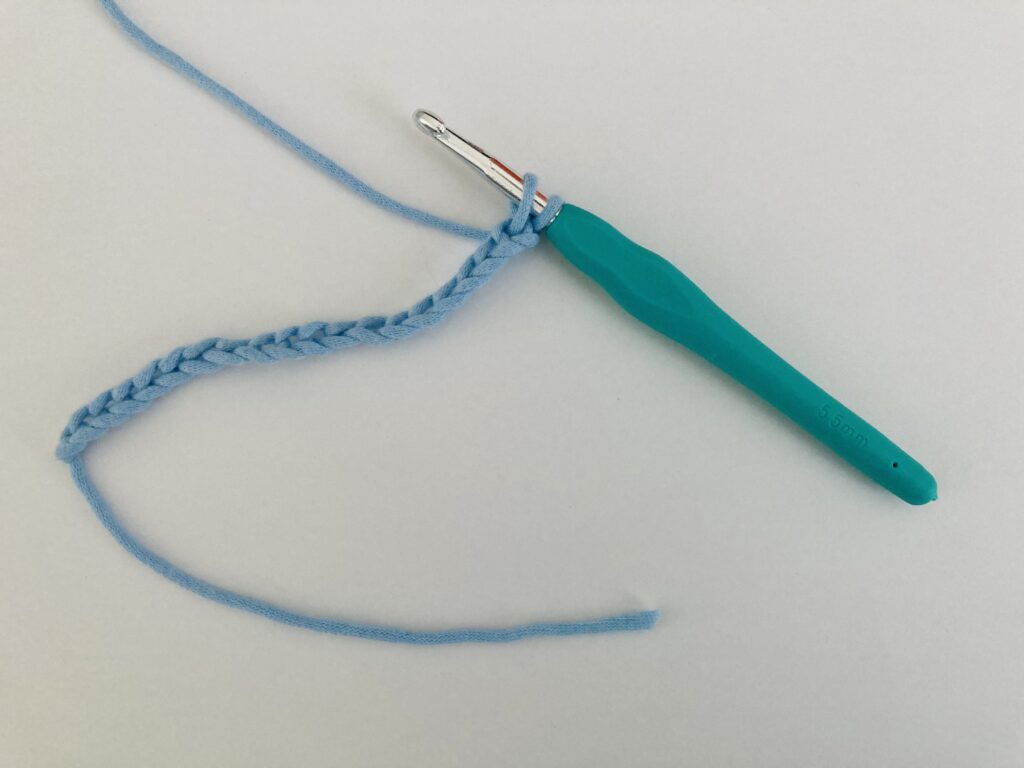
After yarn-ing over, you will now have a loop on your hook, and a yarn-ed over loop on the end of your hook as well. Holding the chain, pull your hook (with the loop on the end of it) through the chain you inserted it into earlier. You should have two loops left on your crochet hook, as shown in the above image.
Step 6: Yarn Over
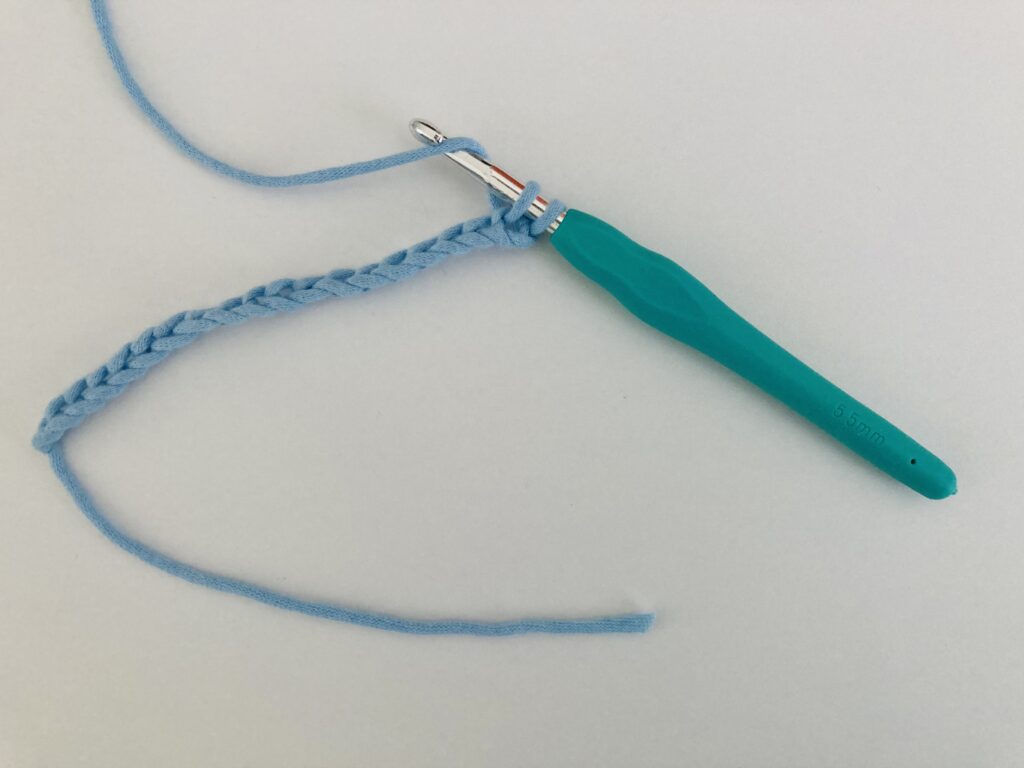
Now, make sure you yarn over, as this is one of the final steps needed to complete the single crochet stitch.
Step 7: Pull Yarn Through Two Loops
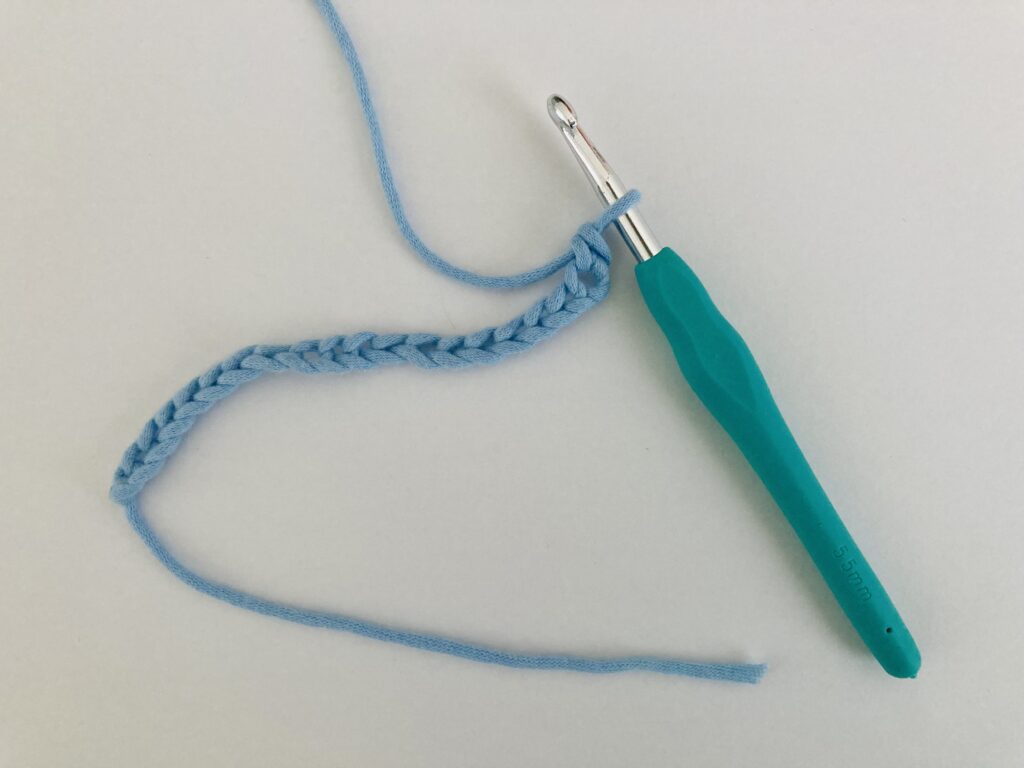
Depending on your perspective, this means that the last loop on your hook that you yarn-ed over in the last step (or the one closest to the end of your hook) should be pulled through the first two loops on your hook closest to your fingers that hold the hook.
Step 6: Repeat Single Crochet Steps As Many Times Needed

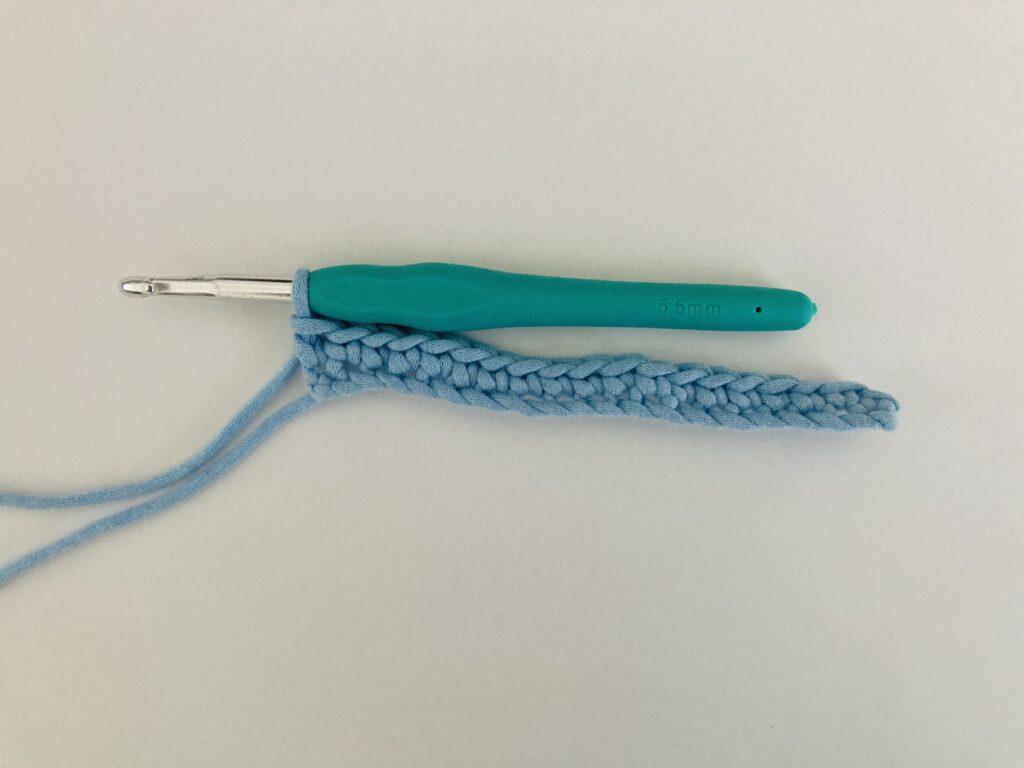
Hooray! You just completed your first single crochet stitch. If you want to complete the rest of the row, just repeat the process by inserting your hook into the next chain every time you finish a single crochet stitch, and repeatedly doing Steps 4 – 7. Single crochet is a great and rewarding stitch to learn, as it works up quite quickly on small swatches of crochet!
How to Finish A Row in Single Crochet

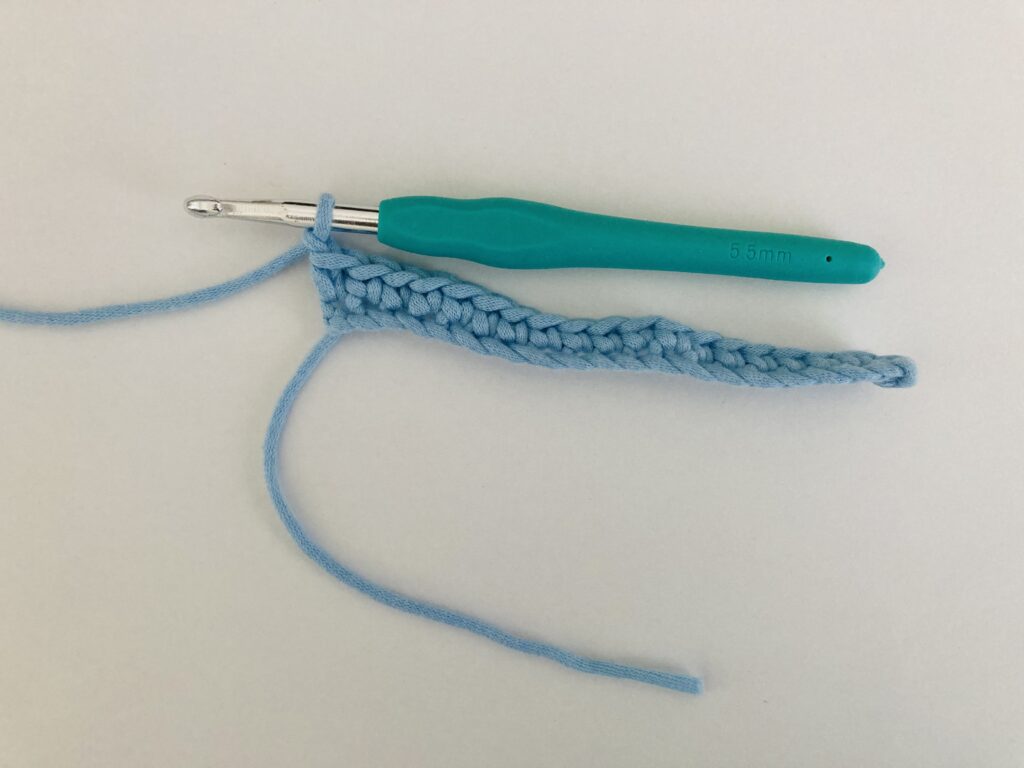
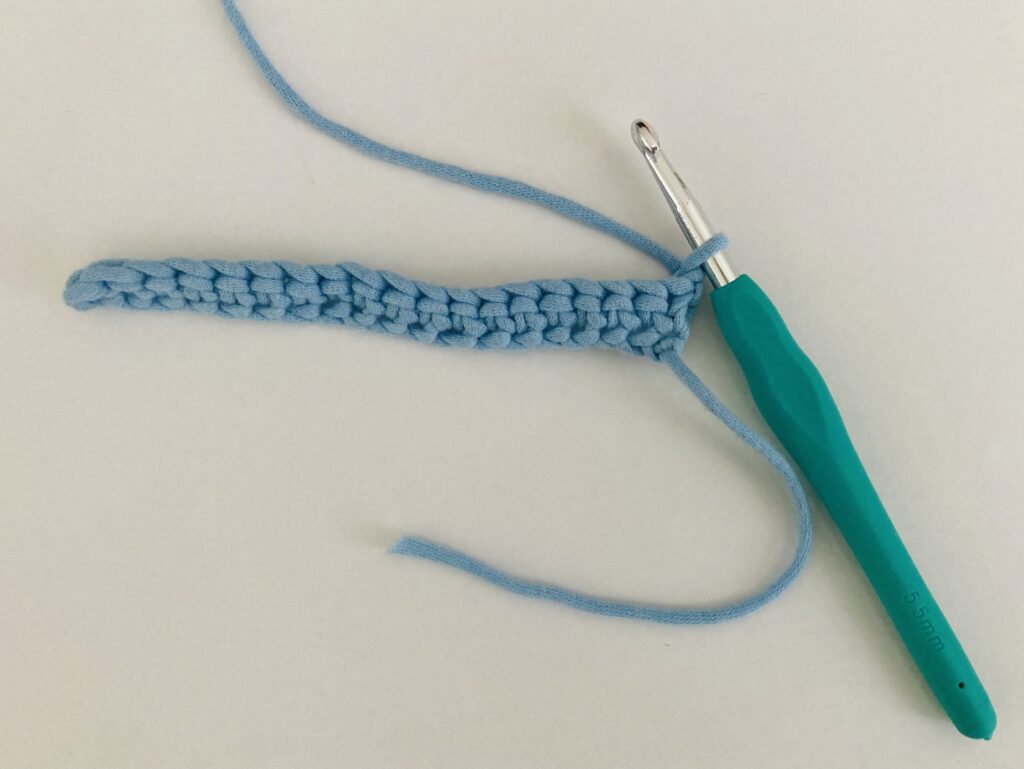
If you’ve gotten to the end of a row of single crochet, you are probably wondering how you continue. In crochet, we continue stitches from side to size each row, so that our work moves upwards and side to side. Remember how I said that you have to skip one chain and then start crocheting single crochet stitches into the second chain from your hook? Well, that means that when you reach the end of the row, you can continue working in the next row with a two step process. Chain 1, turn, and then begin your single crochet stitch in the next row at the stitch located at the base of the chain. (I’m getting deja vu from the other tutorials I’ve mentioned those steps in, haha.)

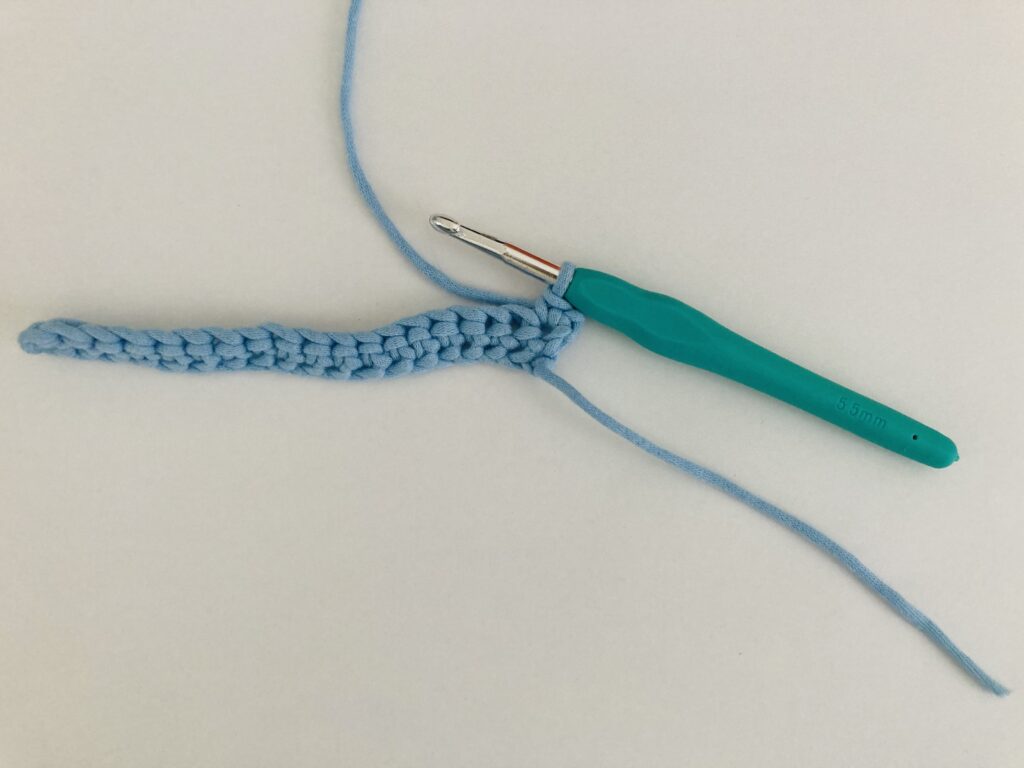
If you’d like to crochet a single crochet scarf, you would repeat these three simple steps whenever you reach the end of a row of single crochet stitches.
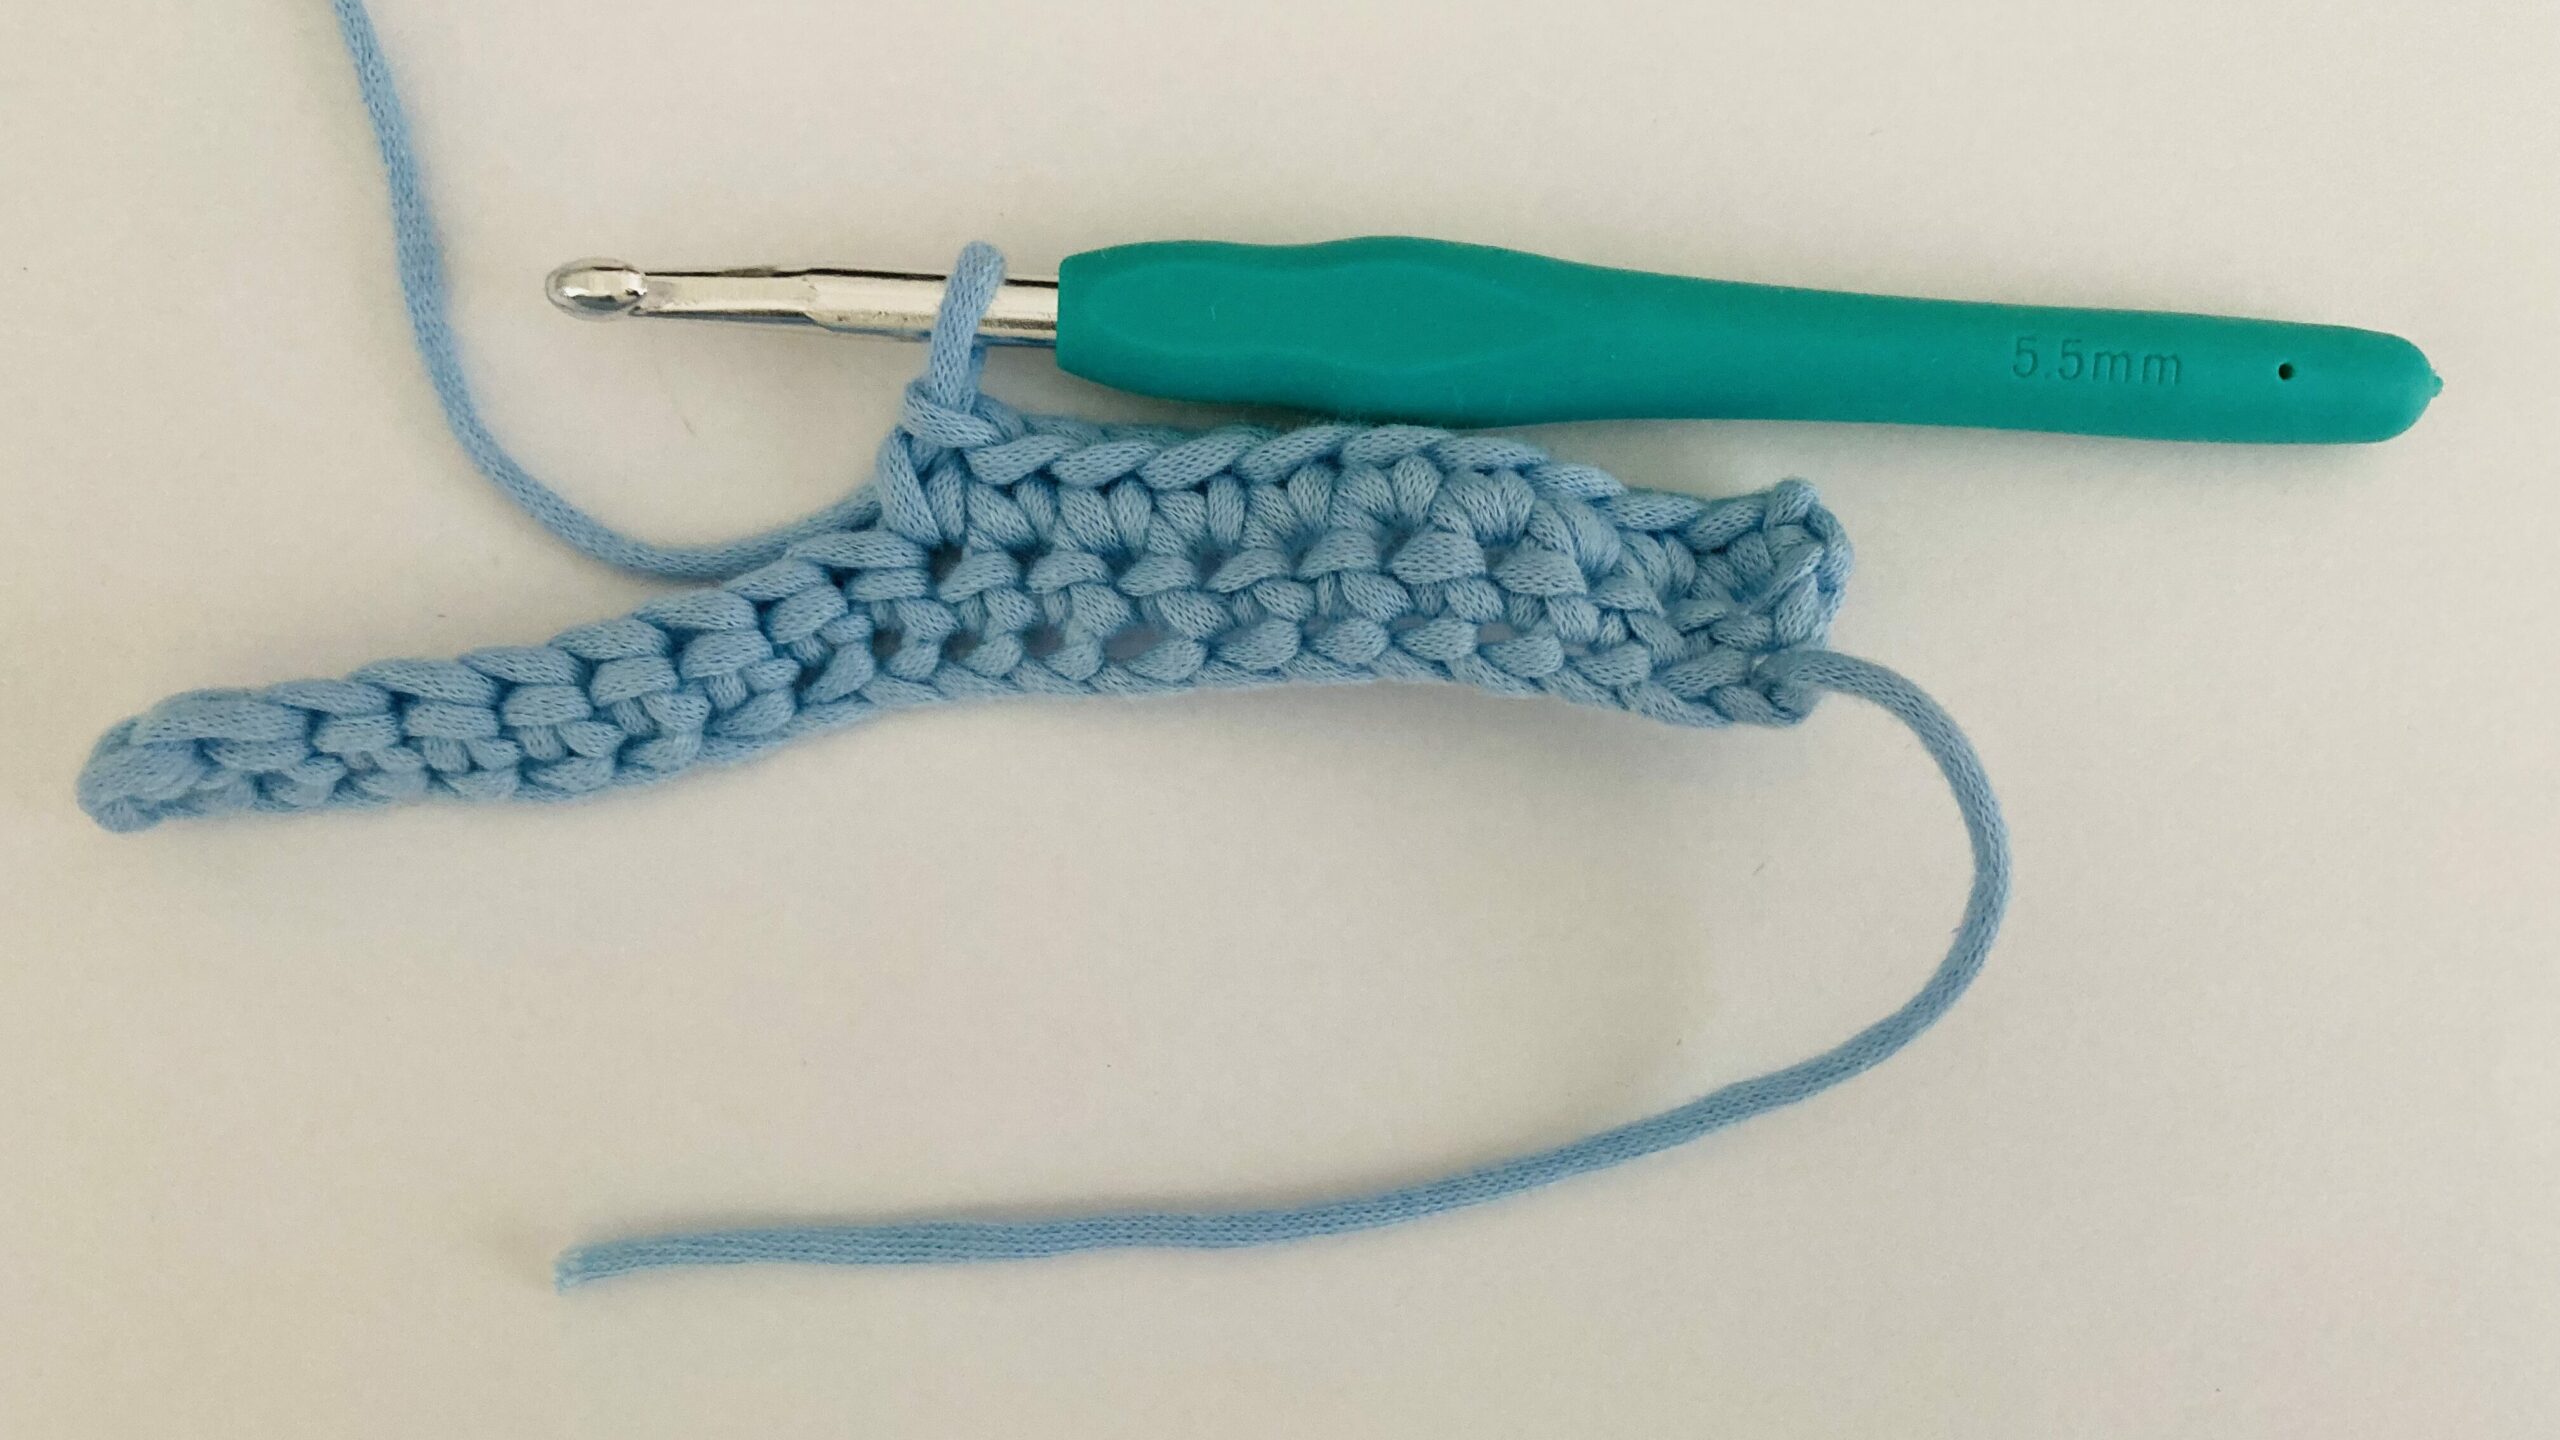
The only difference as you work more rows after the first row of single crochet is that you insert the hook underneath the front and back of the v formation of stitches that you can see from the top of your work, so just keep that in mind. Now if you continue crocheting single crochet stitches across, it should look something like this:
How to Keep Your Crochet Edges Straight
When it’s hard to count your stitches or to keep your edges straight, you can use stitch markers to mark the beginning and end of a row. For instance, right after you make the first single crochet in row 1, consider putting a stitch marker underneath both the front and back of the v formation of a stitch (as shown above when you work in rows besides row 1 of single crochet). Then, you can also repeat this by putting a stitch marker in the last stitch of the single crochet row that you make. As you work across the row, move up the stitch markers right after you make the first and last stitch of the next single crochet row.
Conclusion
I hope this single crochet tutorial for beginners helped to demystify the process needed to learn single crochet! This blog post was written to provide a guide to learn how to single crochet for absolute beginners, through providing simple single crochet instructions with detailed images that show how to single crochet. If this tutorial gave you even a little bit of insight about single crochet basics for beginners, I’d be glad! This will help you progress even further in your crochet journey, as the single crochet stitch is one of the fundamental and important stitches you can use to create larger and more intricate projects in your crochet journey! If you think this blog post accurately served as a way to learn single crochet for beginners, be sure to comment down below about your own experiences with single crochet! Happy Crocheting!

Leave a Reply