After learning How to Crochet A Chain, How to Single Crochet, How to Half Double Crochet, and How to Double Crochet, it is time to learn how to Treble crochet. Treble crochet is a great stitch to learn because it is one of the most airy basic stitches that you learn as a beginner. It works up much faster than double crochet, half double crochet and single crochet, and also has more pronounced stitches which look beautiful as you make progress on a crochet project that consists of treble crochet. This stitch is also important to add to your skillset, because you use treble crochet stitches often when you want to create crochet cables. This means that learning this stitch will not only equip you with the skills needed to treble crochet, but will also open up new domains within crochet where you can exercise these new skills such as crocheting cables. Without further ado, let’s get into this tutorial so you know exactly what steps you need to follow to crochet a treble crochet stitch (in US terms)!
Materials
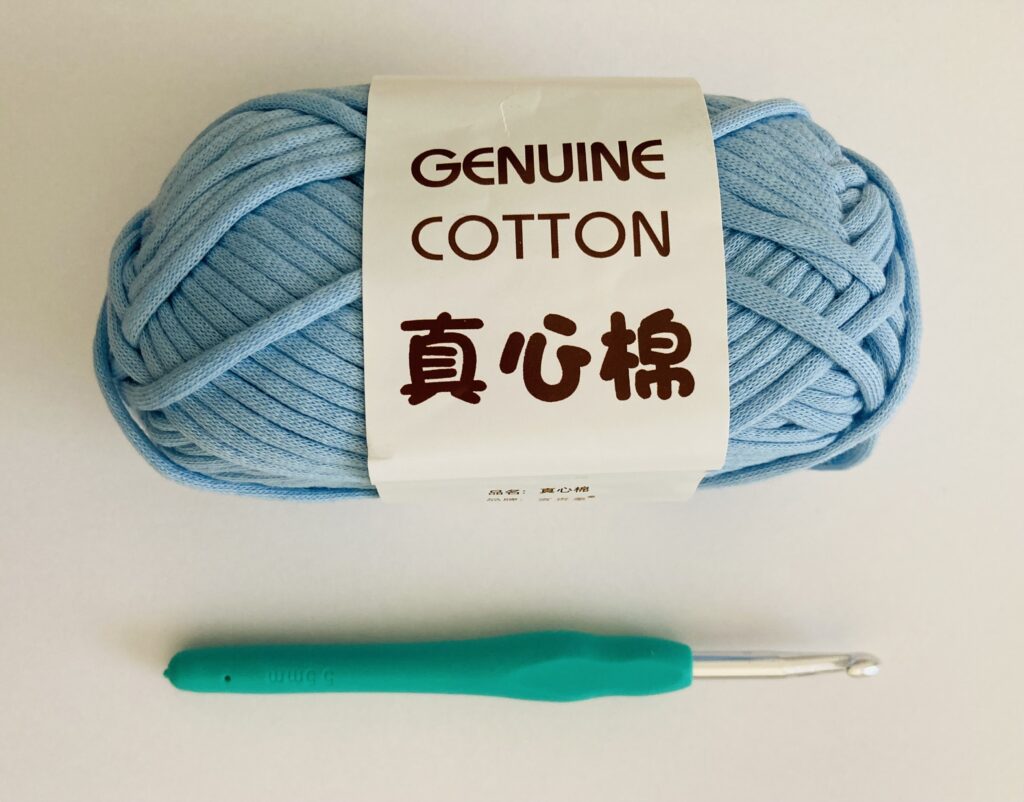
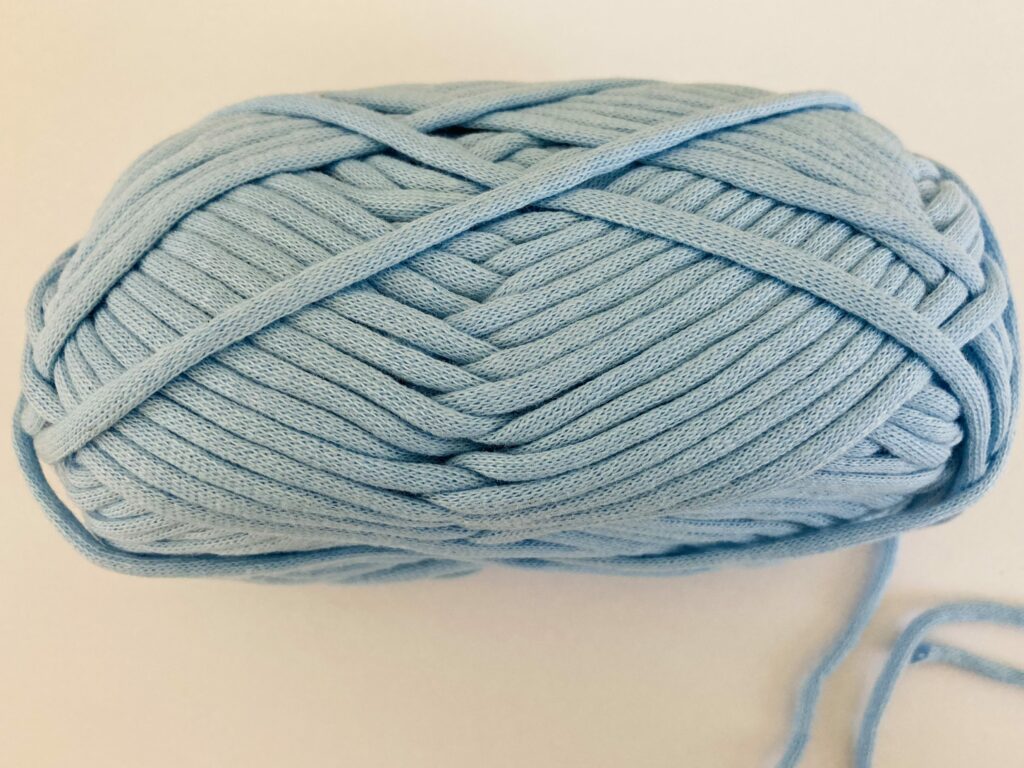
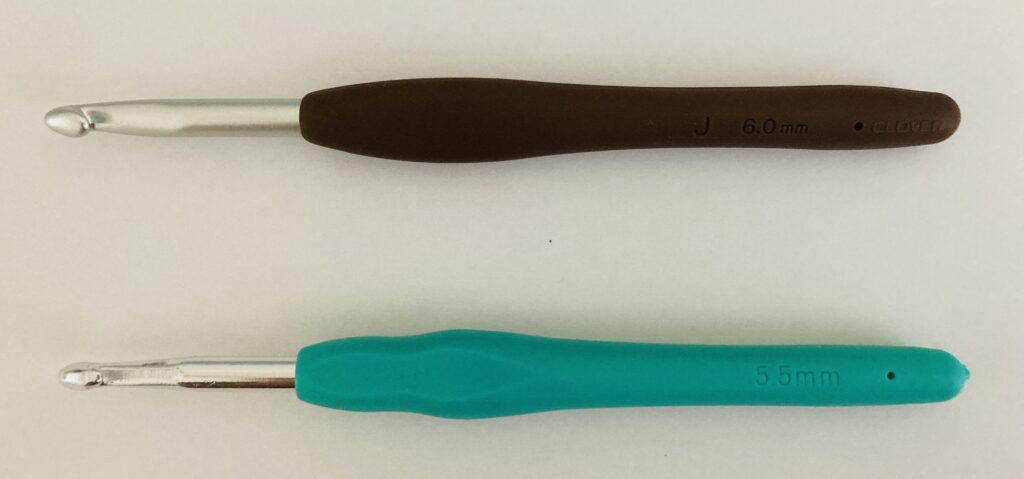
For this tutorial, I decided to use a 5.5 mm hook and yarn from Temu. As with other stitch tutorials on this blog, I used a chainette yarn. A chainette yarn is great to use because it won’t split when you crochet, because it is yarn that is knitted in a tube. The knitted aspect of chainette yarn can be seen in the above images, which shows that it is practically impossible to split this yarn because the yarn’s twist will not come undone, unlike yarn that is usually spun by twisting the fibers. Chainette yarn is great for beginners, as it also helps you see stitches that you crochet. If you don’t have access to chainette yarn, I would recommend using yarn that has a weight of 4 or higher. The higher the weight of yarn, the better to see your stitches easily, but as a beginner you can also use yarn that has a yarn weight of 4. Remember to check for the recommended hook size on the label as well, since the hook size you use will depend on the yarn weight of the yarn you chose to use. The yarn weight and hook size are usually written on the side of a yarn ball on its label, like so:
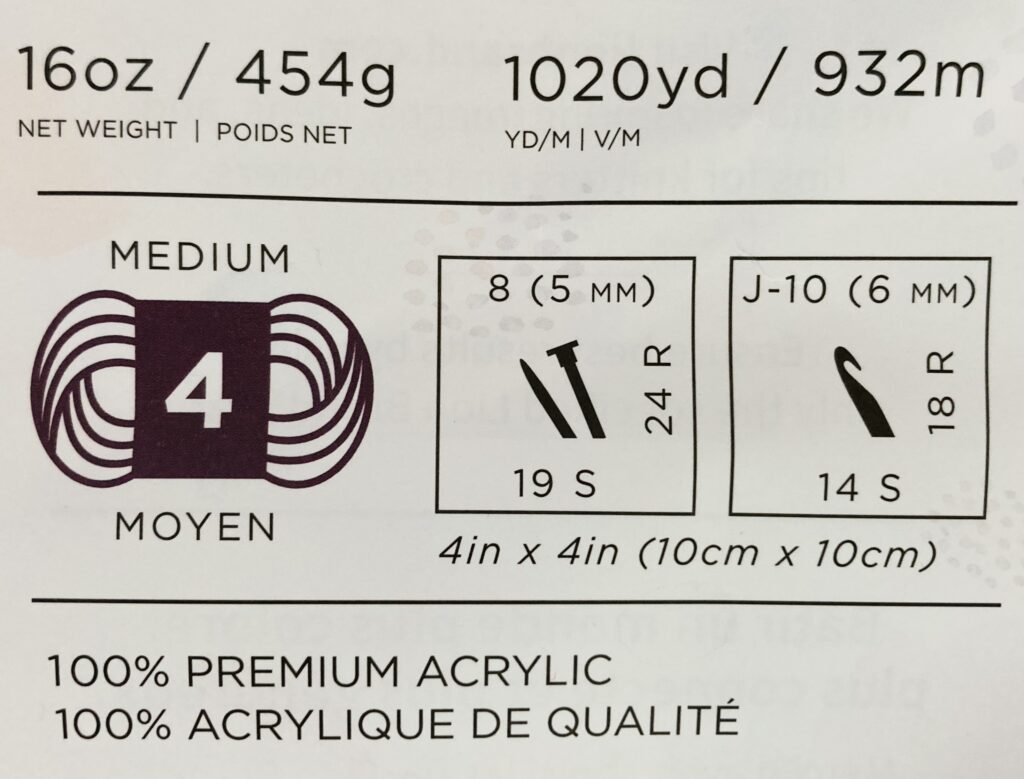
In the above case, the yarn weight is shown as a yarn weight 4 or medium weight, and the recommended hook size is 6 mm or a J-10 hook. This label is from a ball of Pound of Love Yarn. This is a great yarn to crochet larger projects because of the quantity of yarn you get in one ball, and its soft feel.
I also used a Clover 6.00 mm hook in this tutorial. Although this hook isn’t necessary for this tutorial, I would recommend that you look into getting a Clover crochet hook once you have established crochet as your hobby. Clover crochet hooks are great because they glide through your yarn, which makes it much easier to crochet, whether your yarn is more conventionally spun or a chainette yarn. If you are just learning to crochet, you don’t need any fancy hooks to get started though. Just get some basic hooks so you can first focus on getting the fundamentals down before investing more in your hobby of crochet.
How to Treble Crochet for Beginners
Step 1: Chain 20
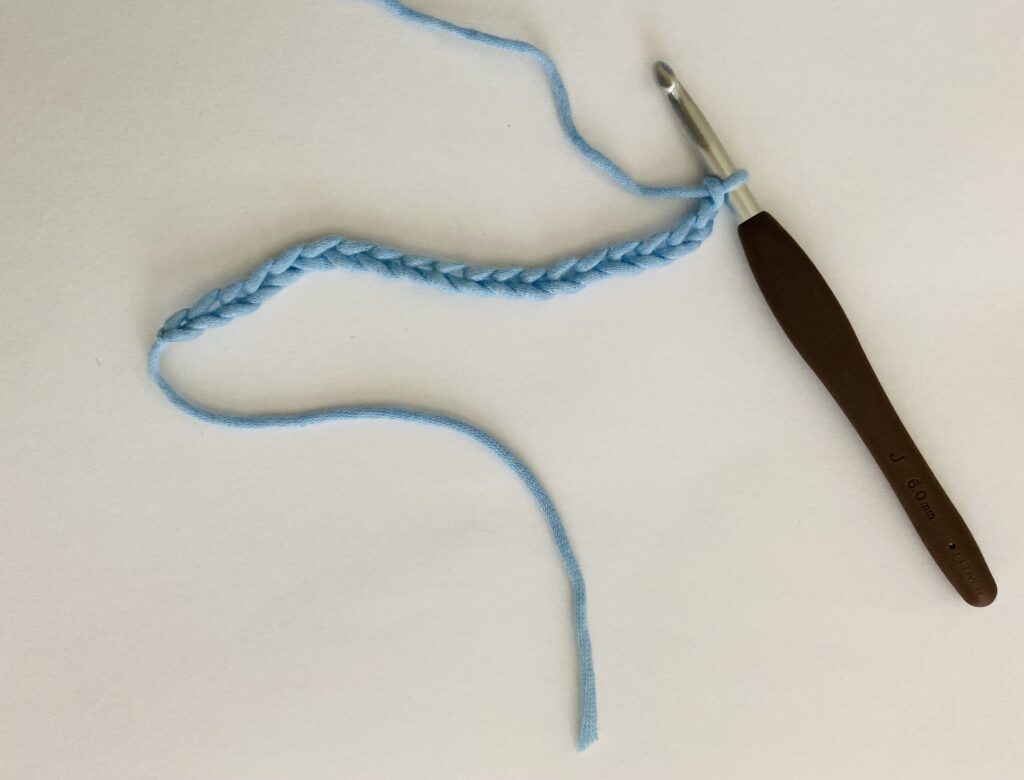
This step is when you crochet the base of the treble crochet stitches that we will be crocheting. For this tutorial, just as most of the other tutorials I have made on this blog, we will be crocheting 20 chain stitches. Remember that the loop on your hook doesn’t count as a stitch. If you don’t have much experience crocheting a chain stitch, I recommend reading the blog post on How to Crochet A Chain.
Step 2 (Optional): Swap Out Hooks
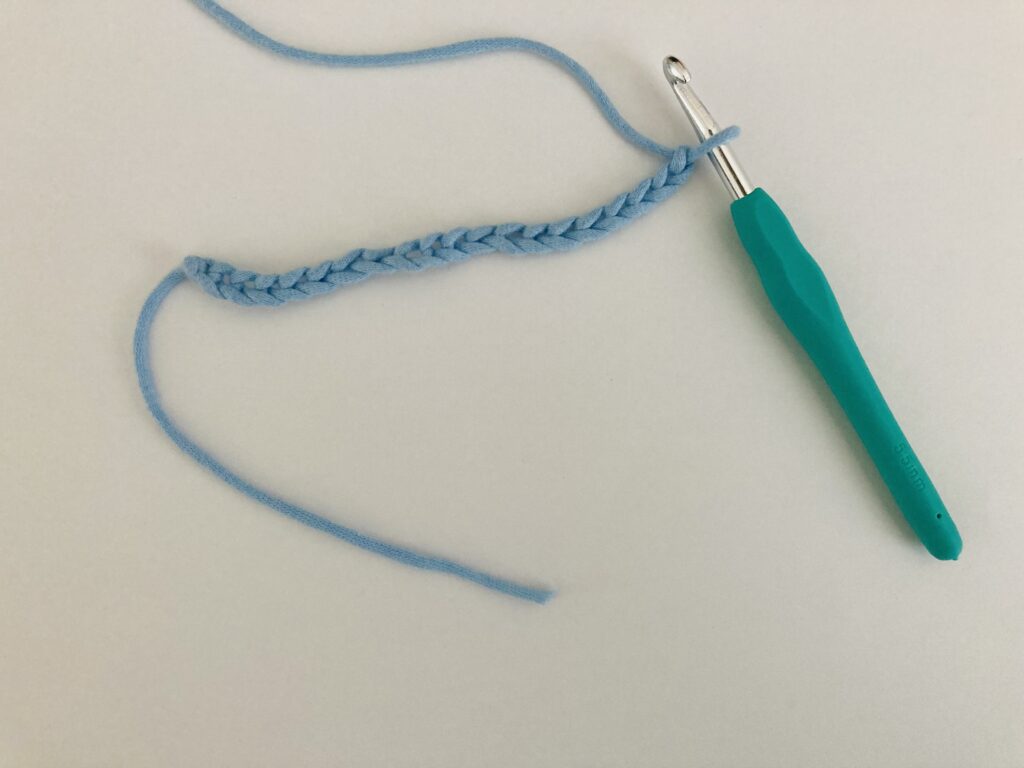
As mentioned earlier, I decided to use two hooks in this tutorial: A 6.00 mm and 5.5 mm hook. This is because I like to make the base chain using a larger hook (in this case the 6.00 mm hook) and then work stitches in the following row into the chains using a smaller hook (in this case a 5.5 mm hook). This is because I tend to work my chain stitches tightly, so that when I do place stitches in the next row, my work begins to curl or warp. This is because the width of the stitch is larger than the width of each of my chain stitches that I made in the first row, which is why swapping out your hook for a smaller one than the hook you used to make the chain stitches helps to keep your work flatter. Of course, this is just an optional step that you can consider doing if you notice that your crochet stitches are curling or curving at the bottom of your work.
Step 3: Yarn Over Twice
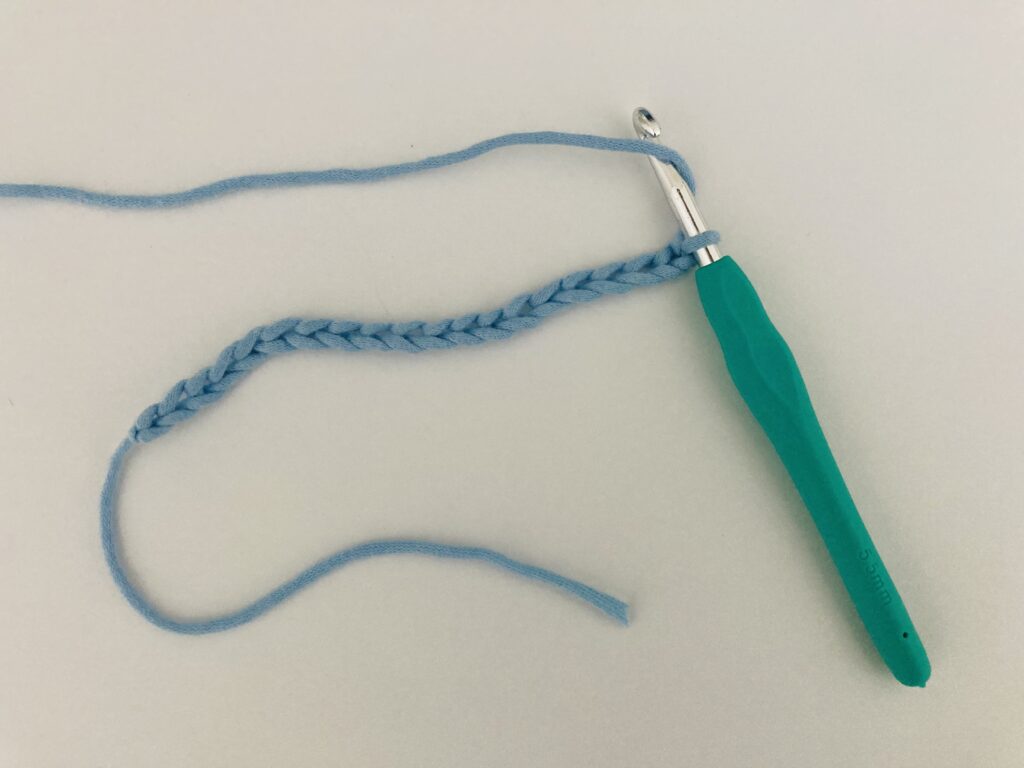
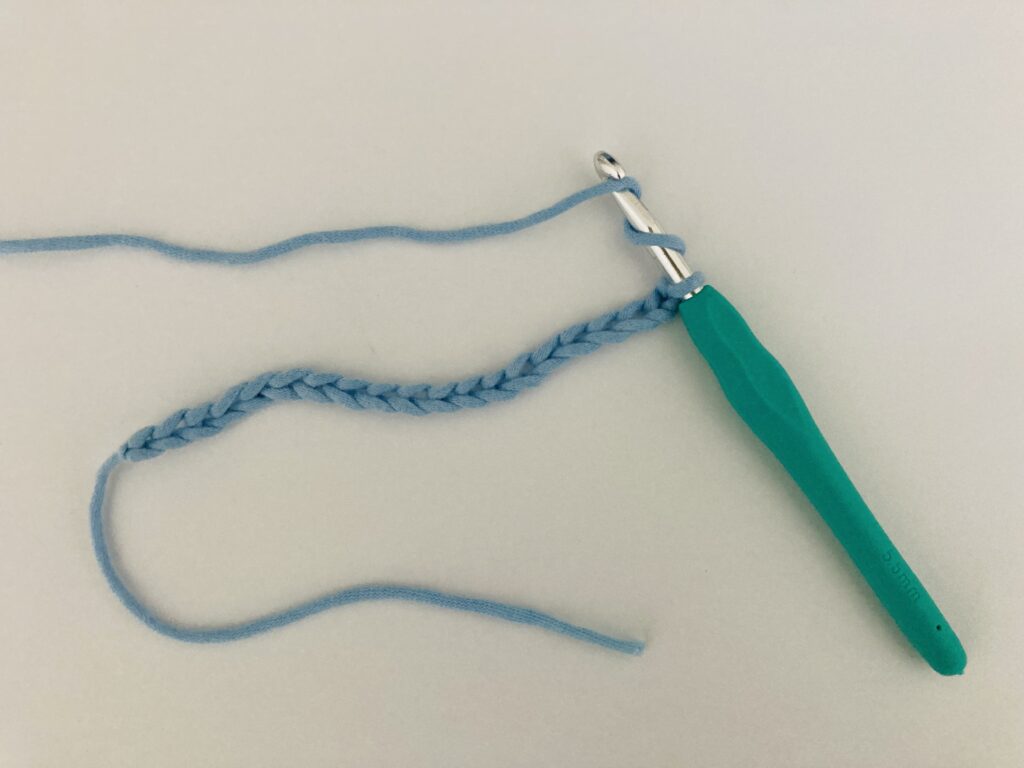
Unlike other crochet stitches, a treble crochet stitch begins by yarning over twice. This is unlike double crochet and half double crochet, which only involve yarn-ing over your hook once when you begin the stitch, as mentioned in the articles How to Double Crochet and How to Half Double Crochet. Yarn-ing over twice means that you take your yarn and move it from the back, over and to the front of the hook. You repeat this process to yarn over twice.
Step 4: Insert Hook Into 4th Chain From Hook
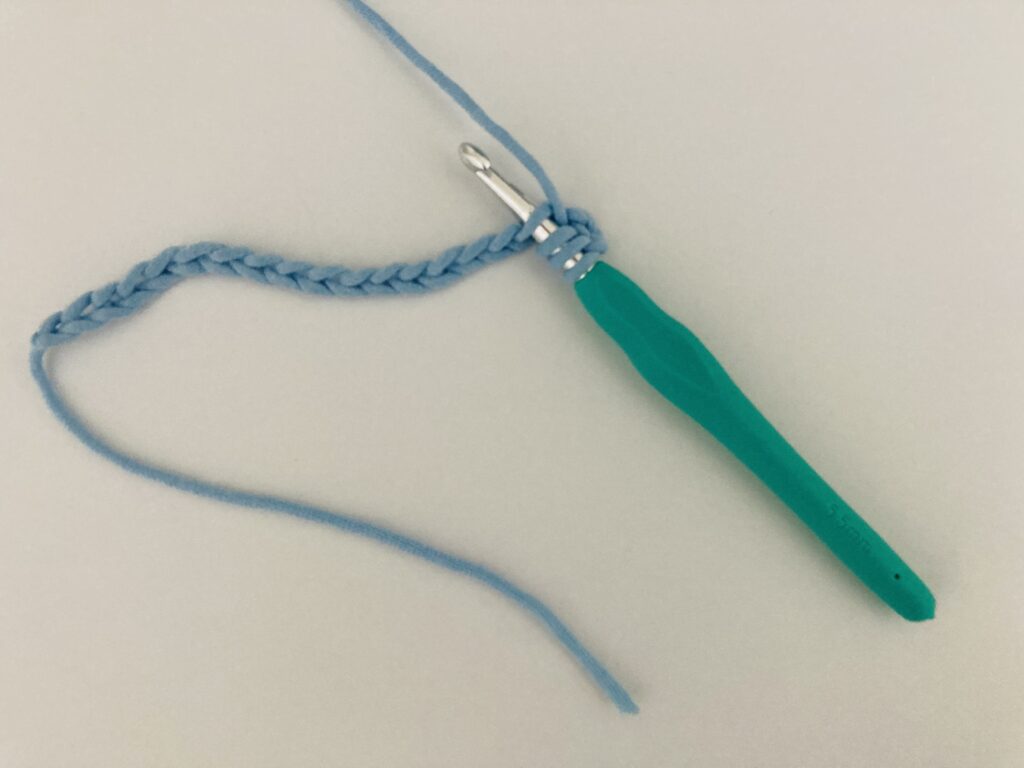
Remember how in the tutorials for Single Crochet, Half Double Crochet and Double Crochet, I mentioned that you have to skip a certain number of stitches before you insert your hook into the chain? Well, the equivalent stitch height of a treble crochet is three chain stitches, which means we insert the crochet hook into the fourth chain from the hook after yarn-ing over twice from the previous step. You can also see on the schematic that this means that we would have to insert the hook into the 17th stitch from the beginning of the chain. If we follow this step, we should end the row with 17 treble crochet stitches in the row, because 20 – 3 = 17.
Step 5: Yarn Over Hook and Pull Through Chain Stitch
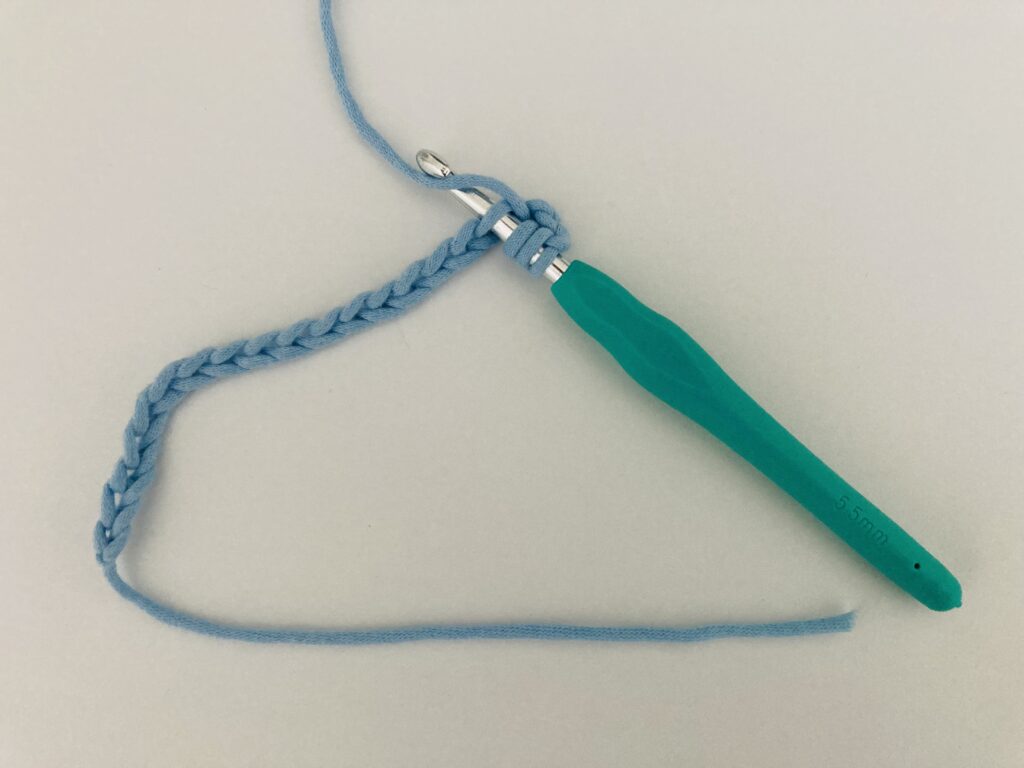
Now, you should have one loop from the previous steps on your hook, two loops on your hook from yarn-ing over, and half of the chain stitch on your hook as well. Yarn over, and pull the yarn through the chain stitch only. You should now have four loops on your hook.
Step 6: Yarn Over
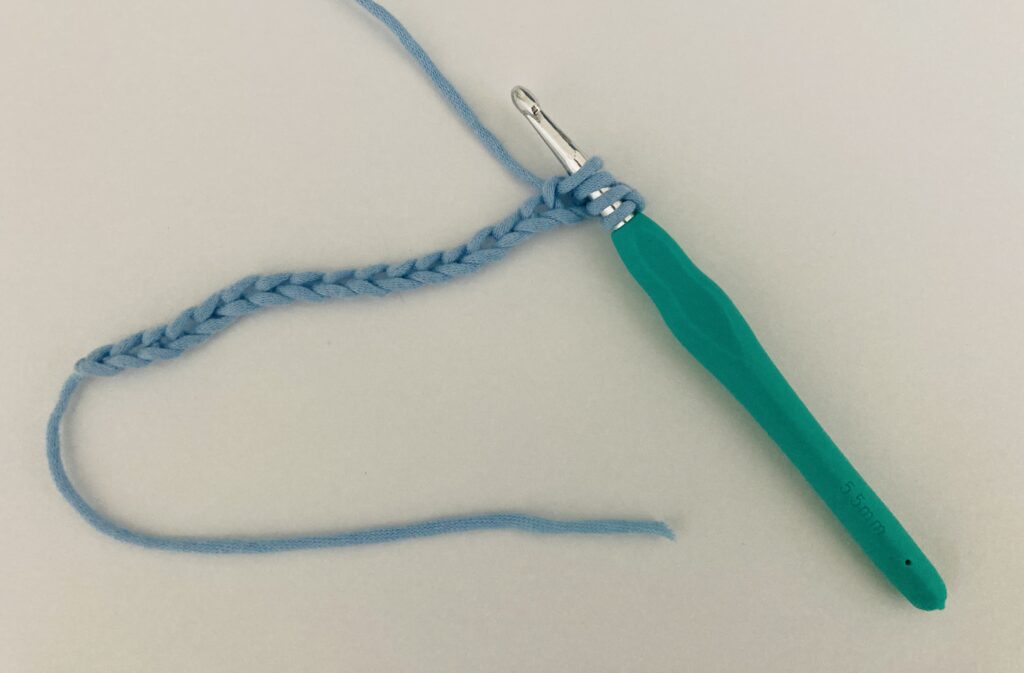
Now, we work to reduce the number of loops on the hook. To begin to do so, yarn over in this step.
Step 7: Yarn Over
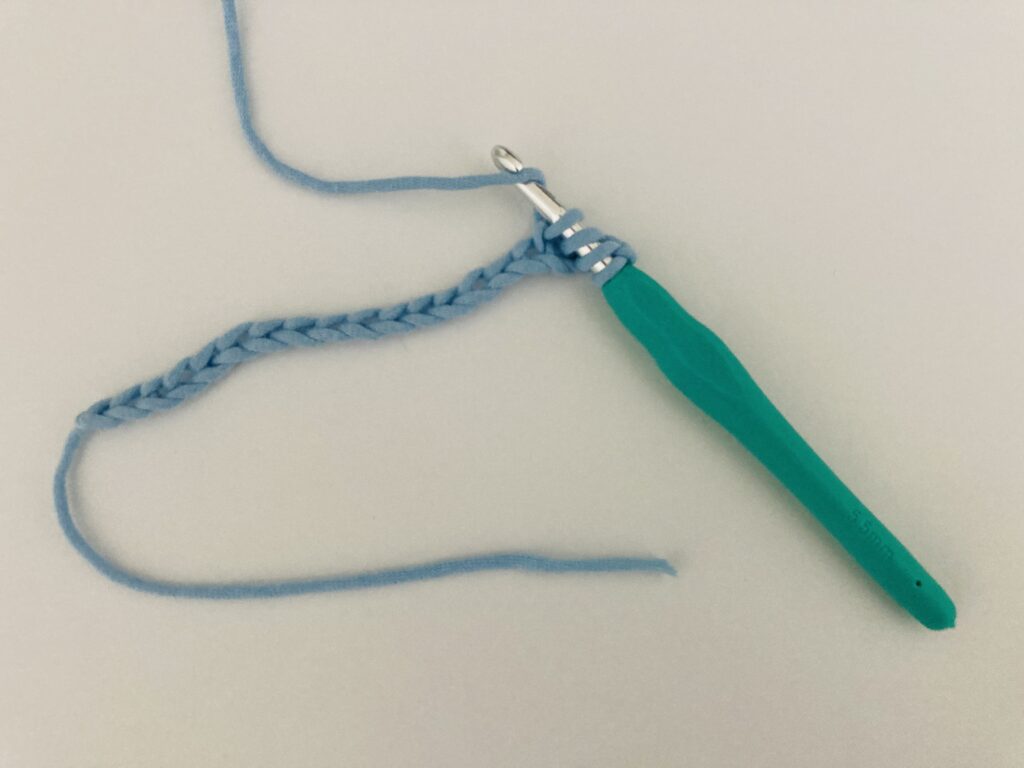
In this step, yarn over once.
Step 7: Pull Hook Through 2 Loops
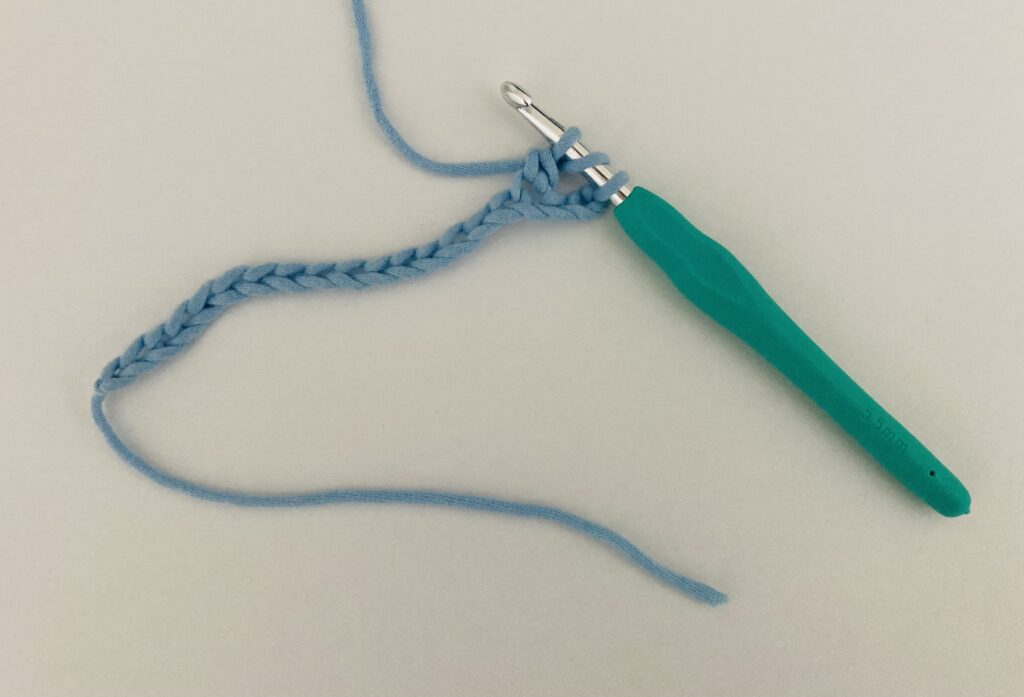
Now, we pull the last loop that’s on the hook through the two loops before it. The last loop you have on your hook currently is from yarn-ing over. Therefore, take the yarn you yarn-ed over on your hook, and pull it through the two loops before it on your hook. We will essentially repeat this step in the upcoming steps, by pulling a loop through two previous loops each time. You should have three loops left on your hook.
Step 8: Yarn Over
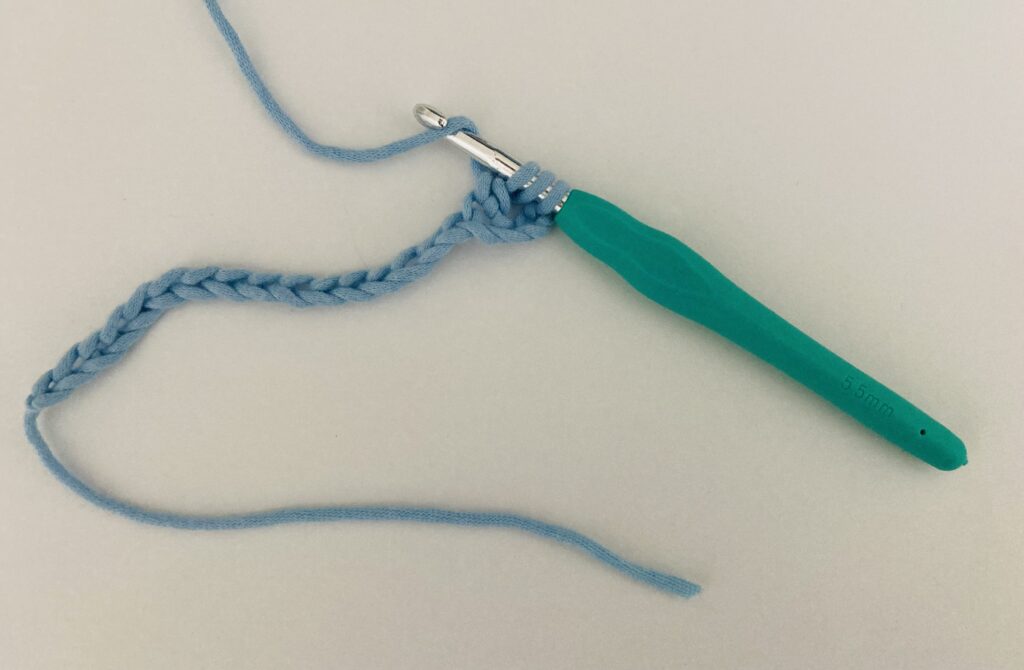
Yarn over one time again.
Step 9: Pull Hook Through 2 Loops
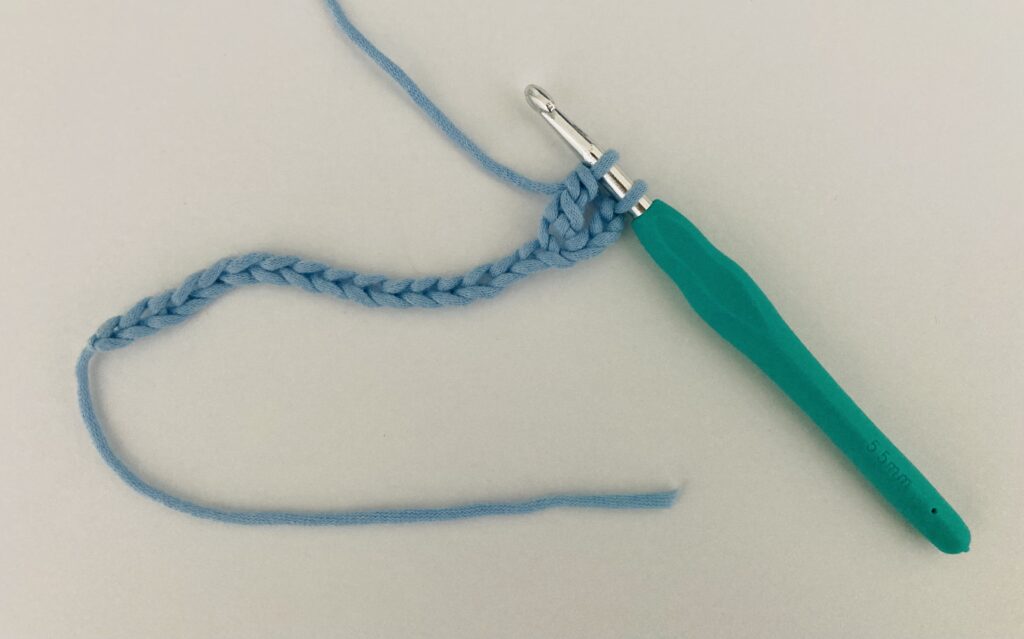
As mentioned in step 7, you pull the loop that you have on your hook from yarn-ing over in the previous step through the next two loops on your hook. At the end of this step, you should only have two loops left on your hook.
Step 10: Yarn Over
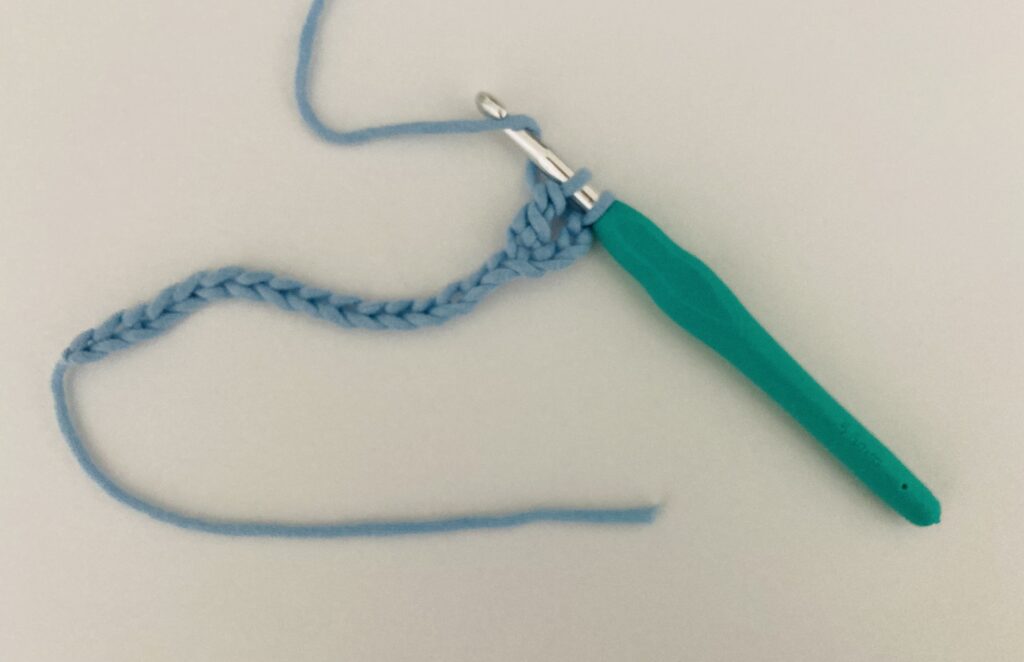
Yarn over again.
Step 11: Pull Hook Through 2 Loops
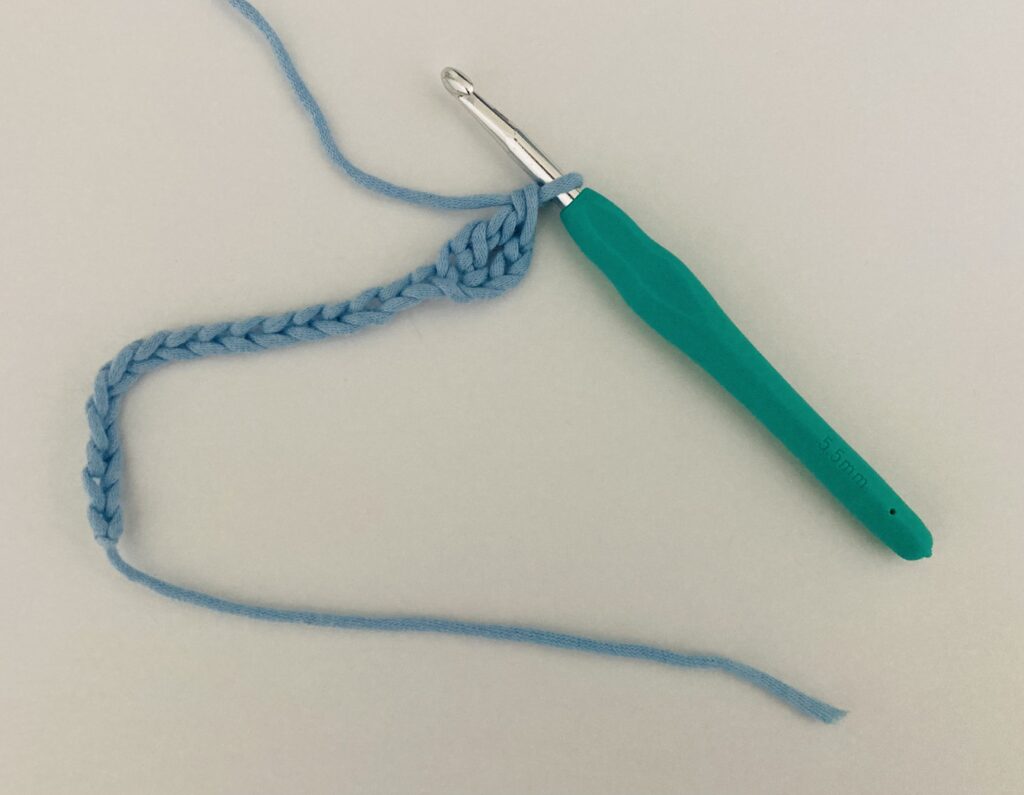
As usual, pull the yarn that you have yarn-ed over in the previous step through the last two loops on your hook. This completes your first treble crochet stitch. Yay!
Step 12: Repeat This Process As Many Times As Needed
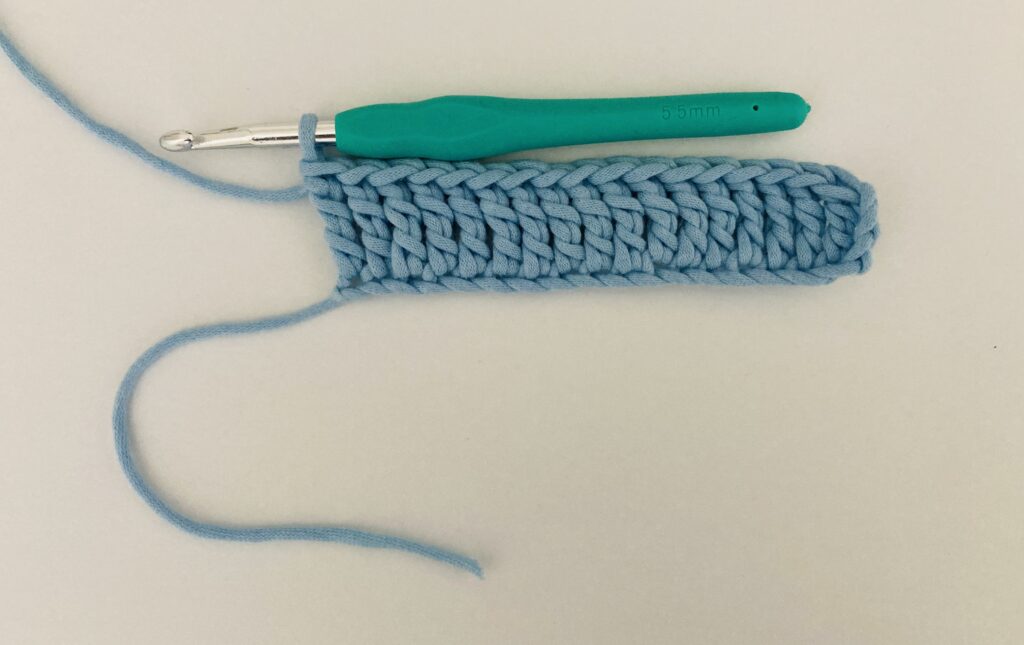
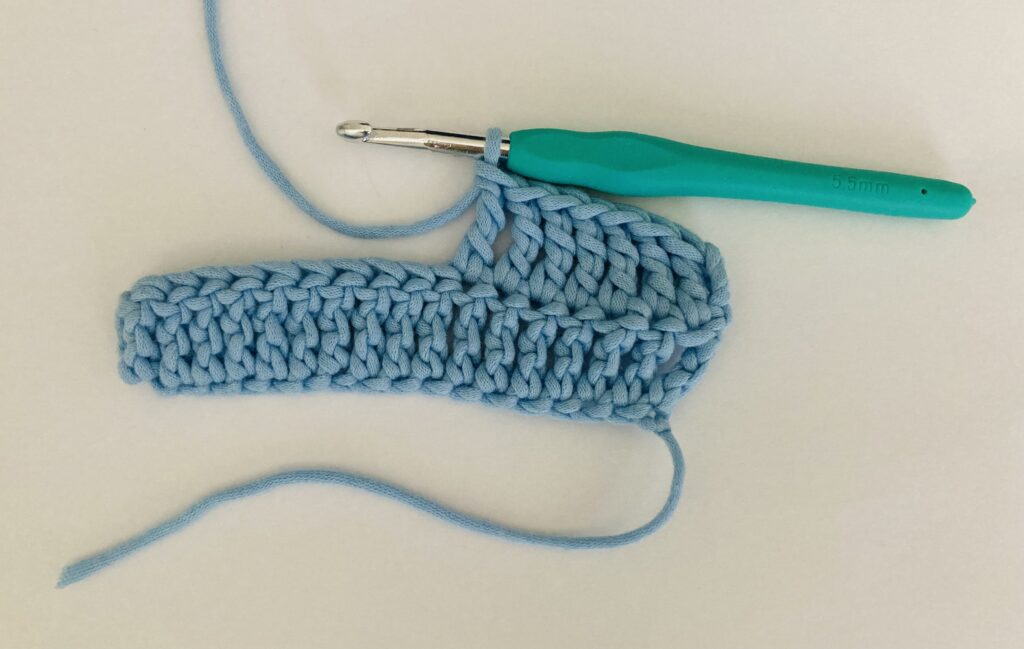
Now that you have acquired the skill of crocheting the treble crochet stitch, you can crochet across the row until you have filled the row with treble crochet stitches. At the end of the first row, you should have 17 treble crochet stitches. Your work will look like the image shown above.
How to Start Working in the Next Row?

Once you have reached the end of the first row, you will probably be wondering how you continue working new treble crochet stitches in the next row. The beauty of crochet is that you not only work stitches across your work, but also progress in your work upwards. Therefore, we have to recall that the equivalent stitch height of a treble crochet stitch is three stitches as mentioned before. So when you reach the end of the first row, you follow a simple three step process to continue your work on the next few rows. You will first have to chain 3, then turn your work.
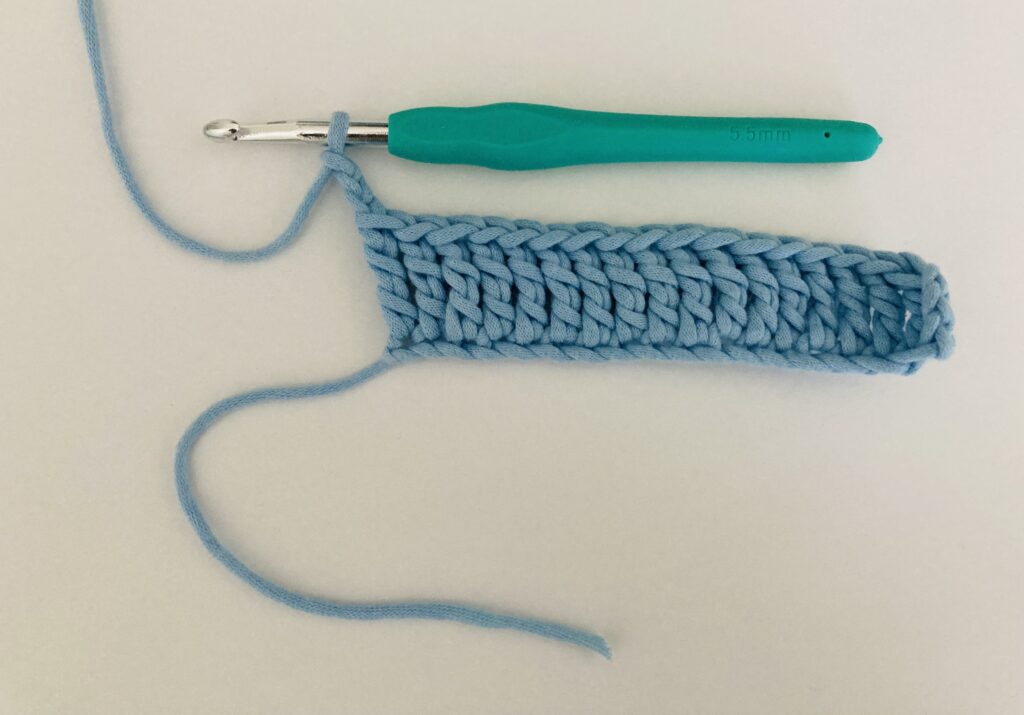

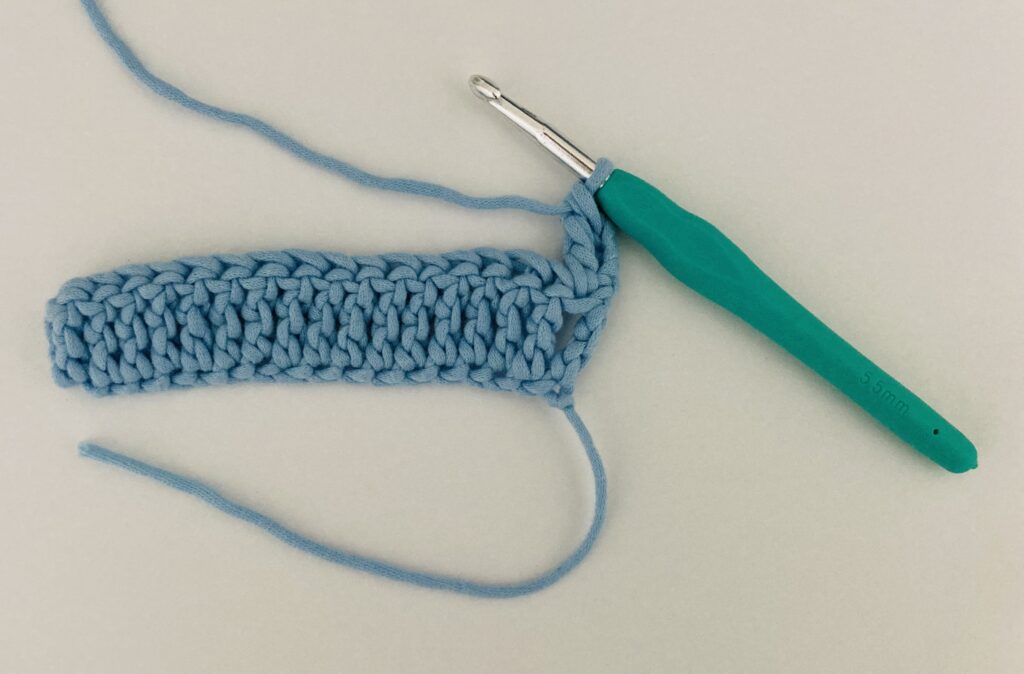
Then you can continue crocheting more treble crochet stitches in the next row.
How to Keep Your Treble Crochet Edges Straight
If you have trouble keeping your crochet edges straight, you can use stitch markers to mark the first and last stitches for each row. For instance, When you finished crocheting the first stitch in the first row, you could place a stitch marker at the top of that stitch. When you reach the end of the row, you can place a stitch marker in the last treble crochet stitch you made in the row right before your chain 3 and turn your work. As you work on more rows of treble crochet, you can either remove your stitch marker from the previous row and add them back into the first and last stitch of the new row. Or you can also use new stitch markers in each new row that you crochet.
Conclusion
I hope this blog post helped to clear up some misconceptions about treble crochet and gave you some insight on the steps involved in creating treble crochet stitches. One major fact to remember about treble crochet is that it is separated into three segments of yarn-ing over and pulled through two loops, which is why it is called ‘treble’ crochet in US crochet terms. Hopefully, this trick helps you keep track of the names for each of these basic stitches. This blog post concludes the basic crochet stitch series. I hope each blog post in this series helped you gain a better understanding of the stitches you should try to learn as a beginner crocheter! Happy Crocheting!

Leave a Reply