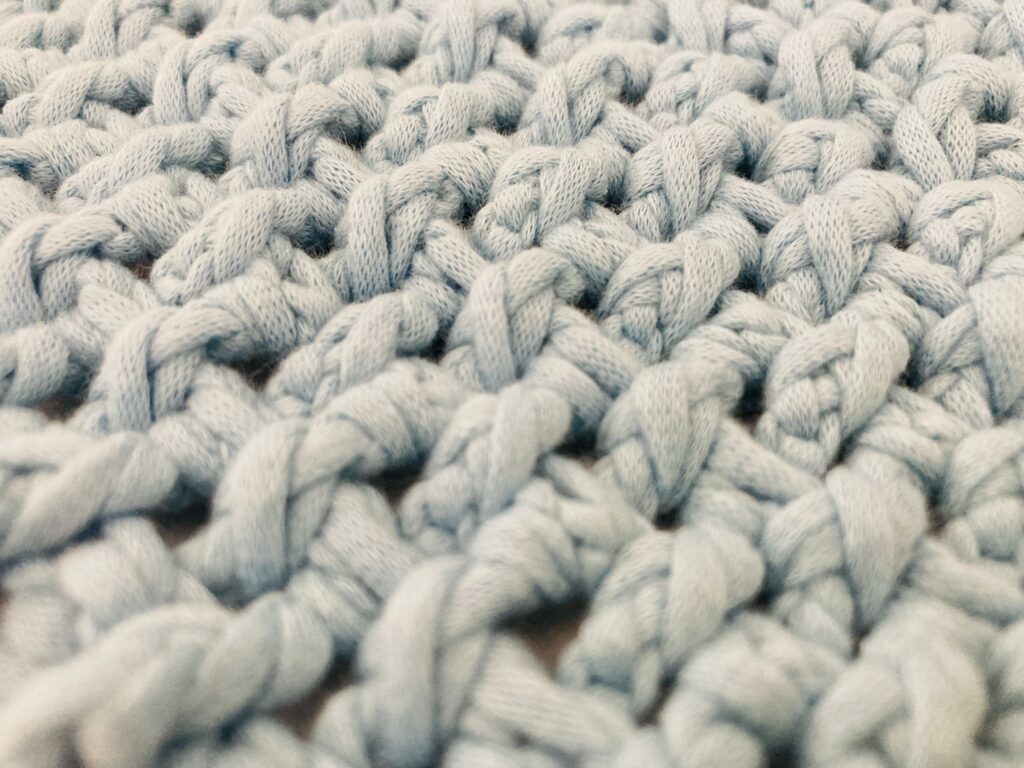
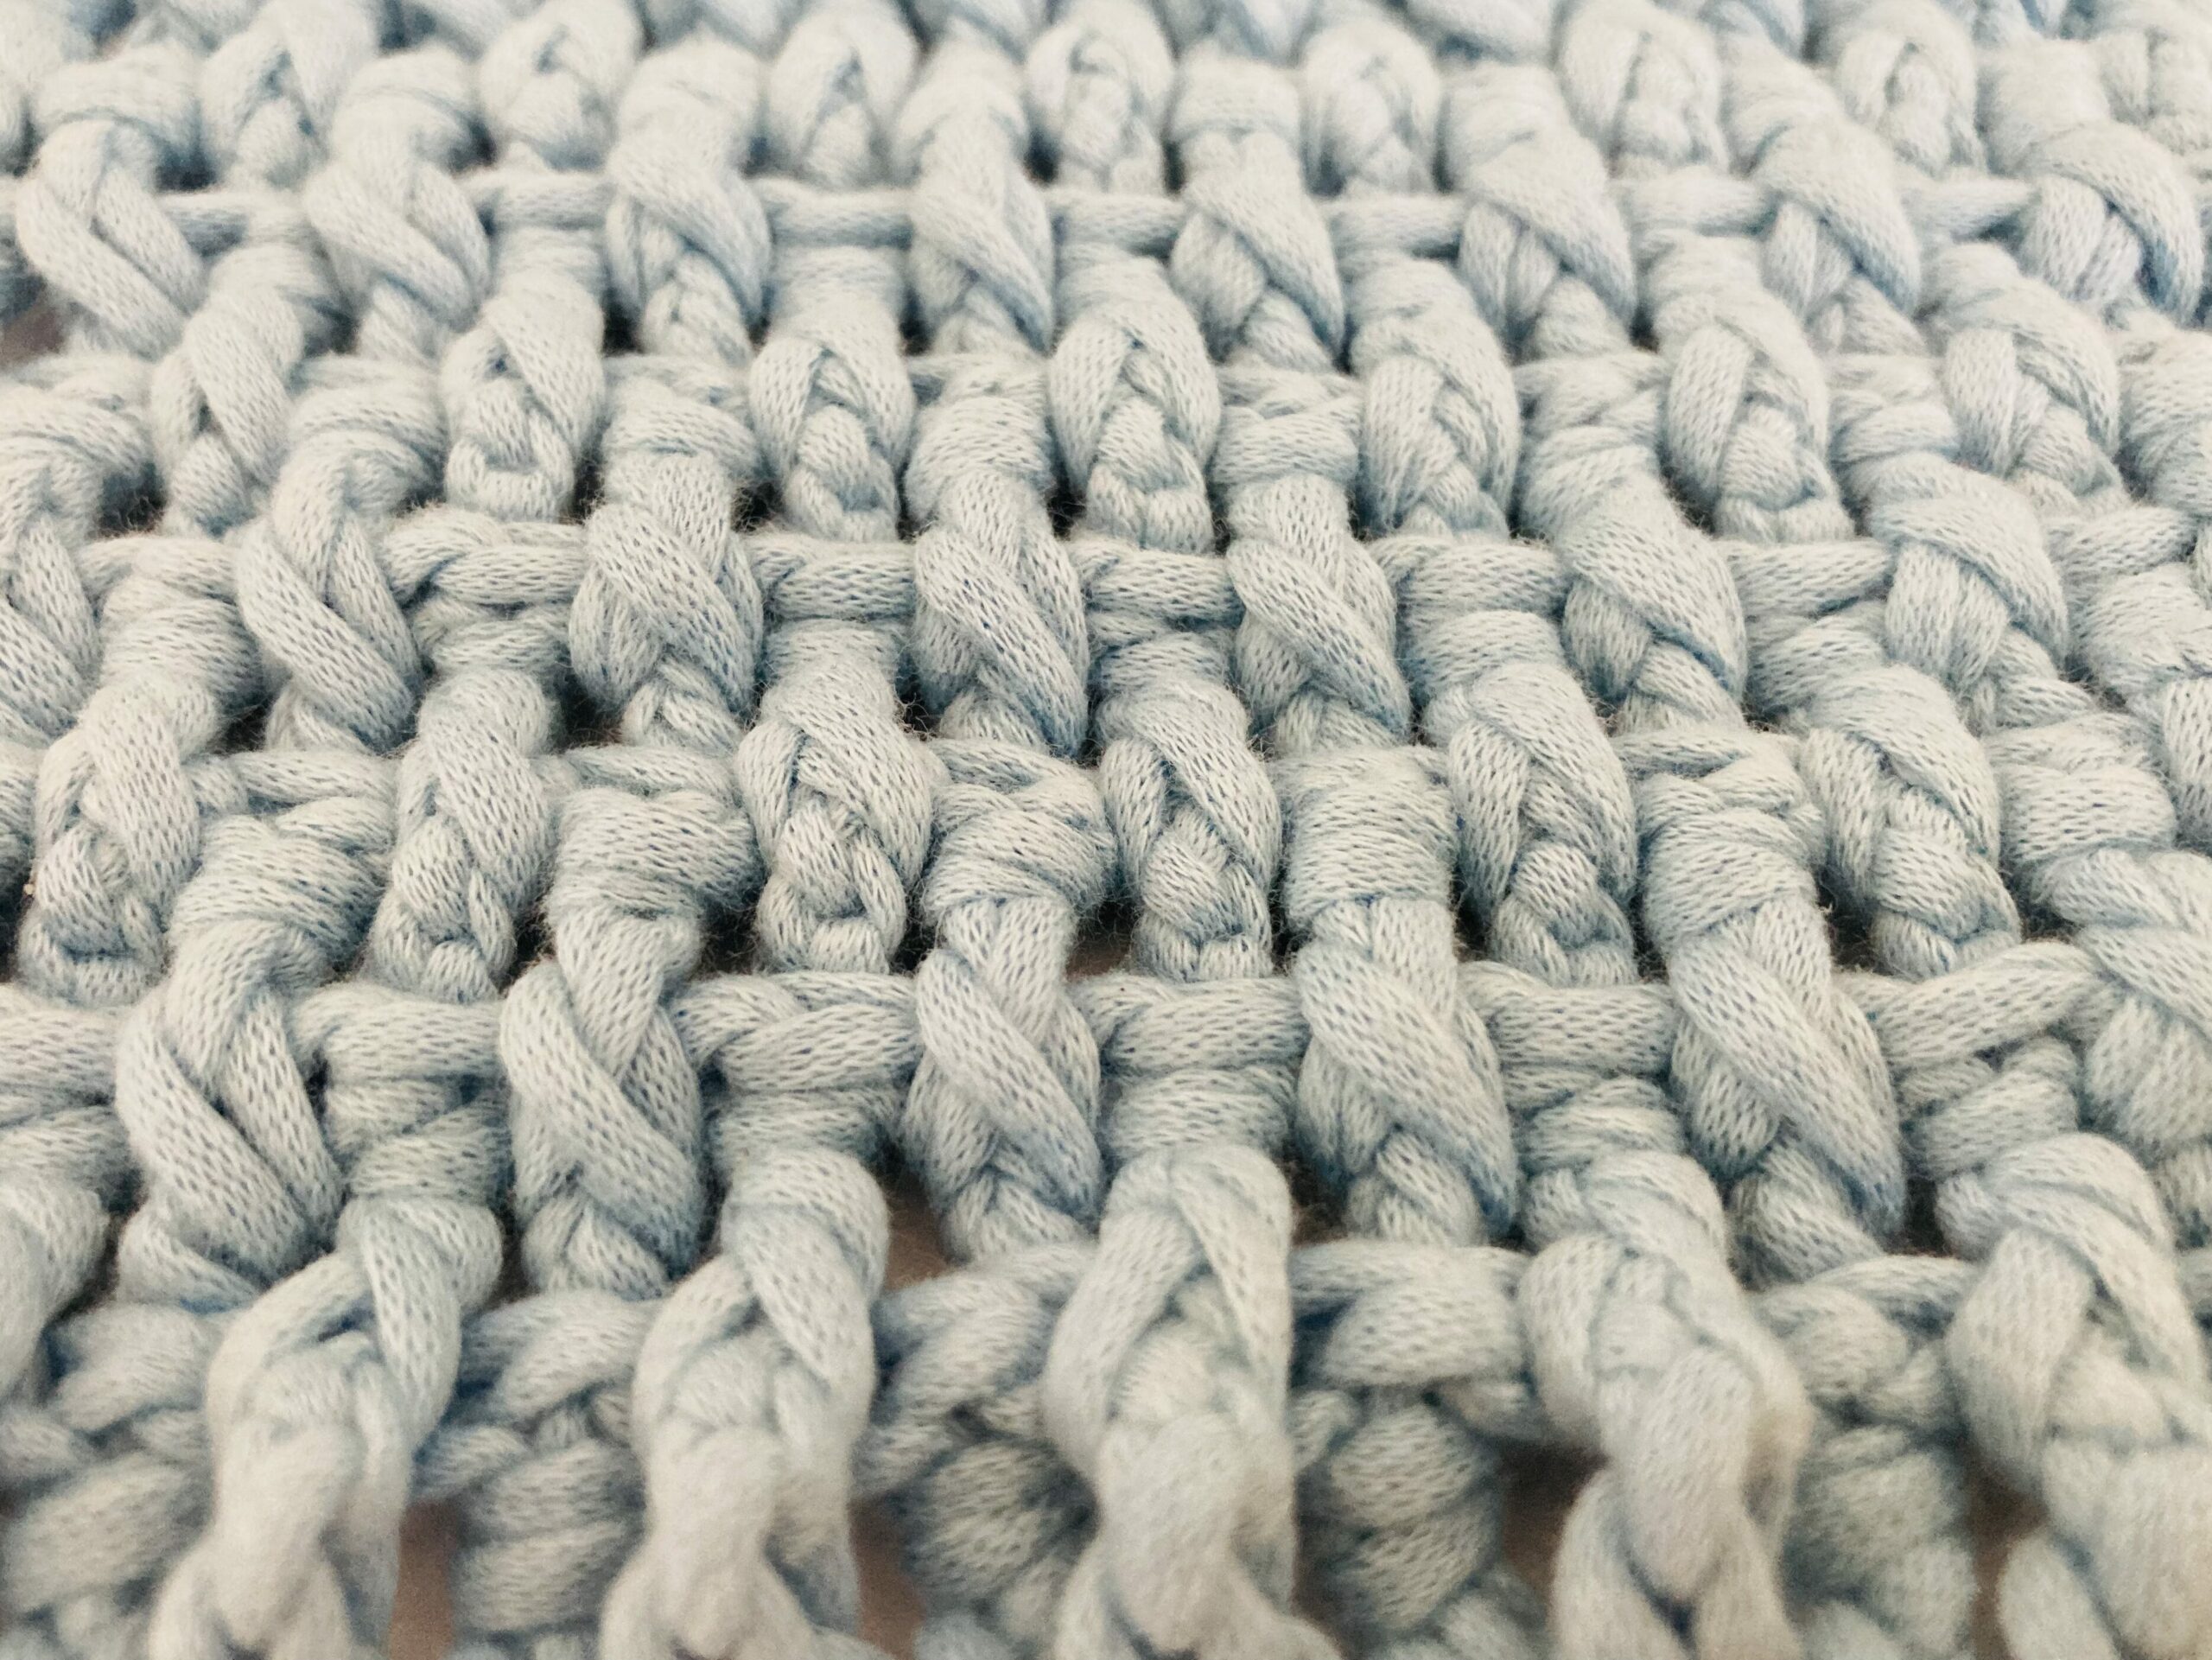
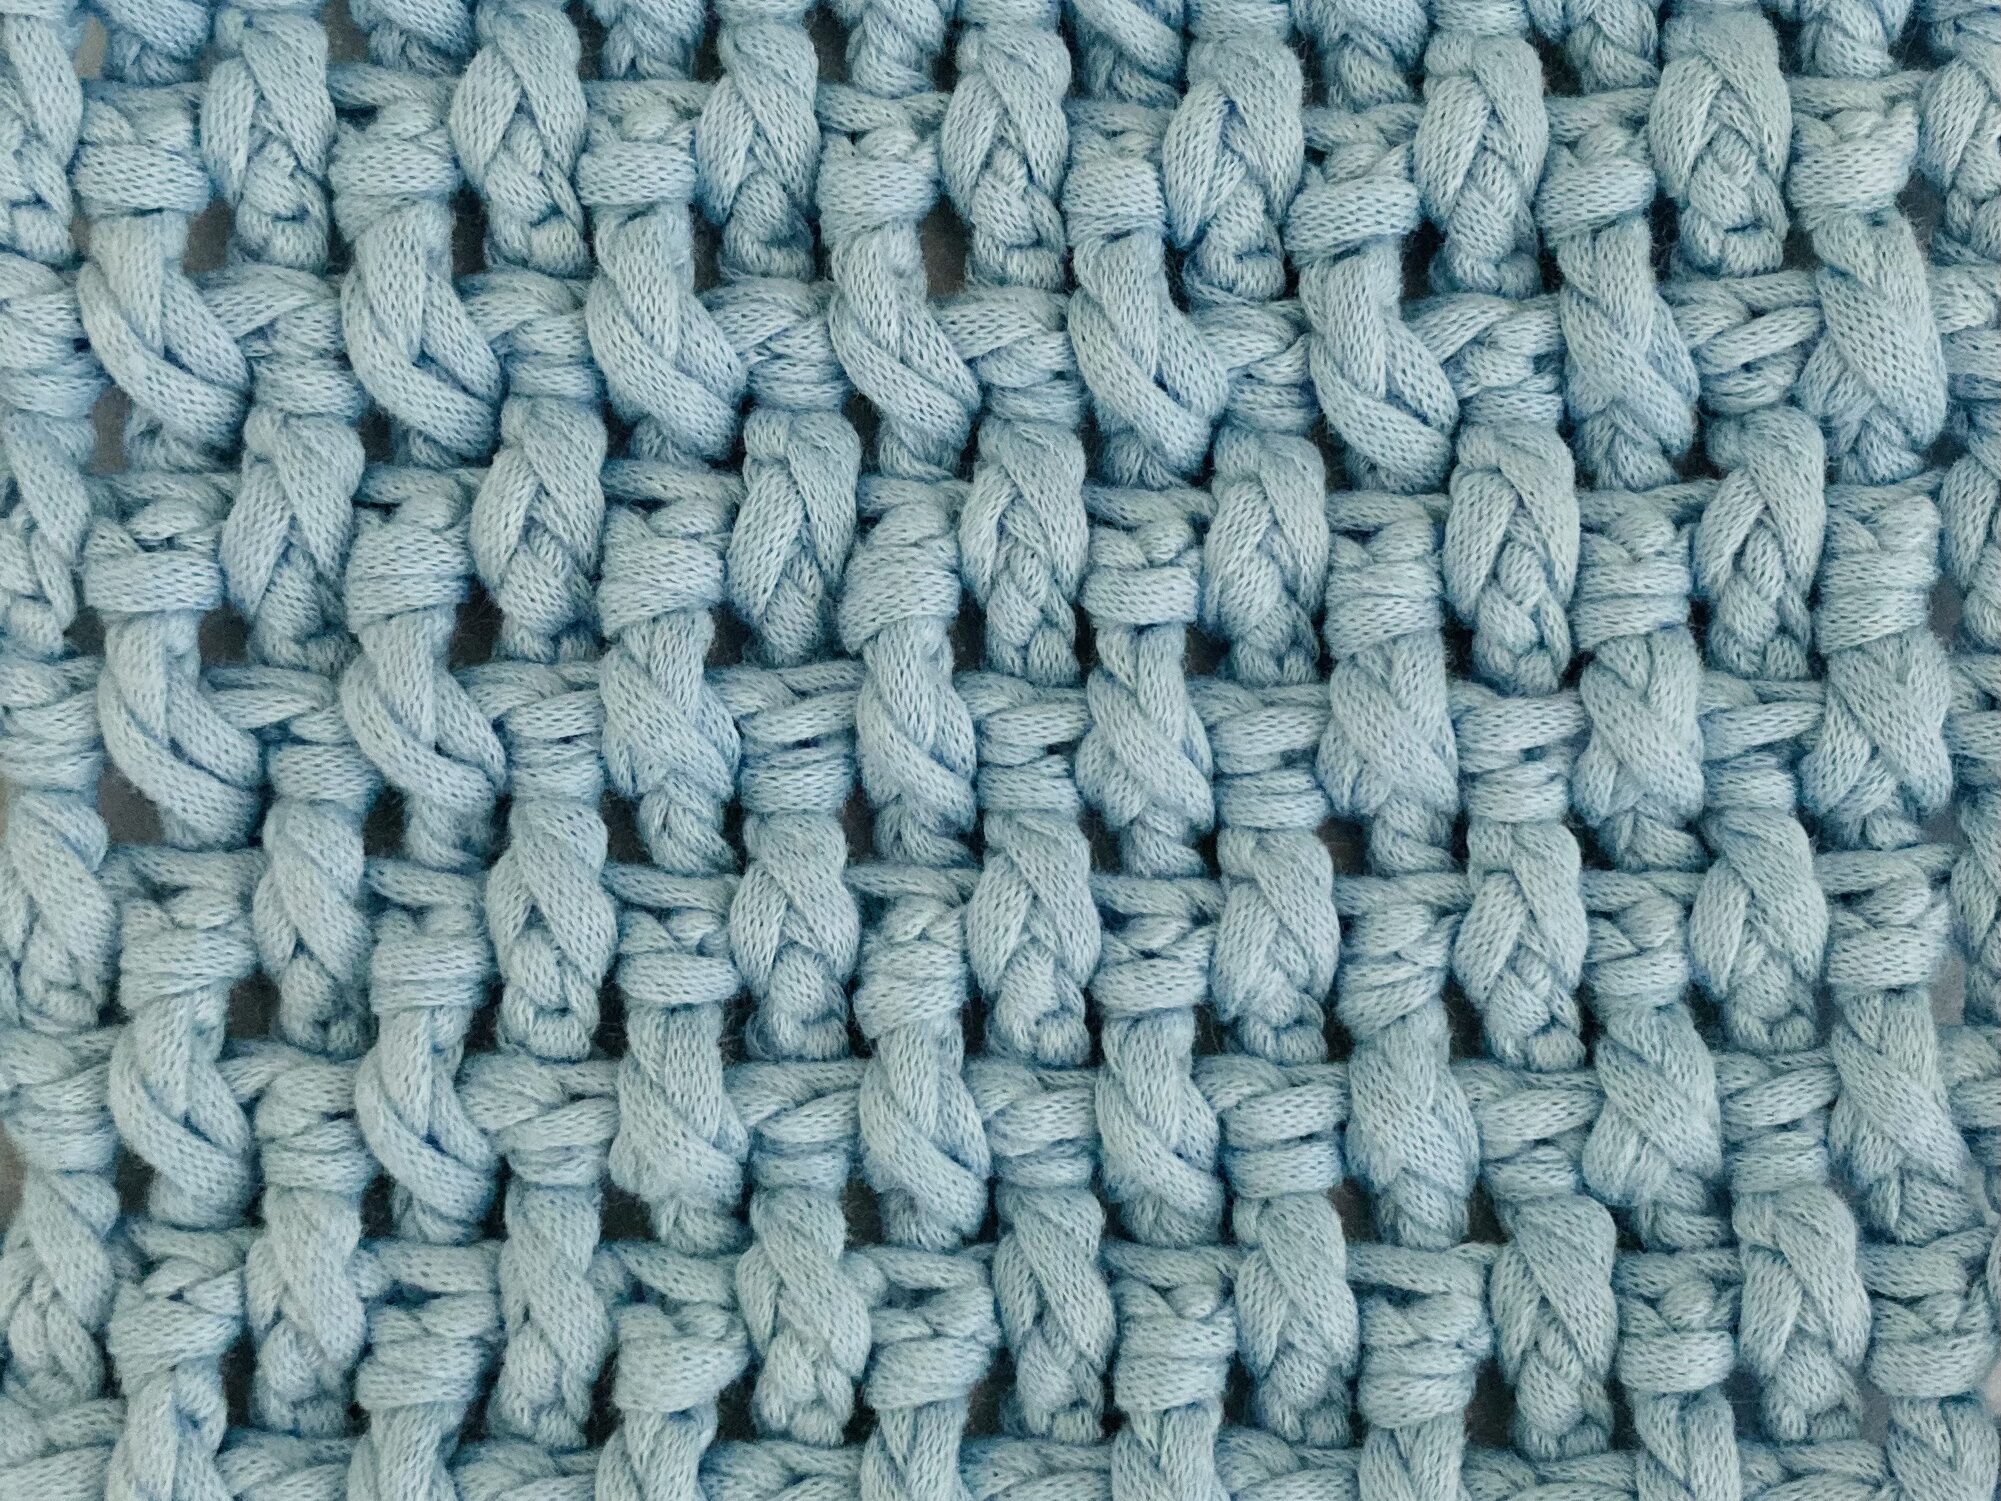
The crochet rice stitch is a great stitch to learn if you are looking to make projects that have a basketweave stitch pattern. When using the rice stitch, you can make a dense fabric that is great for scarves, sweaters, mittens and more. This stitch would look great when used in beanies, as it would be warm and comfortable while being stylish! I think the rice stitch might be called the rice stitch because each of the little double crochet stitches that you make seem like little grains of rice that are standing up. The rice stitch looks complex and involved, but only requires knowledge of some basic stitches. What’s amazing about the rice stitch is that it has the ability to replicate the basketweave stitch in crochet, while only consisting of a lattice that is only one stitch wide. In other words, the basketweave stitch consists of multiple back post and front post double crochets one after the other, whereas the basketweave pattern can be replicated on a smaller scale in a stitch like the rice stitch which consists of alternating back post and front post double crochet stitches. If this isn’t that clear, that’s totally fine because this tutorial will clear up most if not all of your confusion regarding how to crochet the Rice Stitch. Without further ado, let’s get right into this tutorial!
Materials
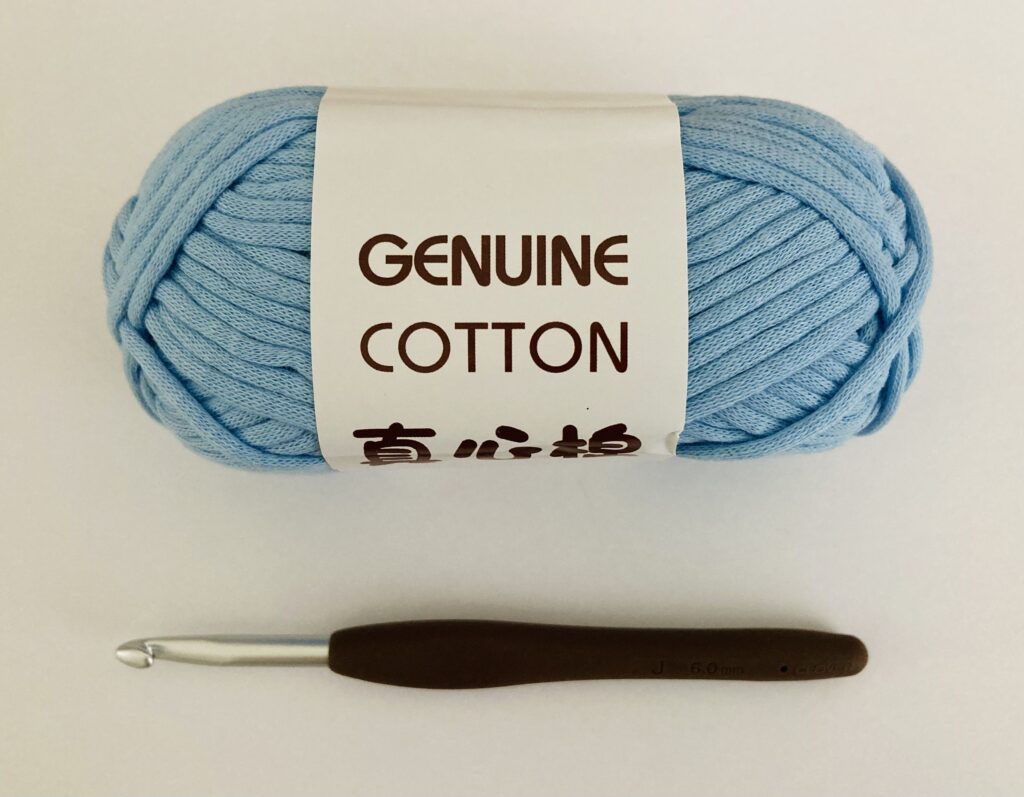
For this tutorial, I decided to use the following tools:
- 6.00 mm Clover Crochet Hook
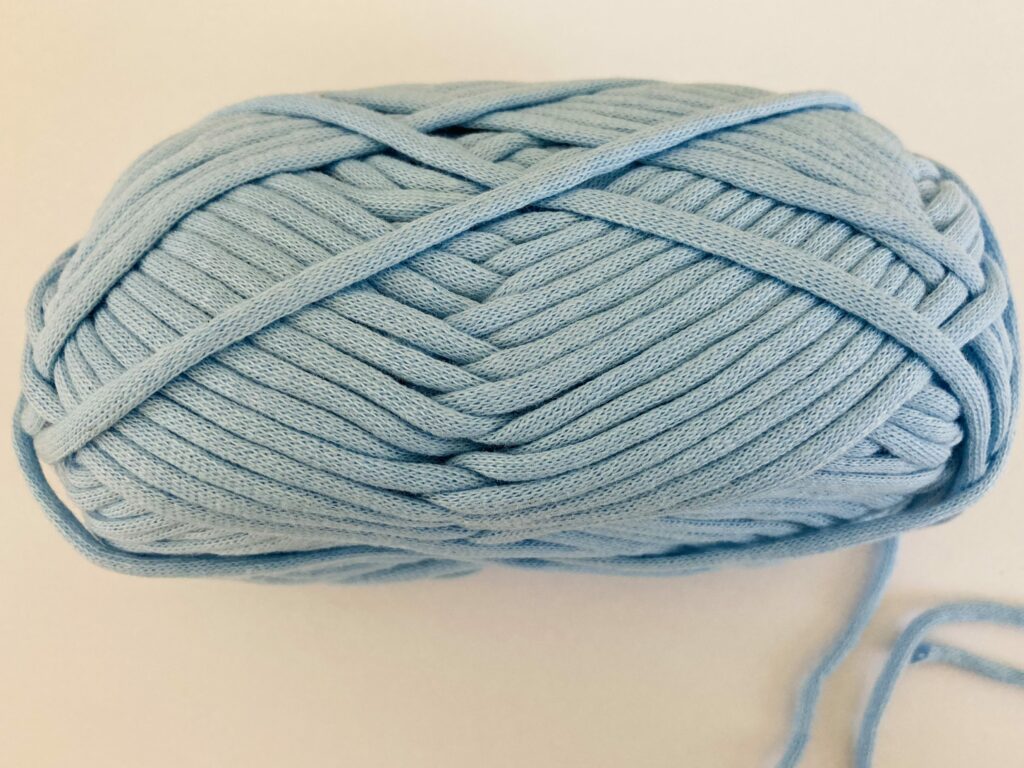
- Chainette Yarn from Temu
I decided to use chainette yarn because it will be easier to see your stitches with a thick and bulky yarn that isn’t traditionally spun. In other words, chainette yarn is great because it is yarn that is knitted in a tube. This means that it won’t easily split when you crochet, because it is one piece of yarn, similar to t-shirt yarn. Chainette yarn is really forgiving in the process of crochet, because unlike traditionally spun yarn, you can undo chainette yarn multiple times without compromising its quality. I also decided to use the 6.00 mm Clover Crochet Hook. Although a regular non-ergonomic hook is fine to crochet with as well, I highly recommend that you look into getting a Clover Crochet Hook because they are an absolute joy to crochet with. Clover Crochet Hooks are great because they allow you to crochet quickly because the yarn slides off of the matte hook head, while maintaining the quality of my stitches. I originally got this crochet hook to crochet my very first self-drafted cardigan, and I cannot stop singing the praises of this crochet hook since, haha!
Prerequisites:
When learning to crochet the rice stitch using this tutorial, you will need to know how to crochet a chain stitch, double crochet stitch, and a half double crochet, as well as the front and back post double crochet stitches. I’ve linked below some posts that will help to familiarize you with the process of crocheting these basic stitches:
- How to Crochet A Chain
- How to Double Crochet
- How to Half Double Crochet
- Front and Back Post Double Crochet
Stitch Multiple
Whenever you use the rice stitch, make sure to chain an odd number of stitches.
Instructions on How to Crochet The Rice Stitch
Row 1
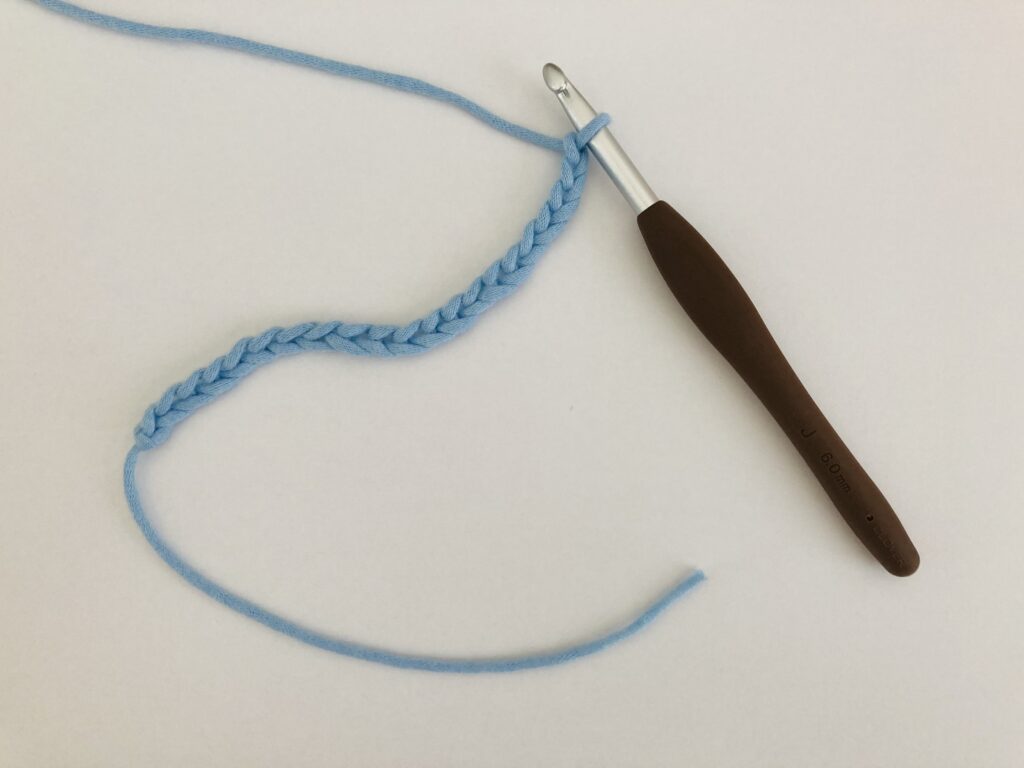
Step 1: Chain 21
Step 2: Double crochet across the row from the third chain on hook.
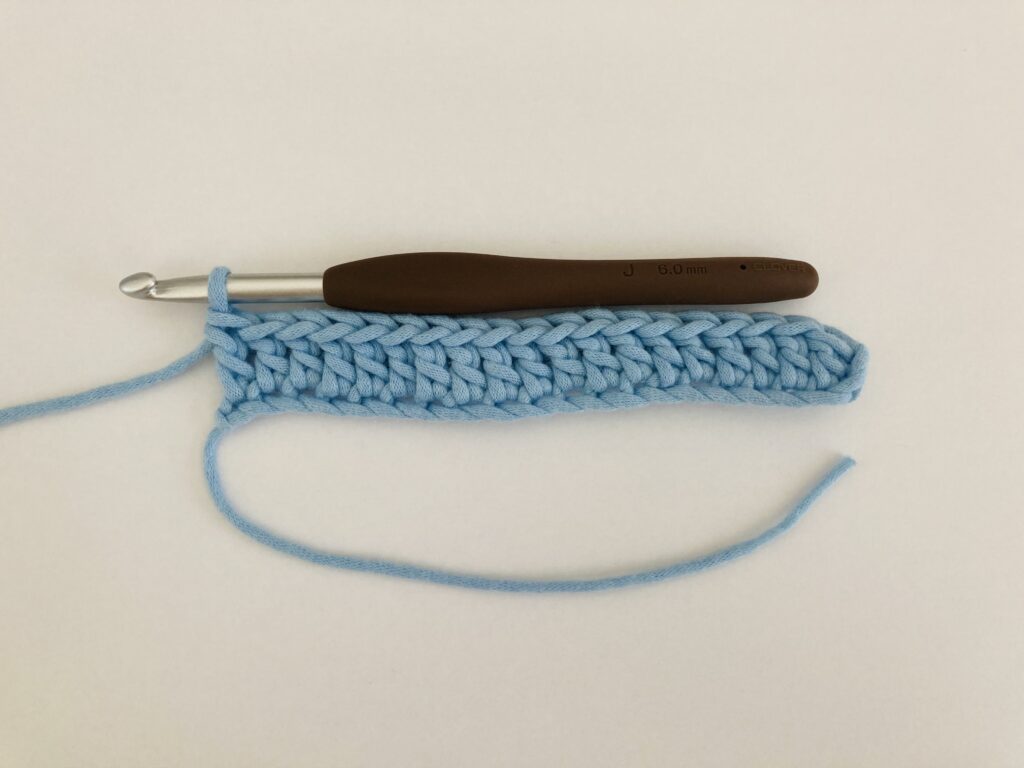
Step 4: Chain 1

Step 5: Turn your work
Row 2
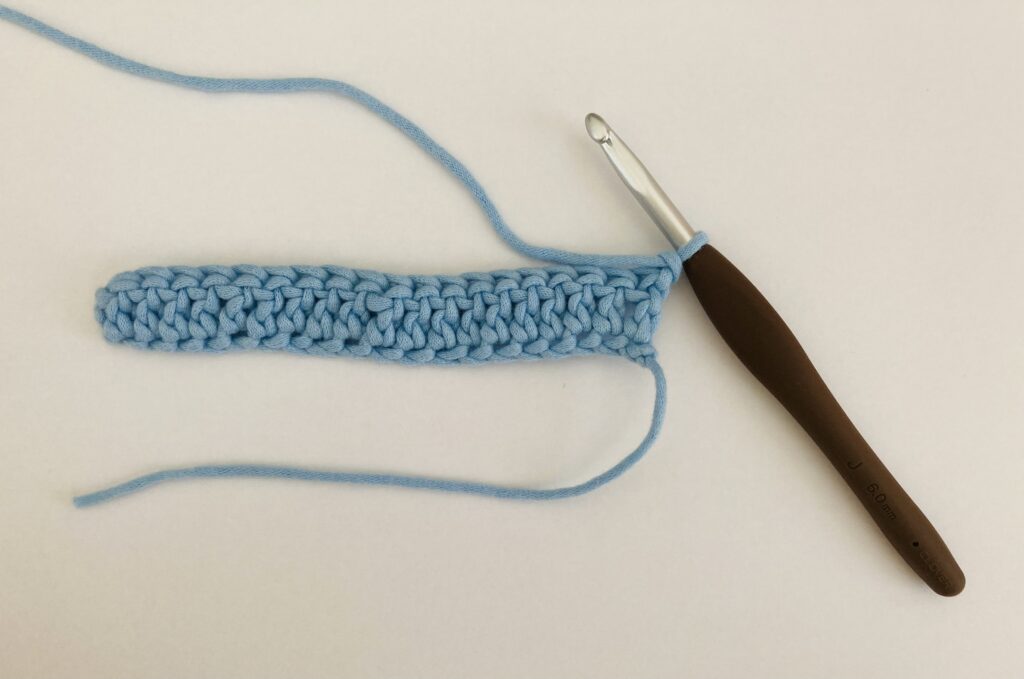
Step 6: Half double crochet in first stitch
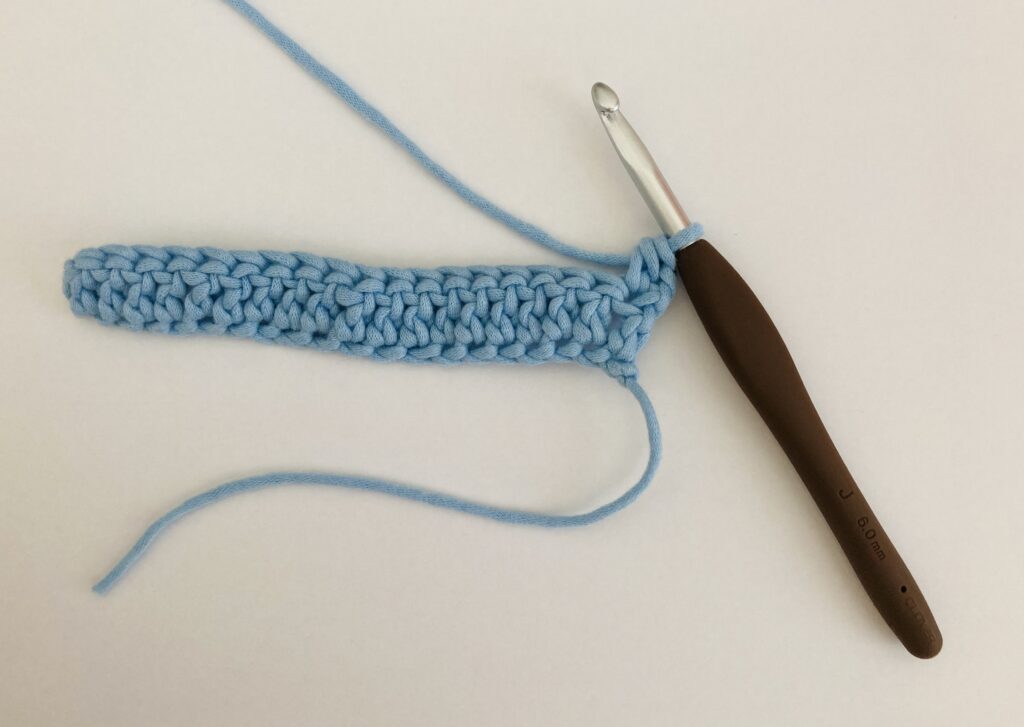
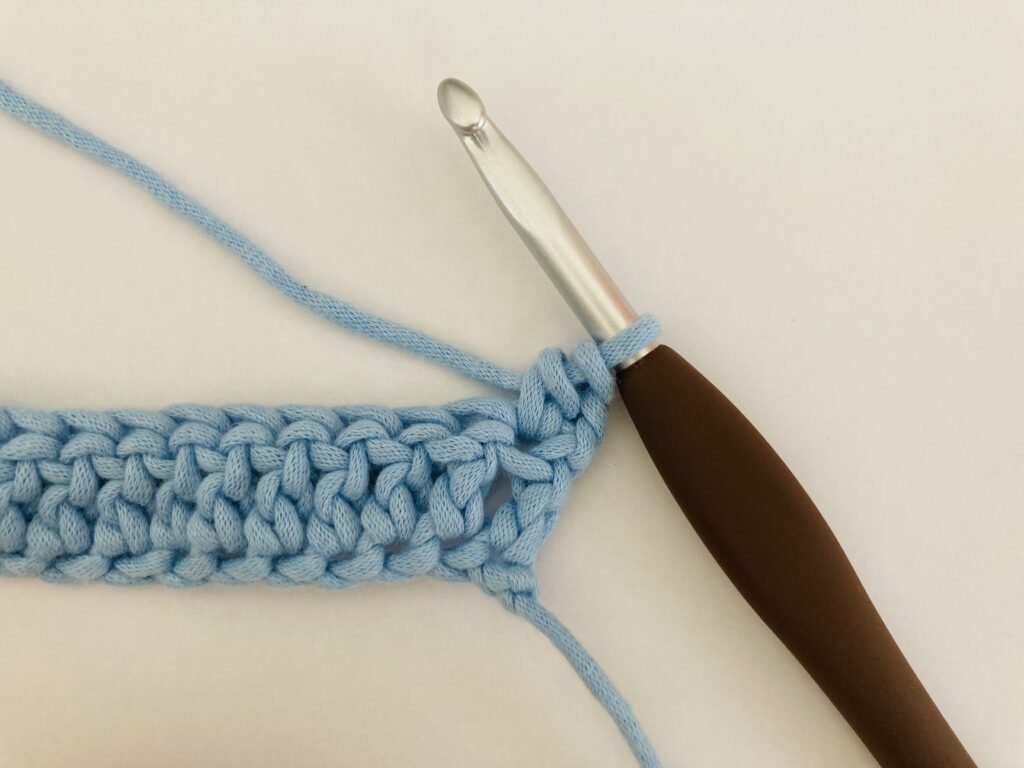
Step 7: Front post double crochet in next stitch
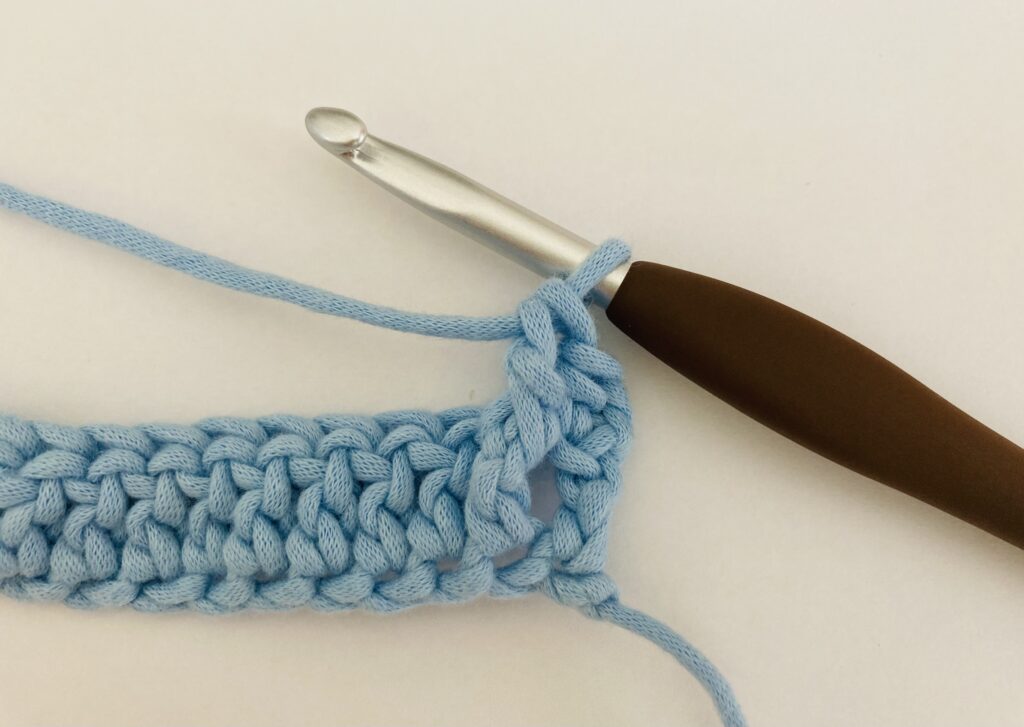
A front post double crochet consists of crocheting around the post of the double crochet stitch you made in the previous row. Since you have to crochet a front post double crochet in this step, that means that you need to insert your hook from the front to the back of your work into the gap before the double crochet stitch you are trying to make a post around, and then insert your hook from the back to the front of your work, so that it is around the post. Then complete the double crochet stitch as usual. You should yarn over once before you begin working around the post of the double crochet stitch. I will hopefully detail the procedure for making post stitches in a future blog post.
Step 8: Back post double crochet in the next stitch
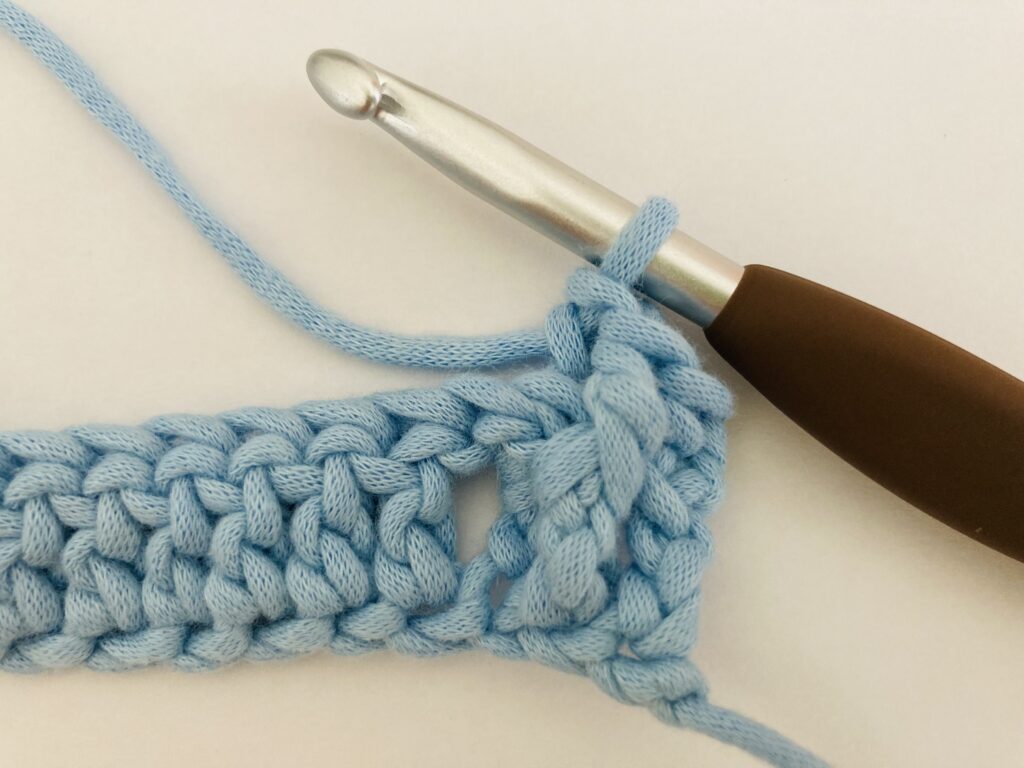
The procedure for making a back post double crochet is the same, except you work over the post from the back of the stitch. This means that you insert your hook from the back to the front of your work over the post you are trying to work a double crochet around.
Step 9: Repeat steps 7 and 8 alternating across the row until you reach the last stitch of the row
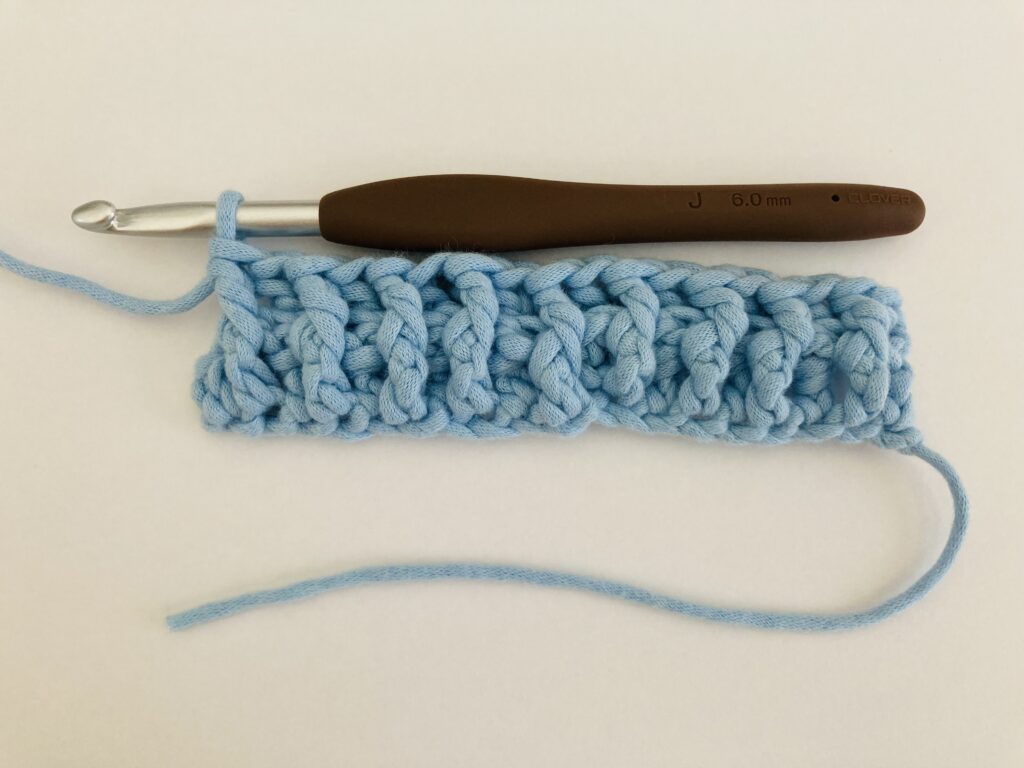
This means that you alternate making front post double crochets and back post double crochet stitches up until you get to the last stitch of the row, and then you stop.
Step 10: Half double crochet in last stitch of the row
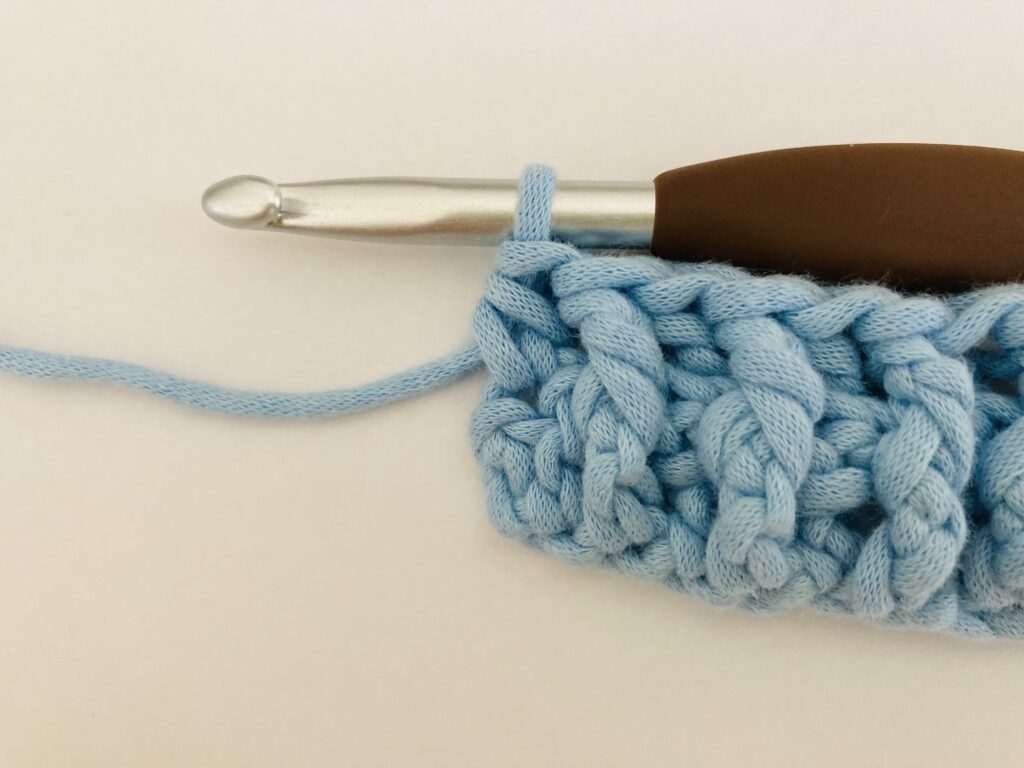
With only one stitch left in the row, you crochet a hdc in the last stitch, just as we did at the beginning of the row.
Row 3 and onwards
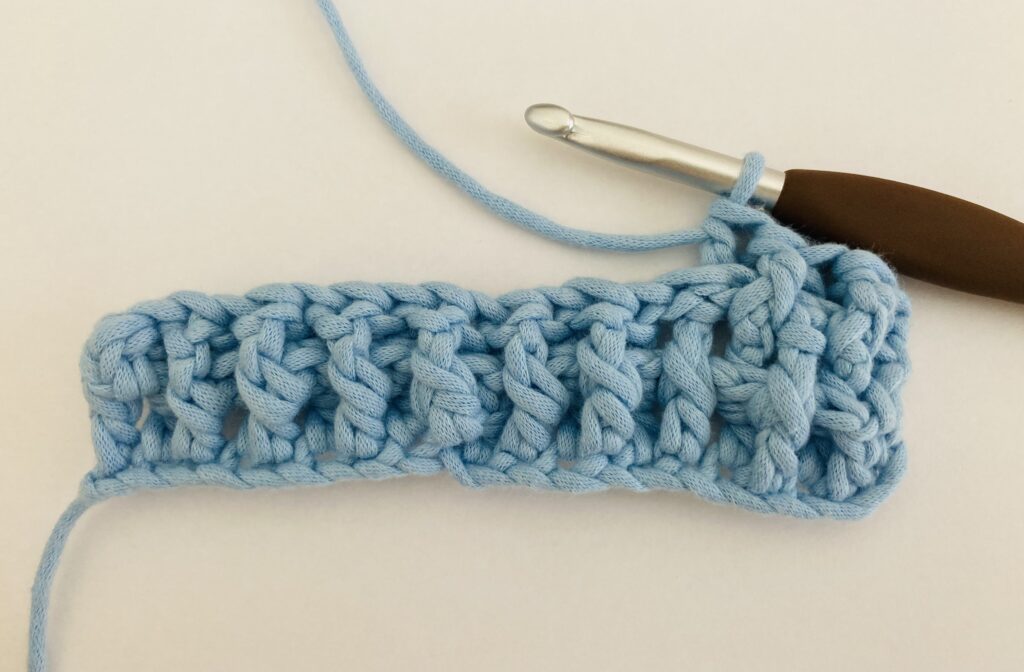
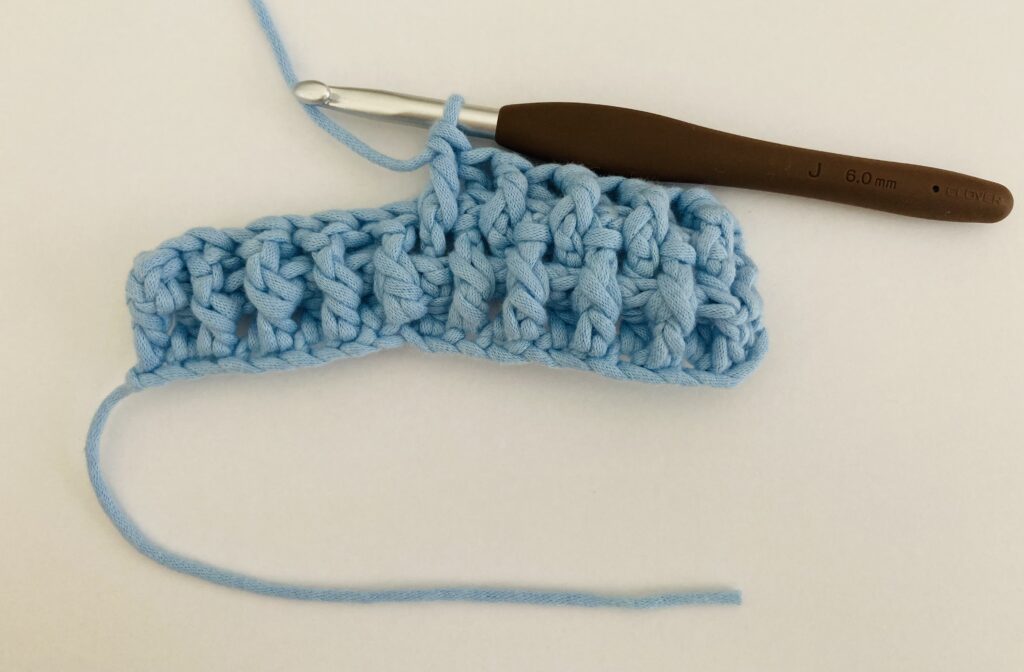
Repeat row 2 for as long as you like.
Note: Regardless of the row you are working on, the pattern for the rice stitch will always be to crochet a front post double crochet in the stitch right after the half double crochet, and a back post double crochet in the stitch right after the front post double crochet. Then you repeat this pattern across the row.
Conclusion
I hope this tutorial helped to crochet the wonderful rice stitch! This was a great stitch to crochet, as I realized that even though it looks complex, it can be achieved through a combination of basic crochet stitches. The rice stitch can be worked in practically any crochet project that needs a little bit of texture. Although I haven’t spoken about crocheting front post and back post double crochet stitches in any other blog post yet, I hope the explanations in the above tutorial helped to clear up some confusion about that process if this is your first time crocheting double crochet post stitches. If this tutorial helped you, feel free to comment down below your favorite aspect of the rice stitch, and how you anticipate using it in your crochet projects. Happy Crocheting!

Leave a Reply